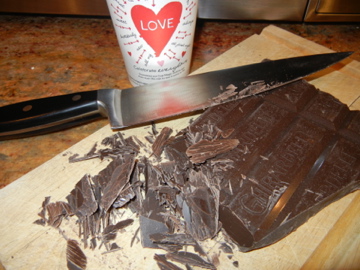
For the chocolate dipped items, I like to start with a quality dipping chocolate. Sam’s club sells a good Ghirardelli dark chocolate bar or you can use the chocolate melts that your local craft store sells by Wilton. My advice in melting chocolate is to use the microwave for it is much quicker that way.
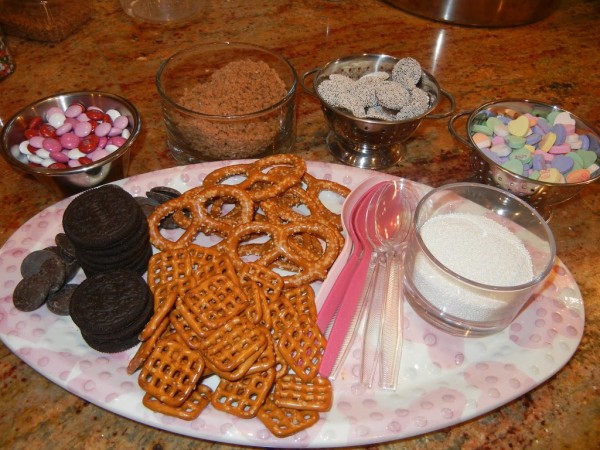
Before you start to melt you should prepare anything that you will use to either dip or decorate your chocolate treat.
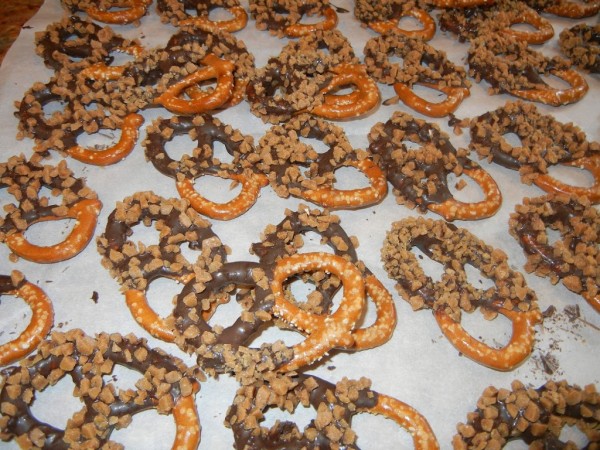
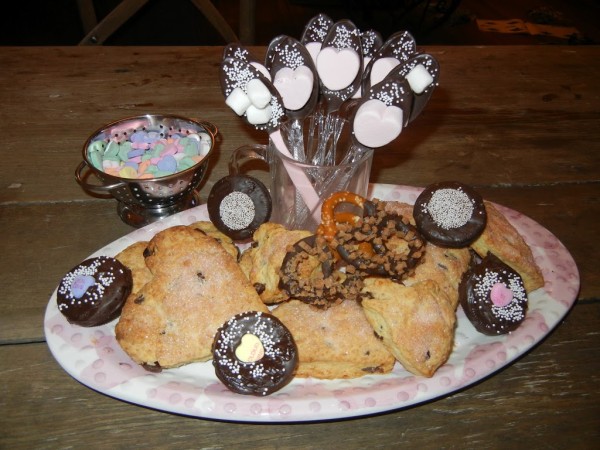
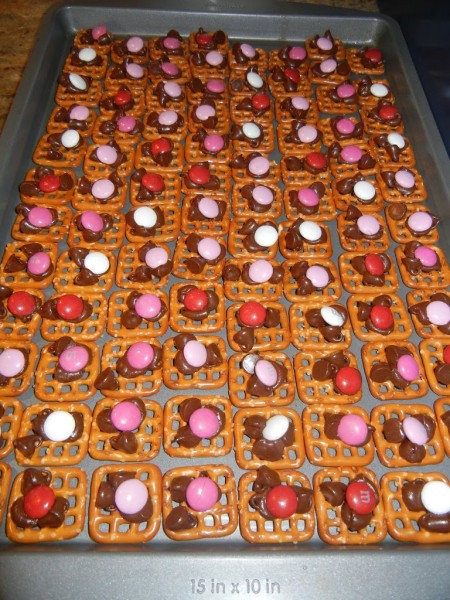
Toffee pieces are delicious on pretzels
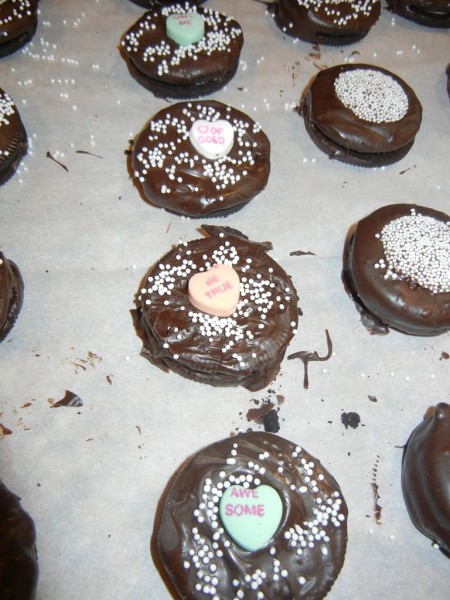
Oreos look festive when nonpareils are added and conversation hearts. All of these toppings can be chosen according to the Holiday or occasion that you are making them for.
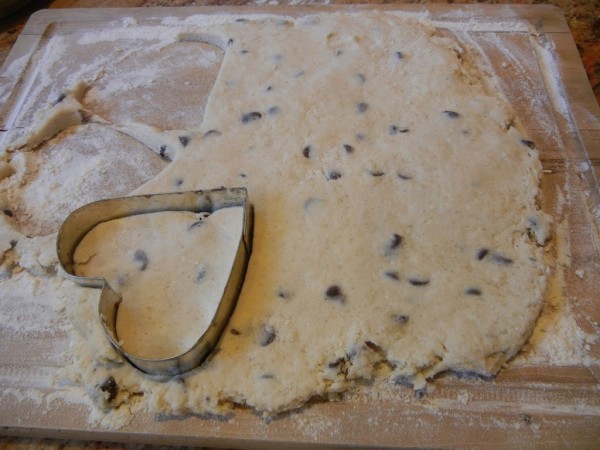
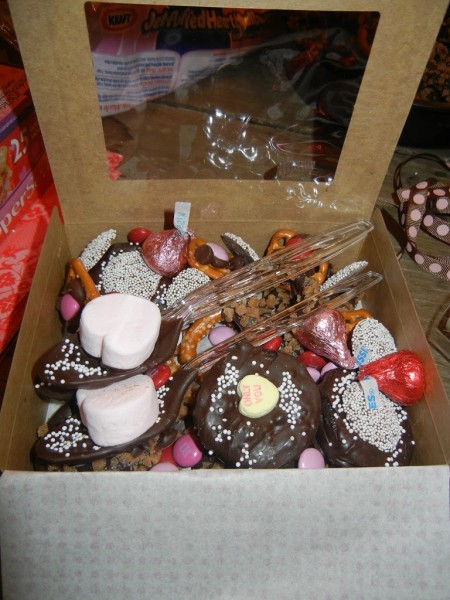
We added a Valentine marshmallow heart, nonpareils and mini marshmallows to the spoons that we dipped. The spoons are shown with my favorite scones ever! I found the recipe years ago in Mary Engelbreits magazine and I make them every Valentine’s Day. Use a heart shaped cookie cutter, top them with melted butter and pink sanding sugar before baking and you have a festive treat. They are wonderful with raspberry jam or lemon curd.
Chocolate Chip Scones
Scones:
2 cups unbleached flour
1 tablespoon baking powder
1/2 teaspoon salt
1/4 cup sugar
1/2 cup chocolate chips
1 1/4-1 1/3 cups whipping cream
Topping:
2-3 tablespoons butter, melted
2 tablespoons sugar
1. Preheat oven to 425 degrees
2.Combine flour, baking powder, salt and sugar in bowl.
3. Add the chocolate chips.
4. Stir in the cream with a fork until the dough holds together in a sticky mass. (You may need to add a tablespoon or two more of cream until dough holds together.)
5. Turn dough out on a lightly floured board. Knead the dough several times. (Do not handle too much or the scones get very hard.)
6. Pat dough into a 10″ circle. Cut circle into 8 wedges (or use a round glass or cookie cutter to make shapes.)
7. Place on an ungreased cookie sheet about 2″ apart.
8. Brush scones with melted butter and sprinkle with sugar.
9. Bake for about 15 minutes, or until golden brown.
The last item that I love to make as a gift for either Christmas or Valentines Day is homemade hot chocolate mix. It is so very easy and fun to package up in creative ways. I have found many recipes but this is my favorite.
Flavored Cocoa Mix
Yields about 19-20 cups of cocoa mix
1 box ( 1 lb. 10 oz) nonfat dry milk (8 cups)
4 cups sifted confectioners sugar
2 jars (8 oz each) of your favorite flavored nondairy creamer. (Past flavors have been Belgian chocolate toffee, gingerbread, peppermint, vanilla hazelnut… anything will do that you like.)
1 jar nondairy creamer (11 oz)
1 box chocolate milk mix (1 pound, more if you like it really chocolatey!)
1/2 teaspoon salt
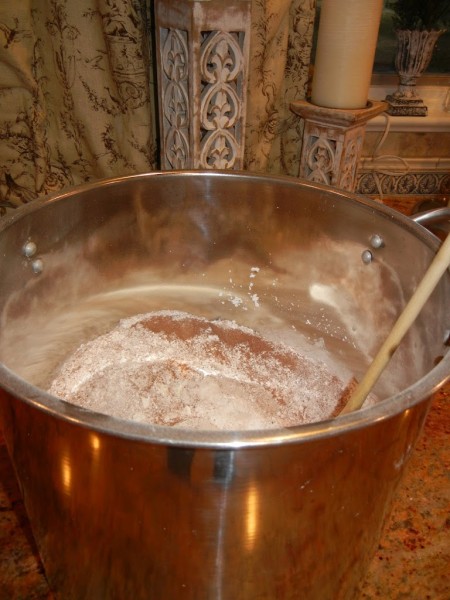
In a very large pot, combine all ingredients; stir until well blended. Store in an airtight container. Package up with serving instructions
To serve: Stir 3 heaping tablespoons into 6 ounces hot water. Stir.
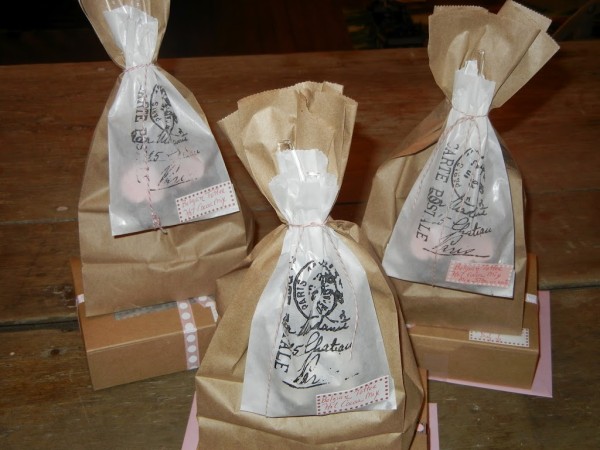
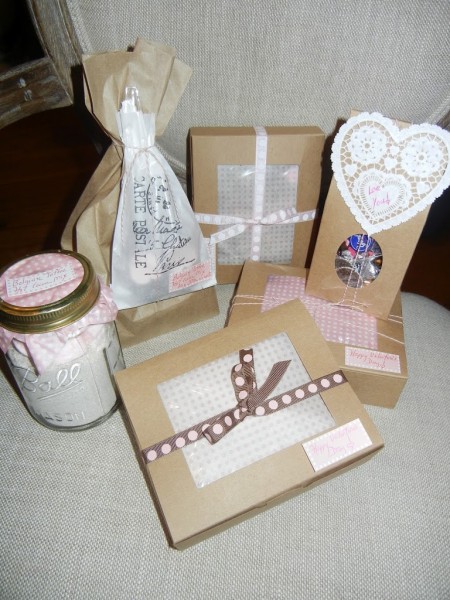
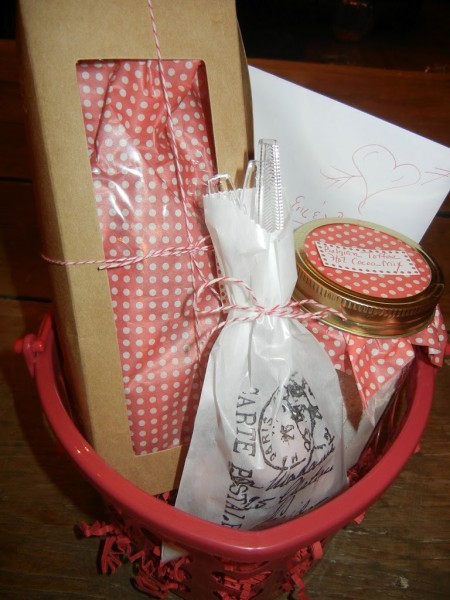
I love to package the hot cocoa mix in plain brown paper lunch bags. You can embellish them in so many different ways. Here I tied on a glassine bag that I had stamped with an image. I adhered a handwritten label on the bottom and used bakers twine to tie up the bags. What is inside the bags you ask? Why of course, the chocolate covered spoons and some marshmallows. You can do things a little more simply and add a tag tied with a string or a cut out heart. For one of my son’s “Winter”/ Christmas parties at school, we did this in his class and added a candy cane. You can tailor it to whatever works for you!
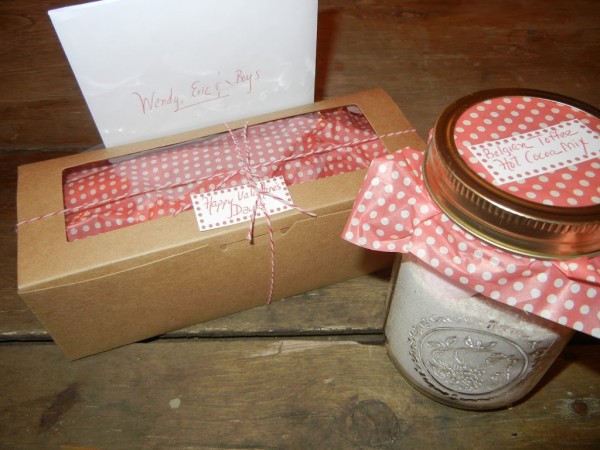
You can package up your treats in many different ways. This time I used brown bakers boxes that I placed tissue paper in first and then wrapped with ribbon. I have used cellophane bags, canning jars, and other various containers that I have had around. The important factor is that they are food safe.
Inspired by your creations! Happy Valentine’s Day! – Deb, Tiny Olive
Thanks for your complimentary words Deb! Happy Valentine’s Day to you as well! 🙂 Meg, Life’s Patina