
Brown paper packages tied up in strings…these are a few of my favorite things…
Who does not recognize those famous words sung by Julie Andrews in the Sound of Music? This Christmas, the art of gift wrapping takes its cue from those sentiments. As you have probably come to know, we love the natural subdued palette here at Life’s Patina along with nature’s gorgeous shades of blue and green. As you might also know…we are all about the presentation and Christmas gifting is right up our alley in allowing us to partake in some of our… favorite things…
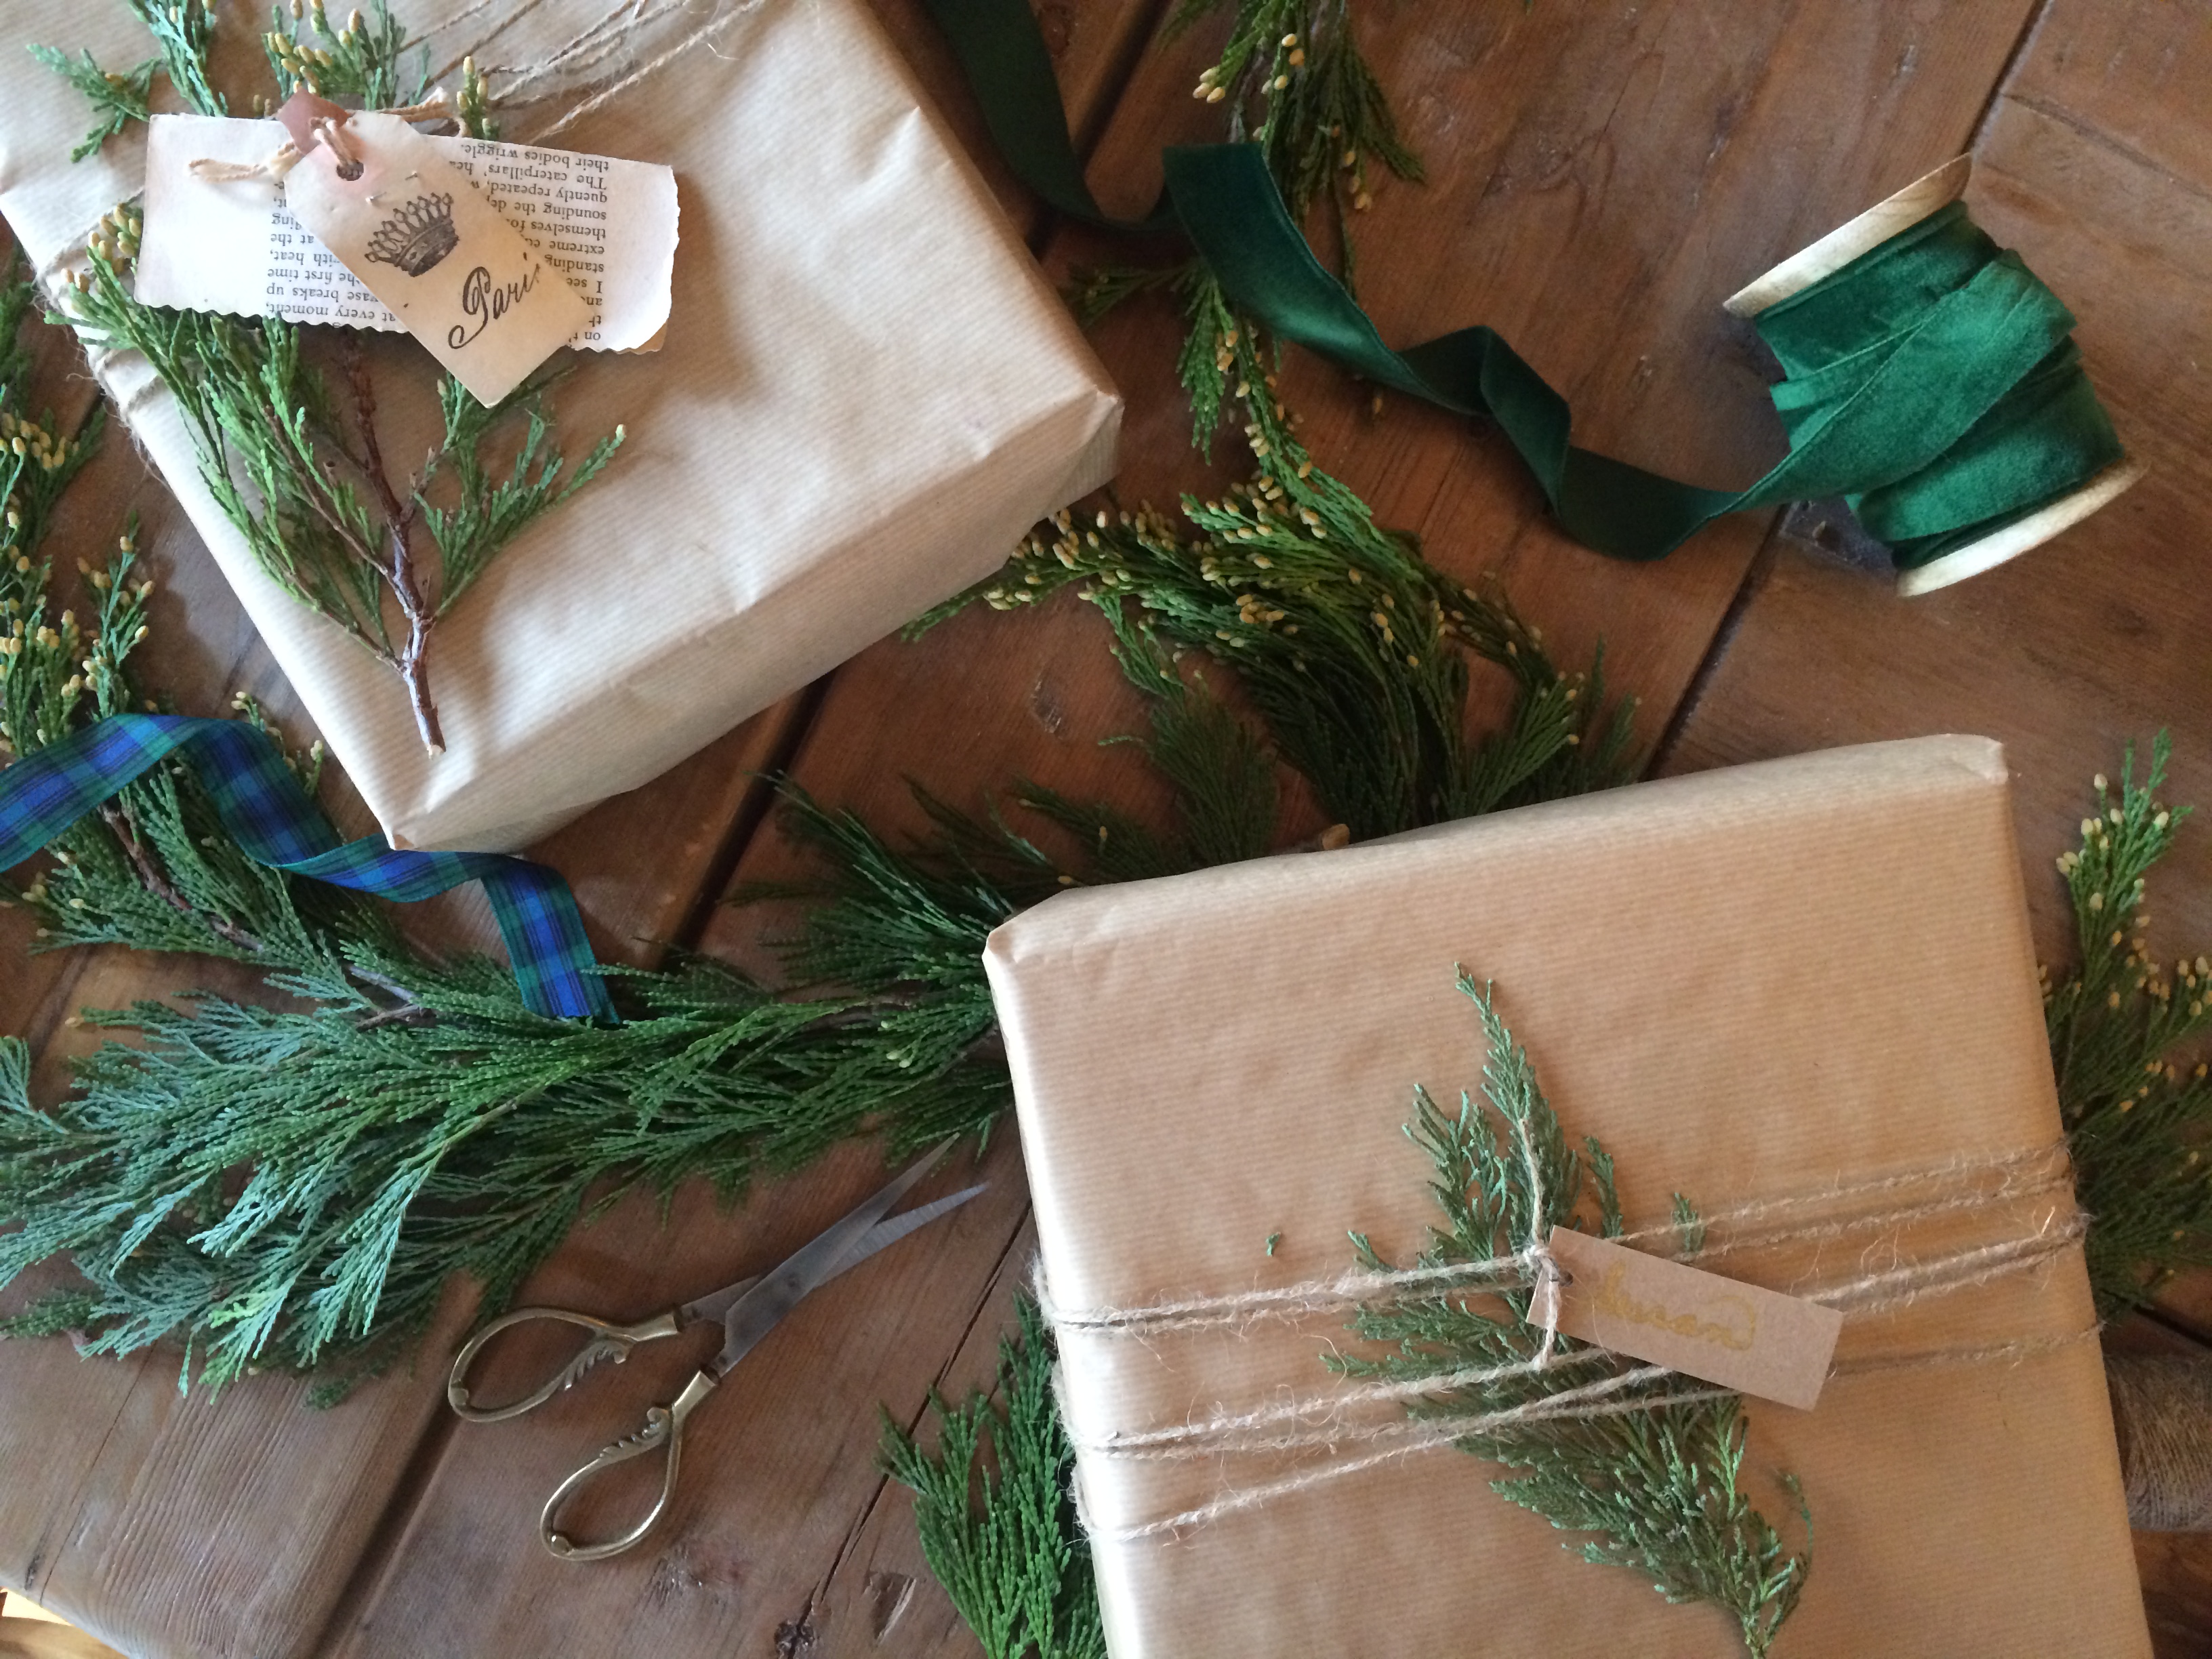
The thrill of the hunt in finding or creating that gift that encapsulates what the receiver is all about ~ brown Kraft paper ~ natural jute string in various thickness ~ luscious velvet ribbons ~ elegant flowing script fonts ~ natural greens as gift toppers ~ wax seals ~ vintage elements ~ paper tags ~ glitter ~ stamps ~ribbons of all sorts ~ natural linen fabrics and burlap
Maggie and I would love to show you some of our favorite combinations using these elements in the hopes that you too might relish in the simple “art” of gift wrapping. Before we do that , though we would like to address the art of gift giving. While it would be easiest to ask the recipient what they “want” for Christmas, have them send you a link to that item and then purchase the desired item… what kind of thought did that require? It has always gone against my grain to do this which is probably why my kids always used to write their Santa letters listing presents that they desired and ending in… “and Santa, we would love some surprises.” They learned quickly that Santa always brought a couple of items that were not on their lists. I like to look at gift giving in that way, “What might the recipient want that embodies who they are? What might they not purchase for themselves? What have they mentioned that they would love to do? What class might they want to take? What might be a surprise?”. Those are the questions I ask myself in giving a gift. Once the gift is found then it is time to wrap!
Along with the brown paper packages tied up in string, we added some natural pine tucked underneath the string, a hand cut brown paper kraft tag and some handmade cinnamon ornaments. This is a super easy project to do with children and I have done it every couple of years with mine and they keep unbelievably well from year to year in a sealed container. Here is a simple recipe for the Cinnamon ornaments that I have used.
Ingredients
- 3/4 cup applesauce
- 2 Tbls craft glue (optional but I think this makes the ornaments a little sturdier)
- 2 bottles (2.37 oz. each) McCormick® Cinnamon, Ground
- Cookie cutters
- Drinking straw
- Colorful ribbon
Directions
- Preheat oven to 200°F. Mix applesauce, cinnamon and glue ( if desired) in small bowl until a smooth ball of dough is formed. (You may need use your hands to incorporate all of the cinnamon.) Using about 1/4 of the dough at a time, roll dough to 1/4-inch to 1/3-inch thickness between two sheets of plastic wrap. Peel off top sheet of plastic wrap. Cut dough into desired shapes with 2- to 3-inch cookie cutters. Make a hole at top of ornament with drinking straw or skewer. Place ornaments on baking sheet.
- Bake 2 – 1/2 hours. Cool ornaments on wire rack. (Or, to dry ornaments at room temperature, carefully place them on wire rack. Let stand 1 to 2 days or until thoroughly dry, turning occasionally.)
- Insert ribbon through holes and tie to hang. Decorate with opaque paint markers, found in arts and crafts stores, if desired.
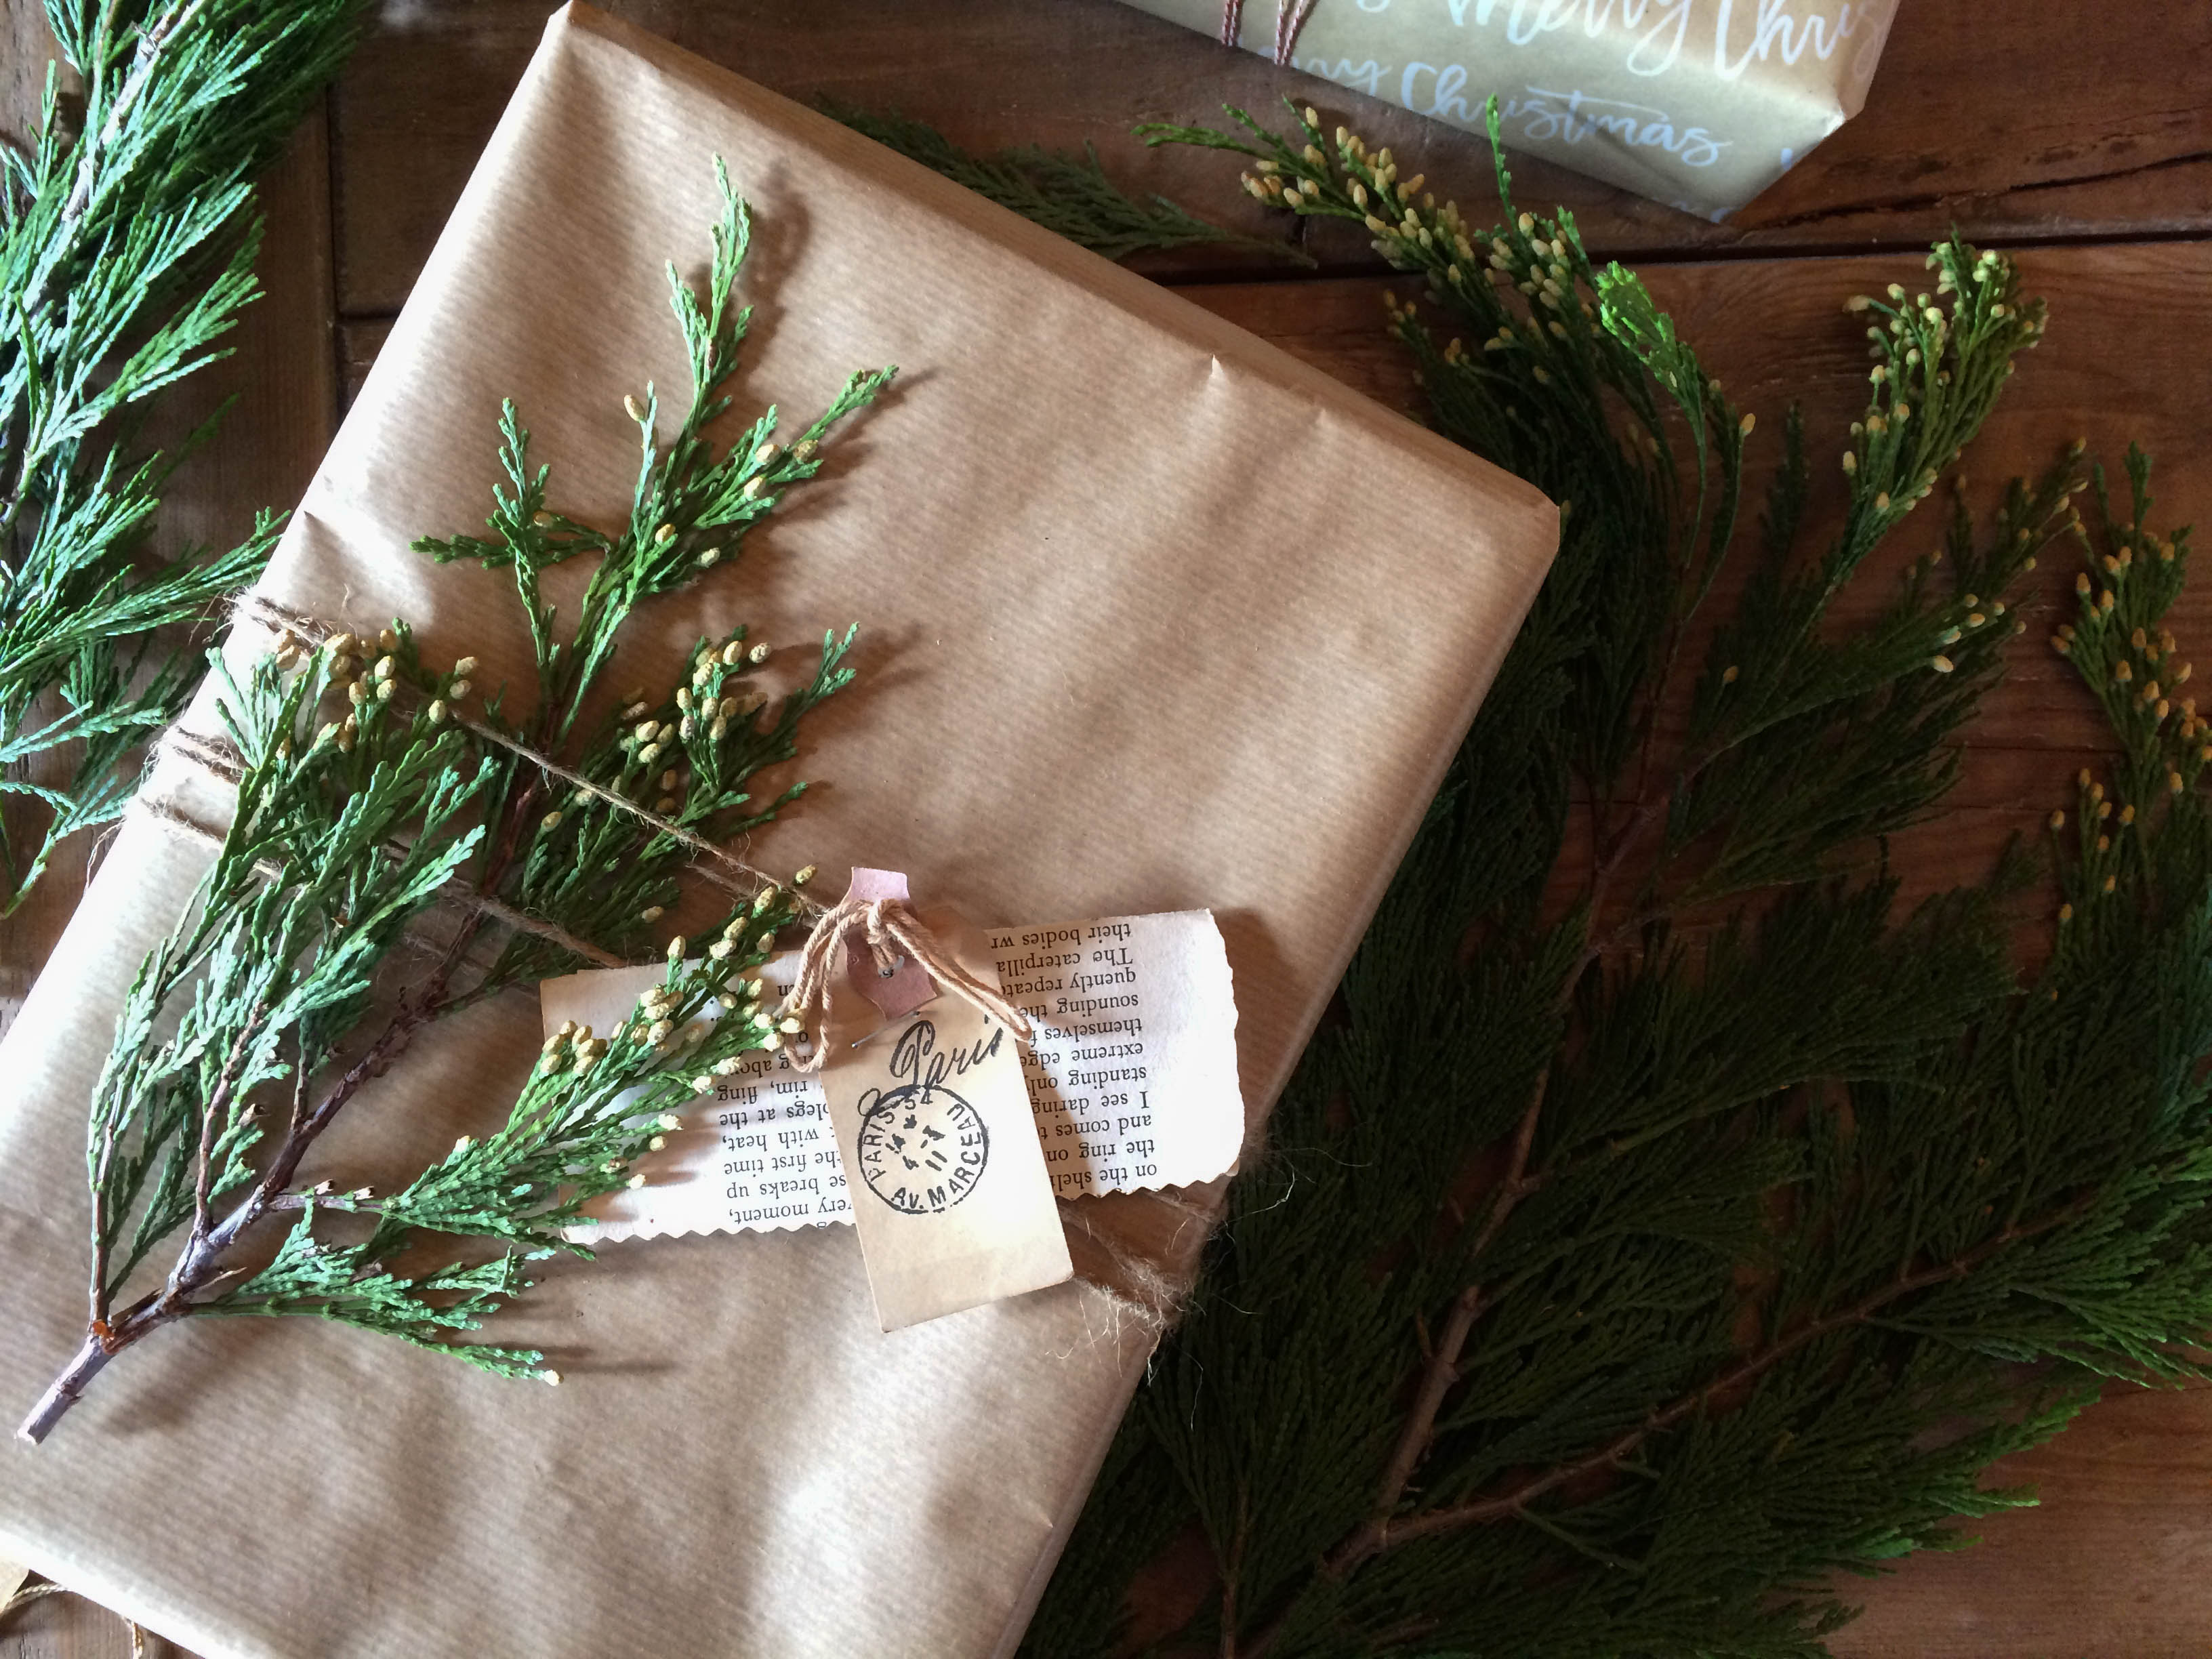
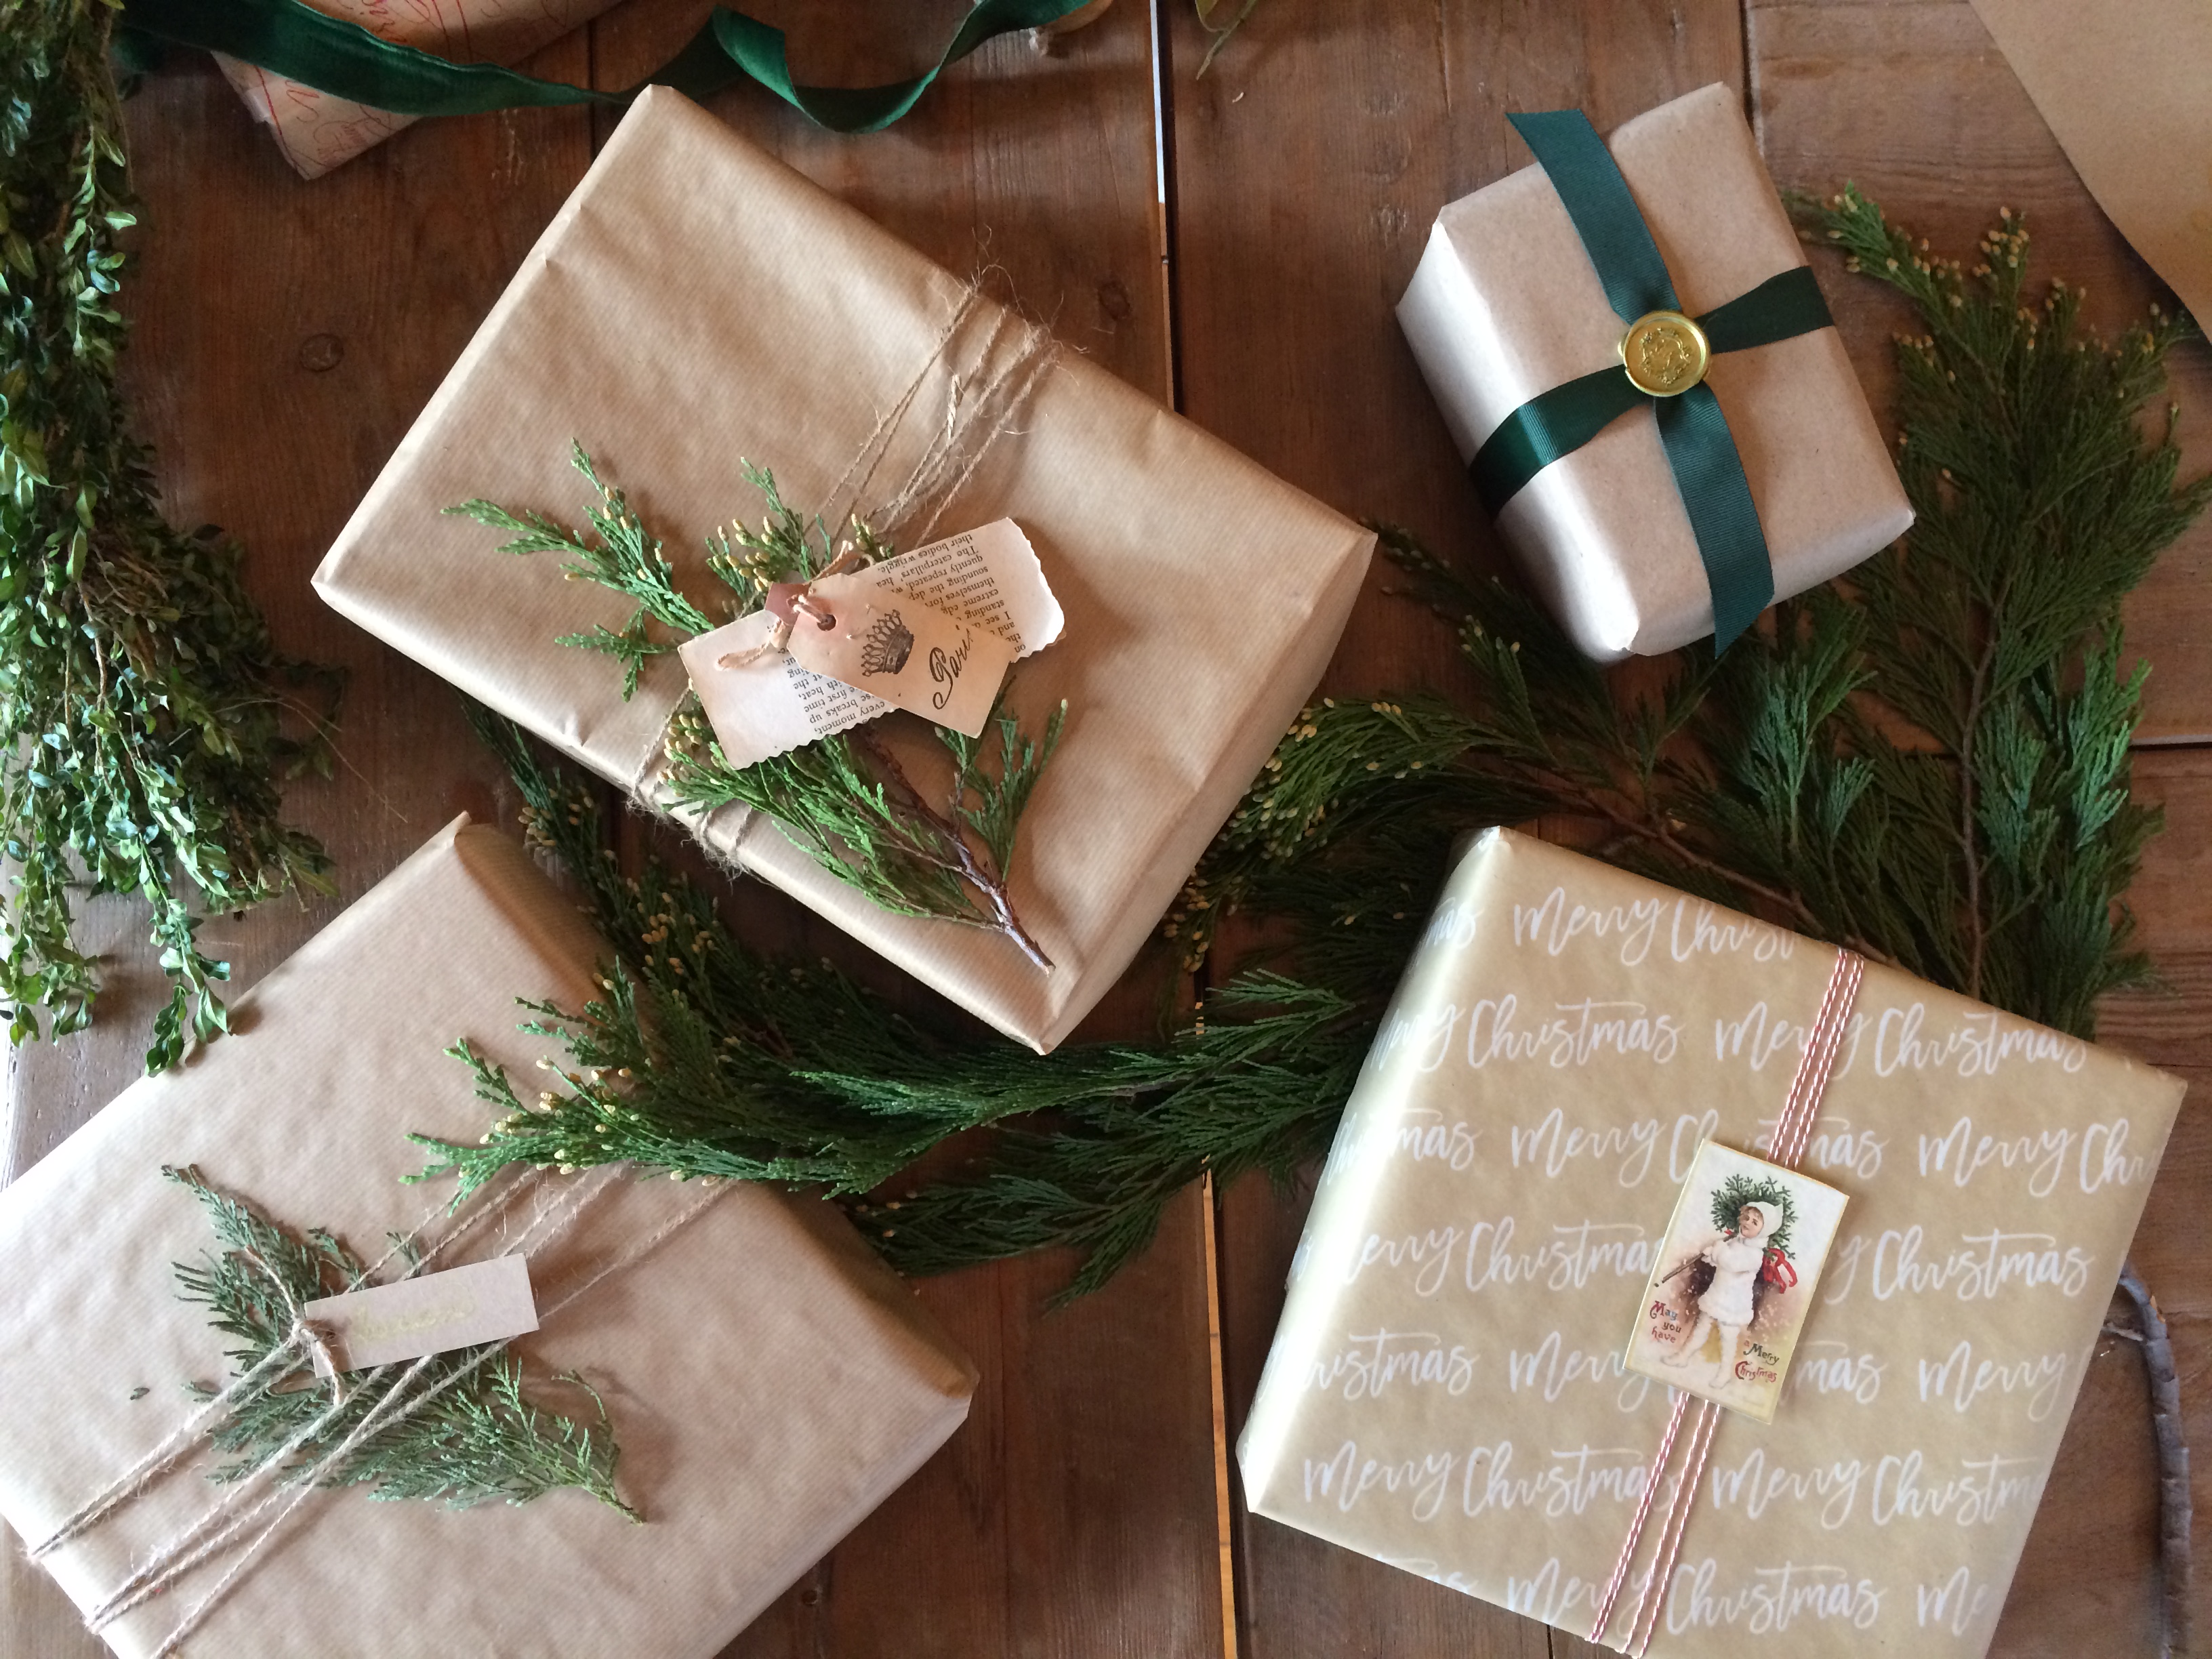
Another addition to brown paper and string can be the fresh greens tucked under again but this time we made the tag out of an old book page and we stamped a manilla tag with a the word Paris and a cancelled stamp image.
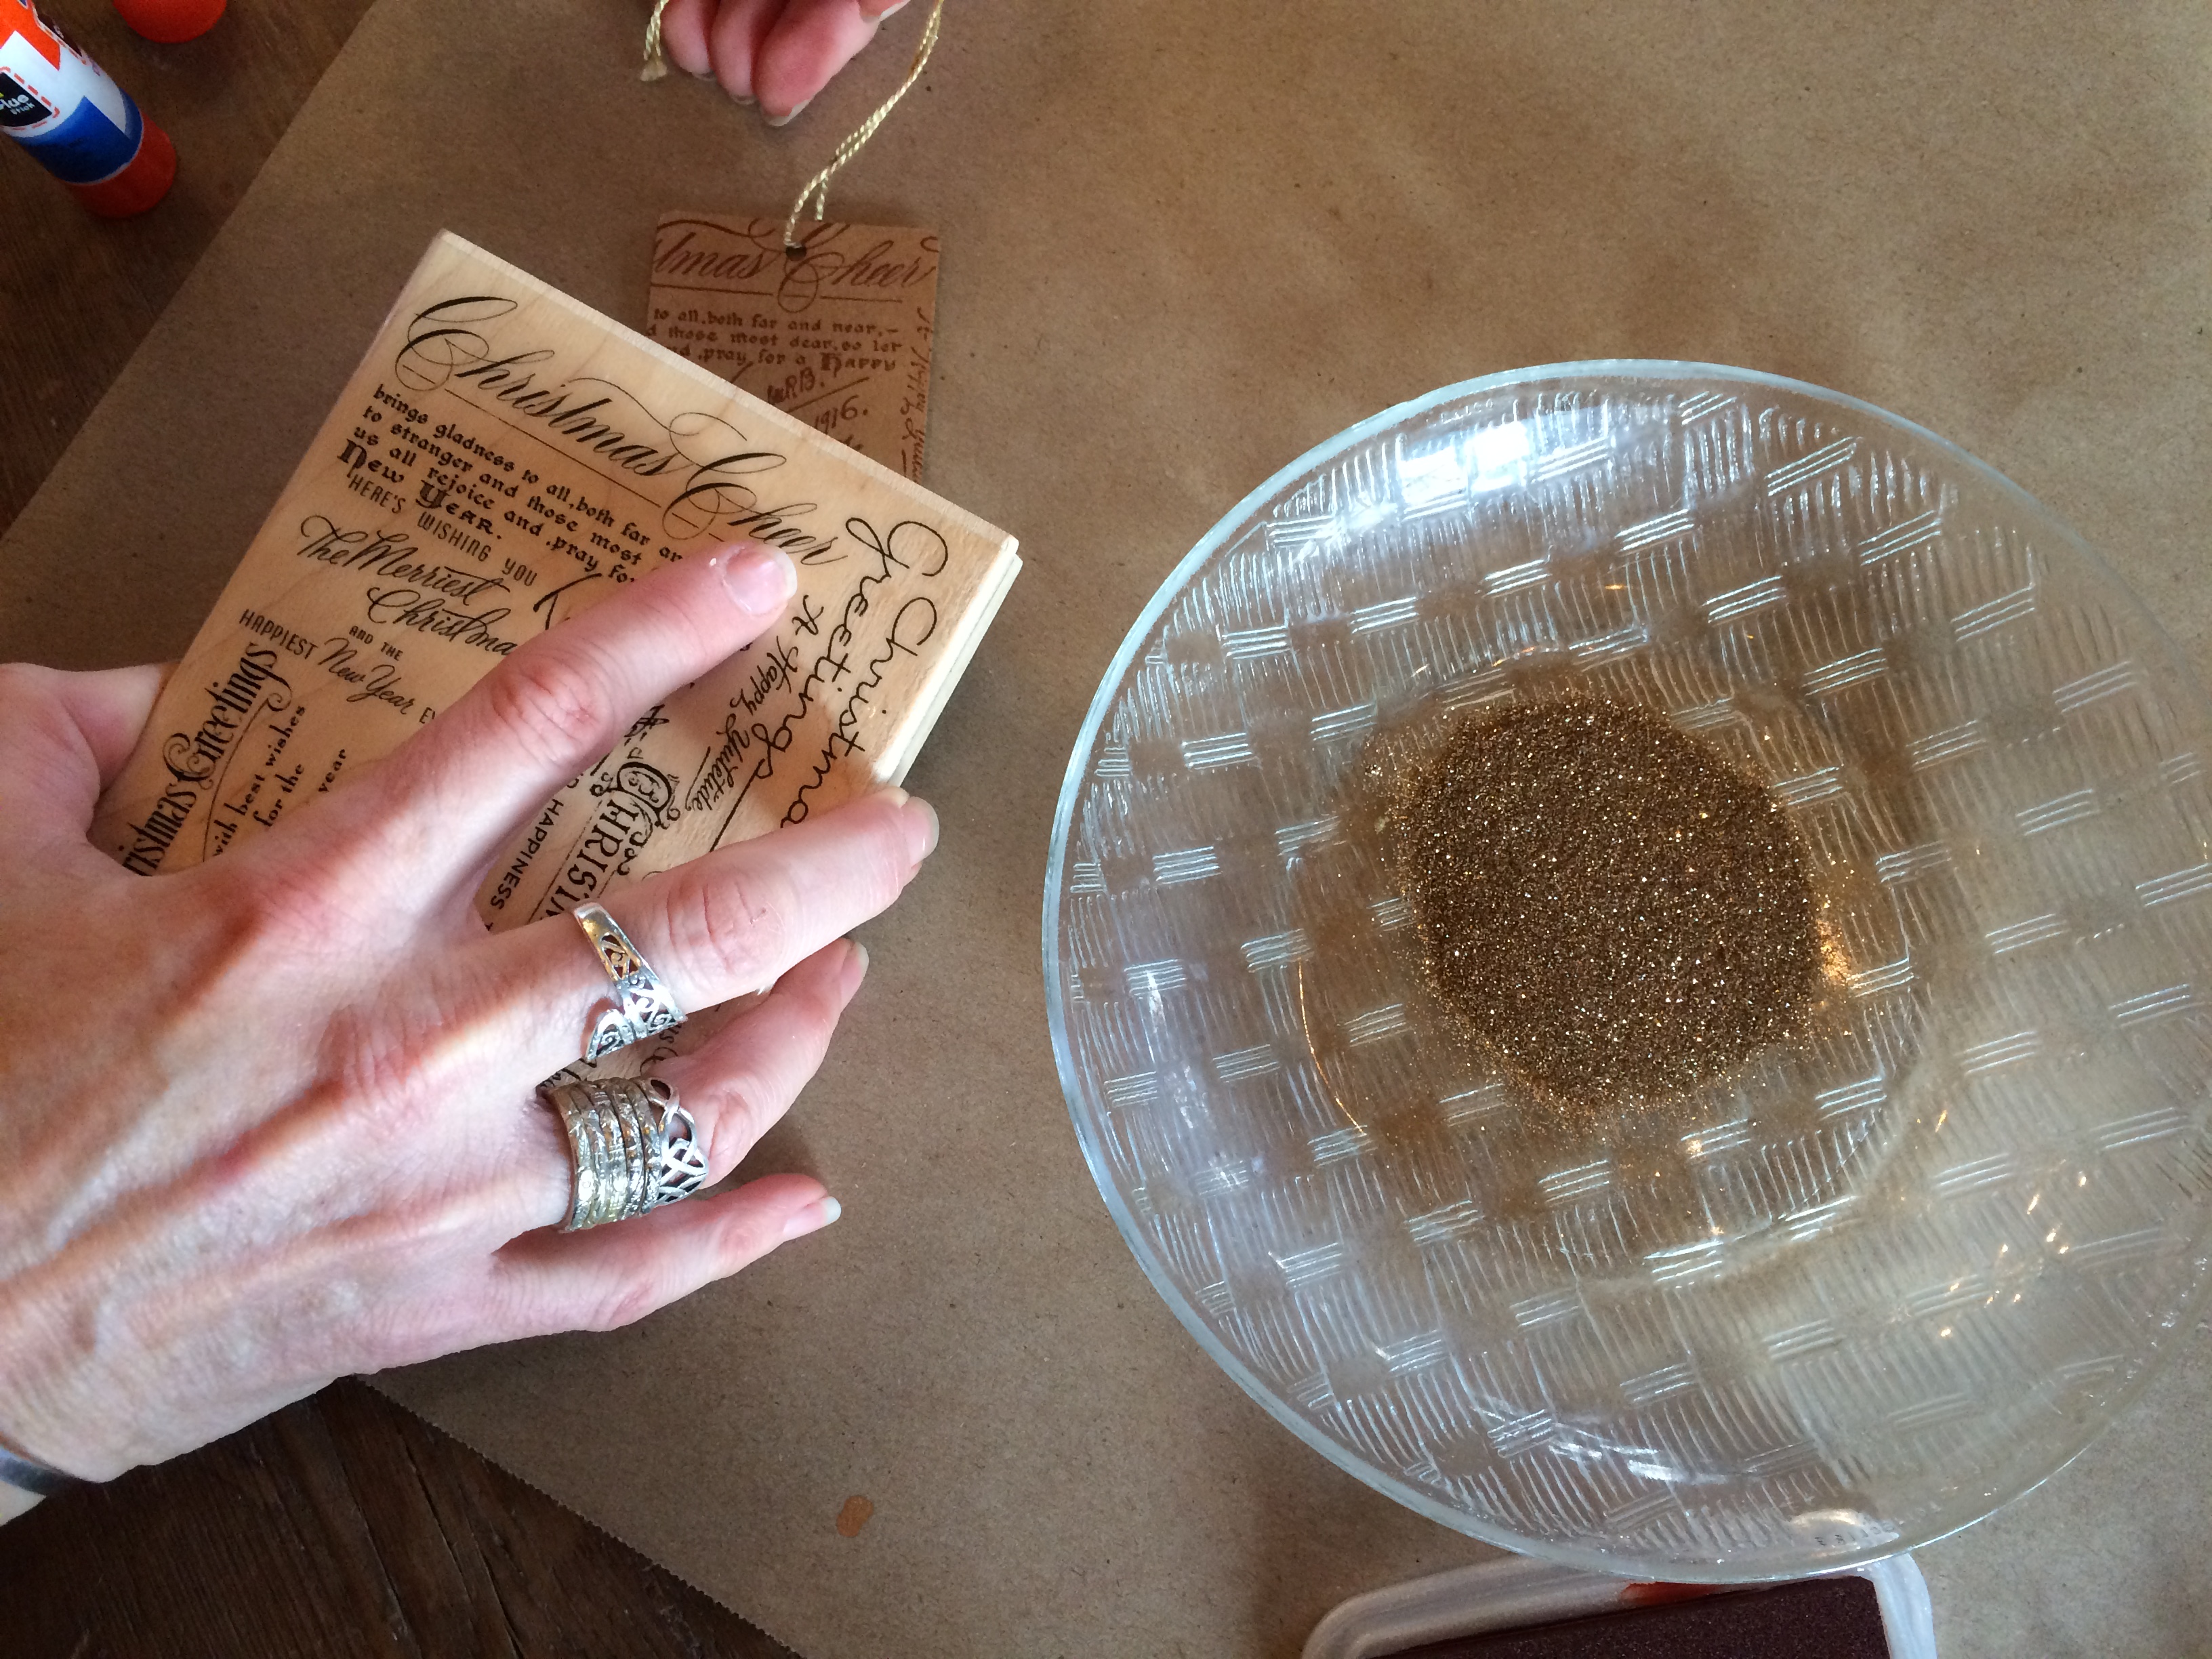
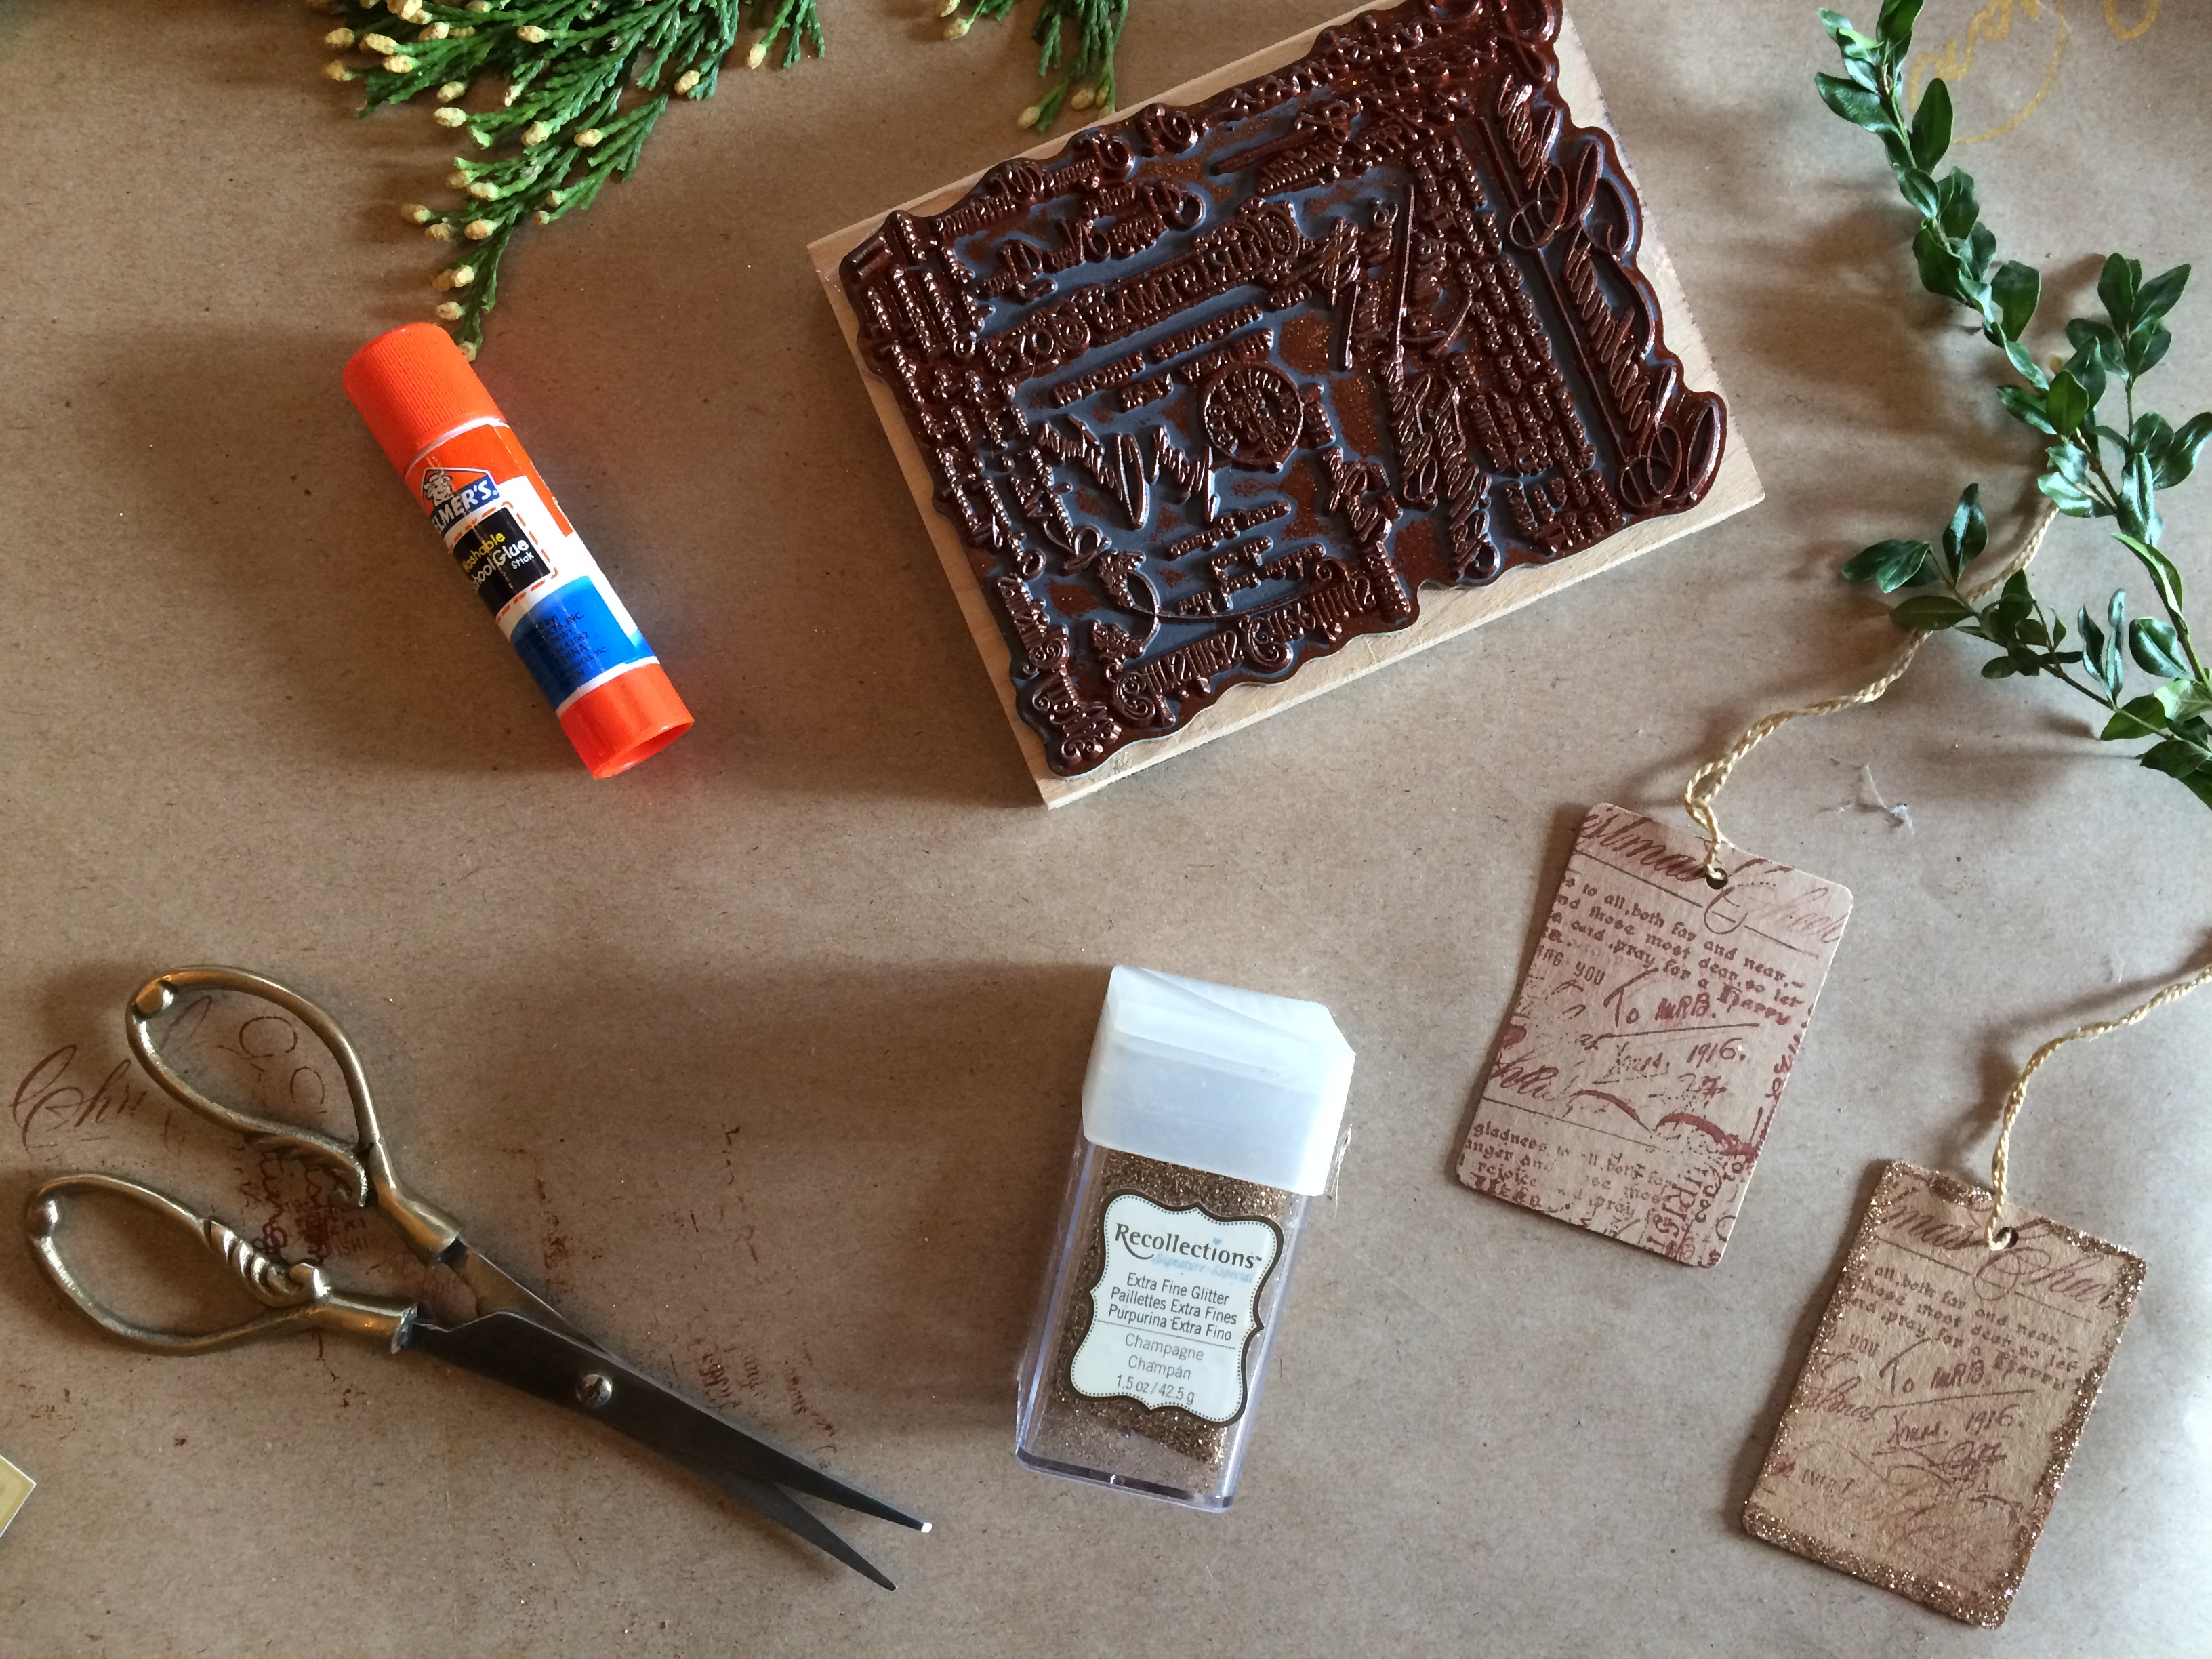
Rubber stamps are one of my favorite ways to embellish natural Kraft paper. You can purchase them at most craft stores and I have acquired quite a collection over the years. Once you apply the ink to the stamp you can press it onto the paper to make your own gift wrap or onto hang tags to make your own tags.
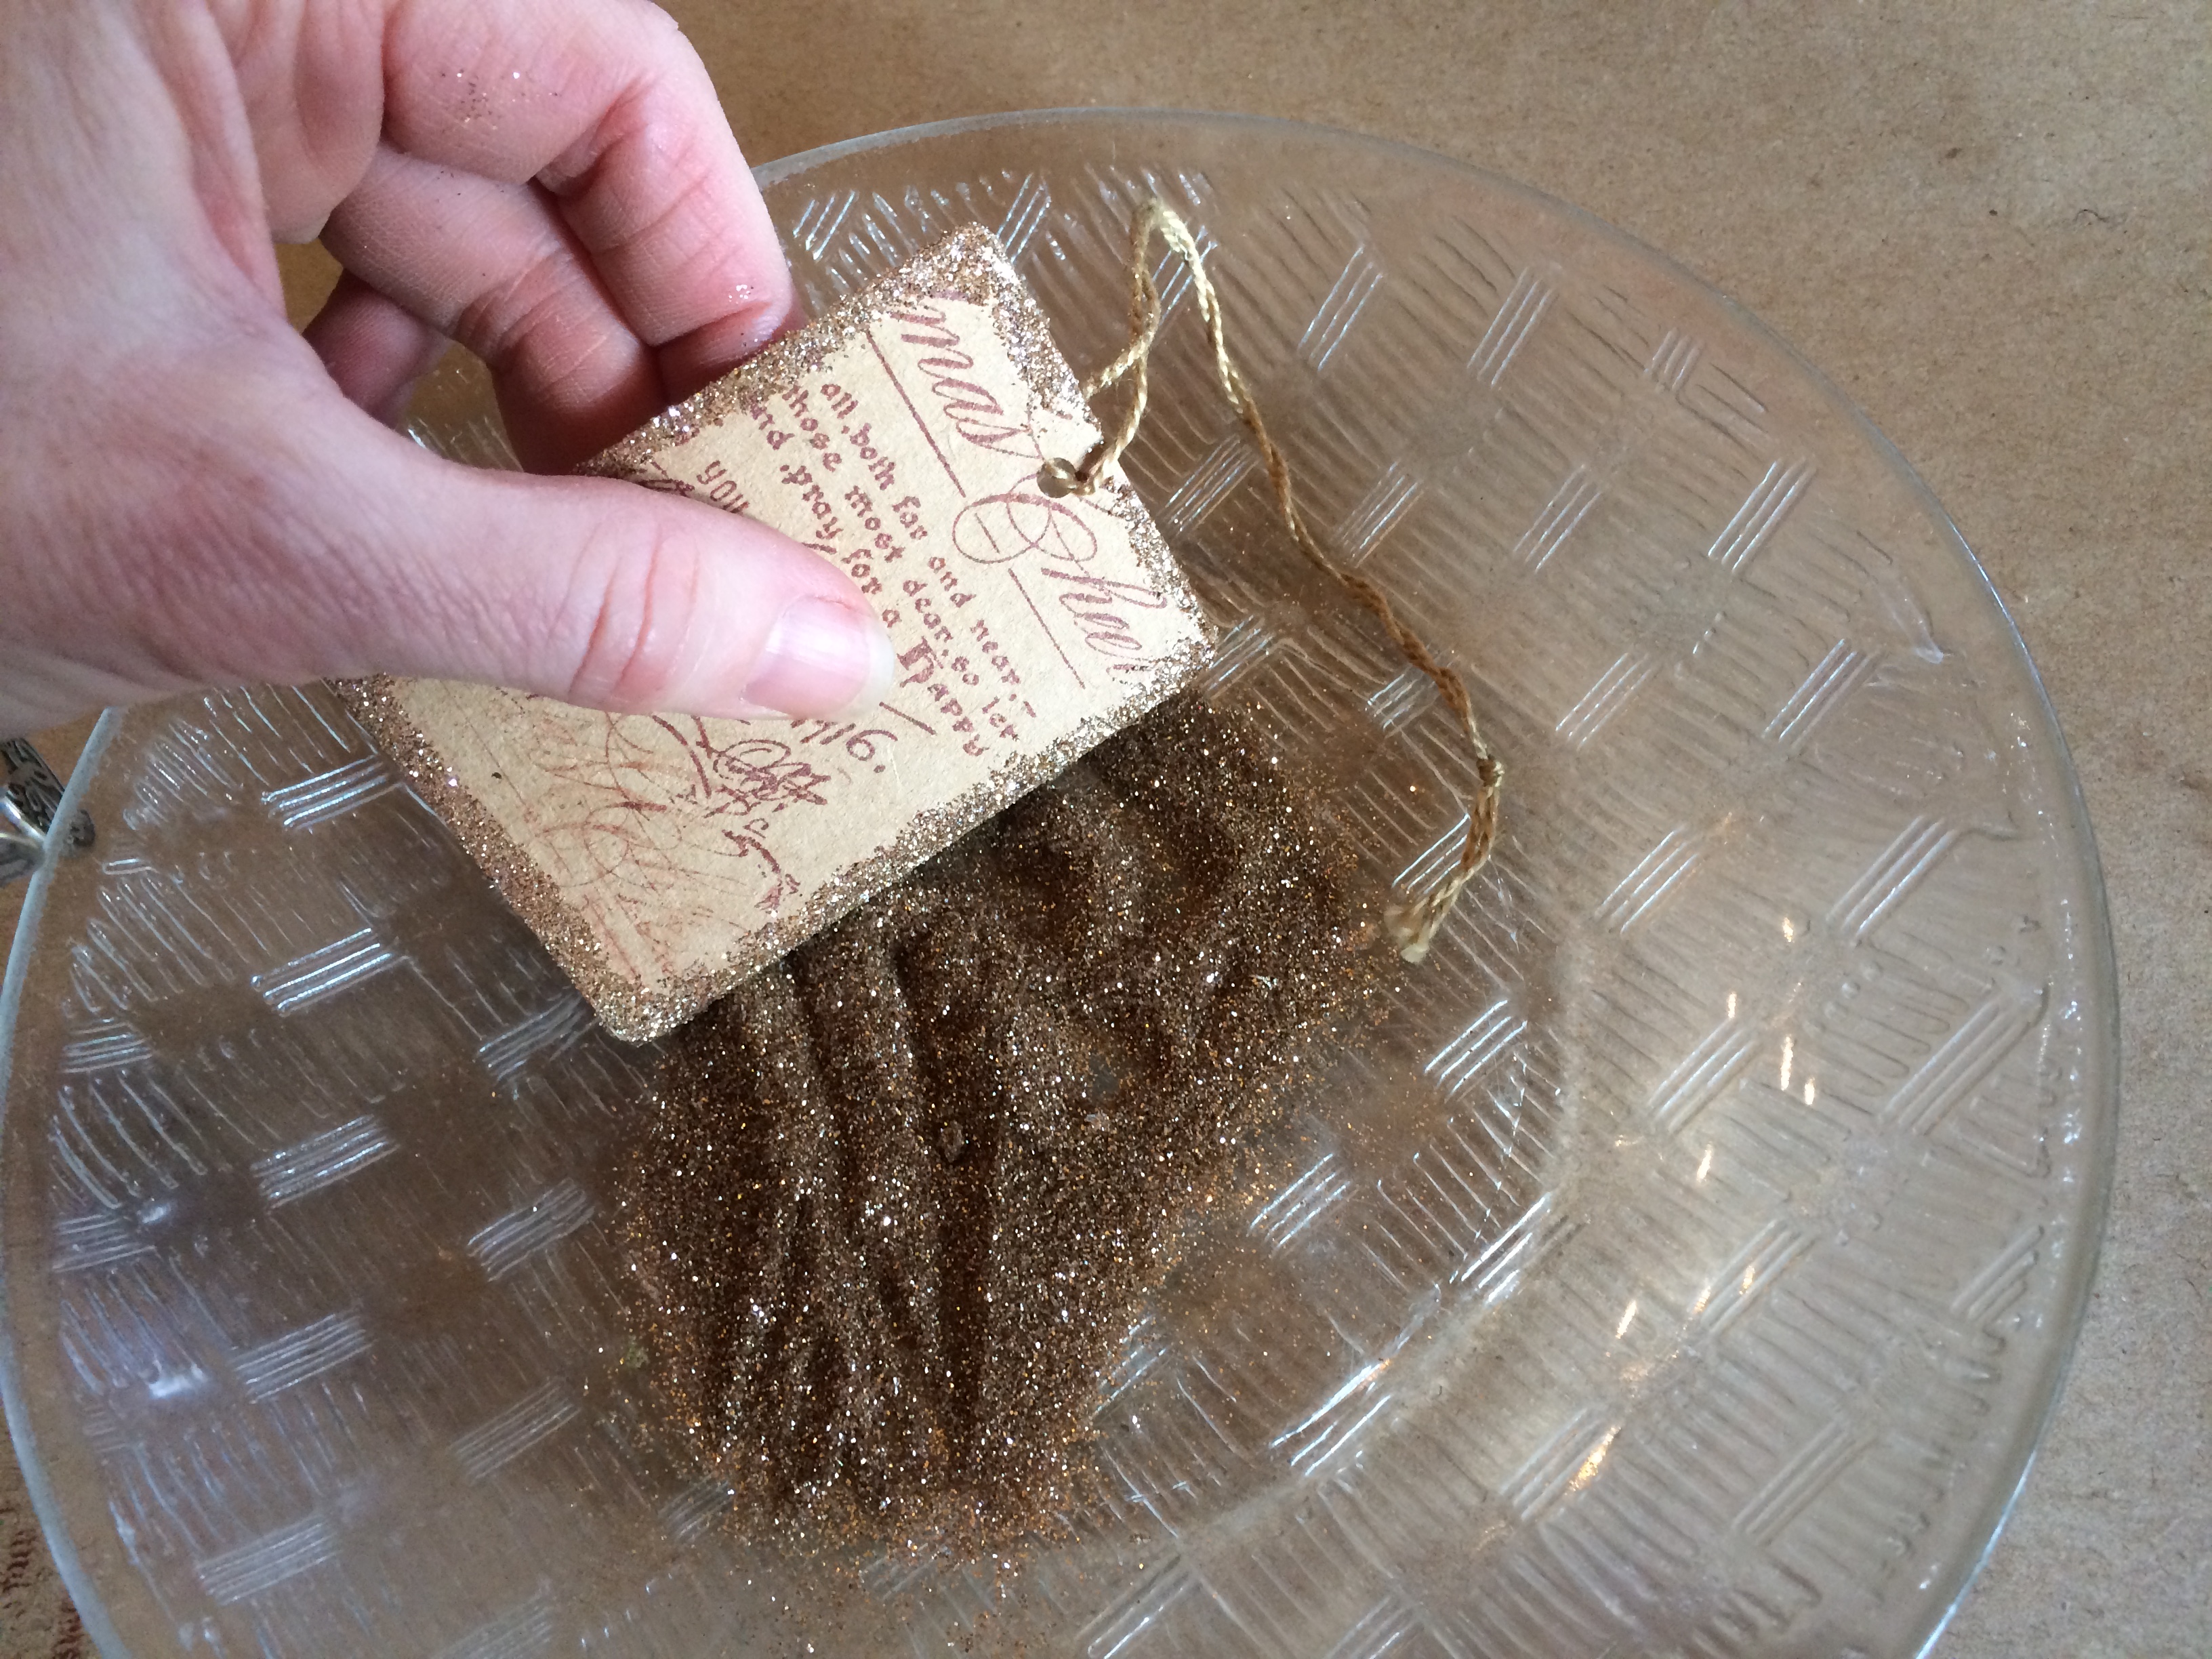
Pour a little glitter onto a plate and cover the edges of the tag with a glue stick and then dip into glitter to give a little shimmer to the natural elements.
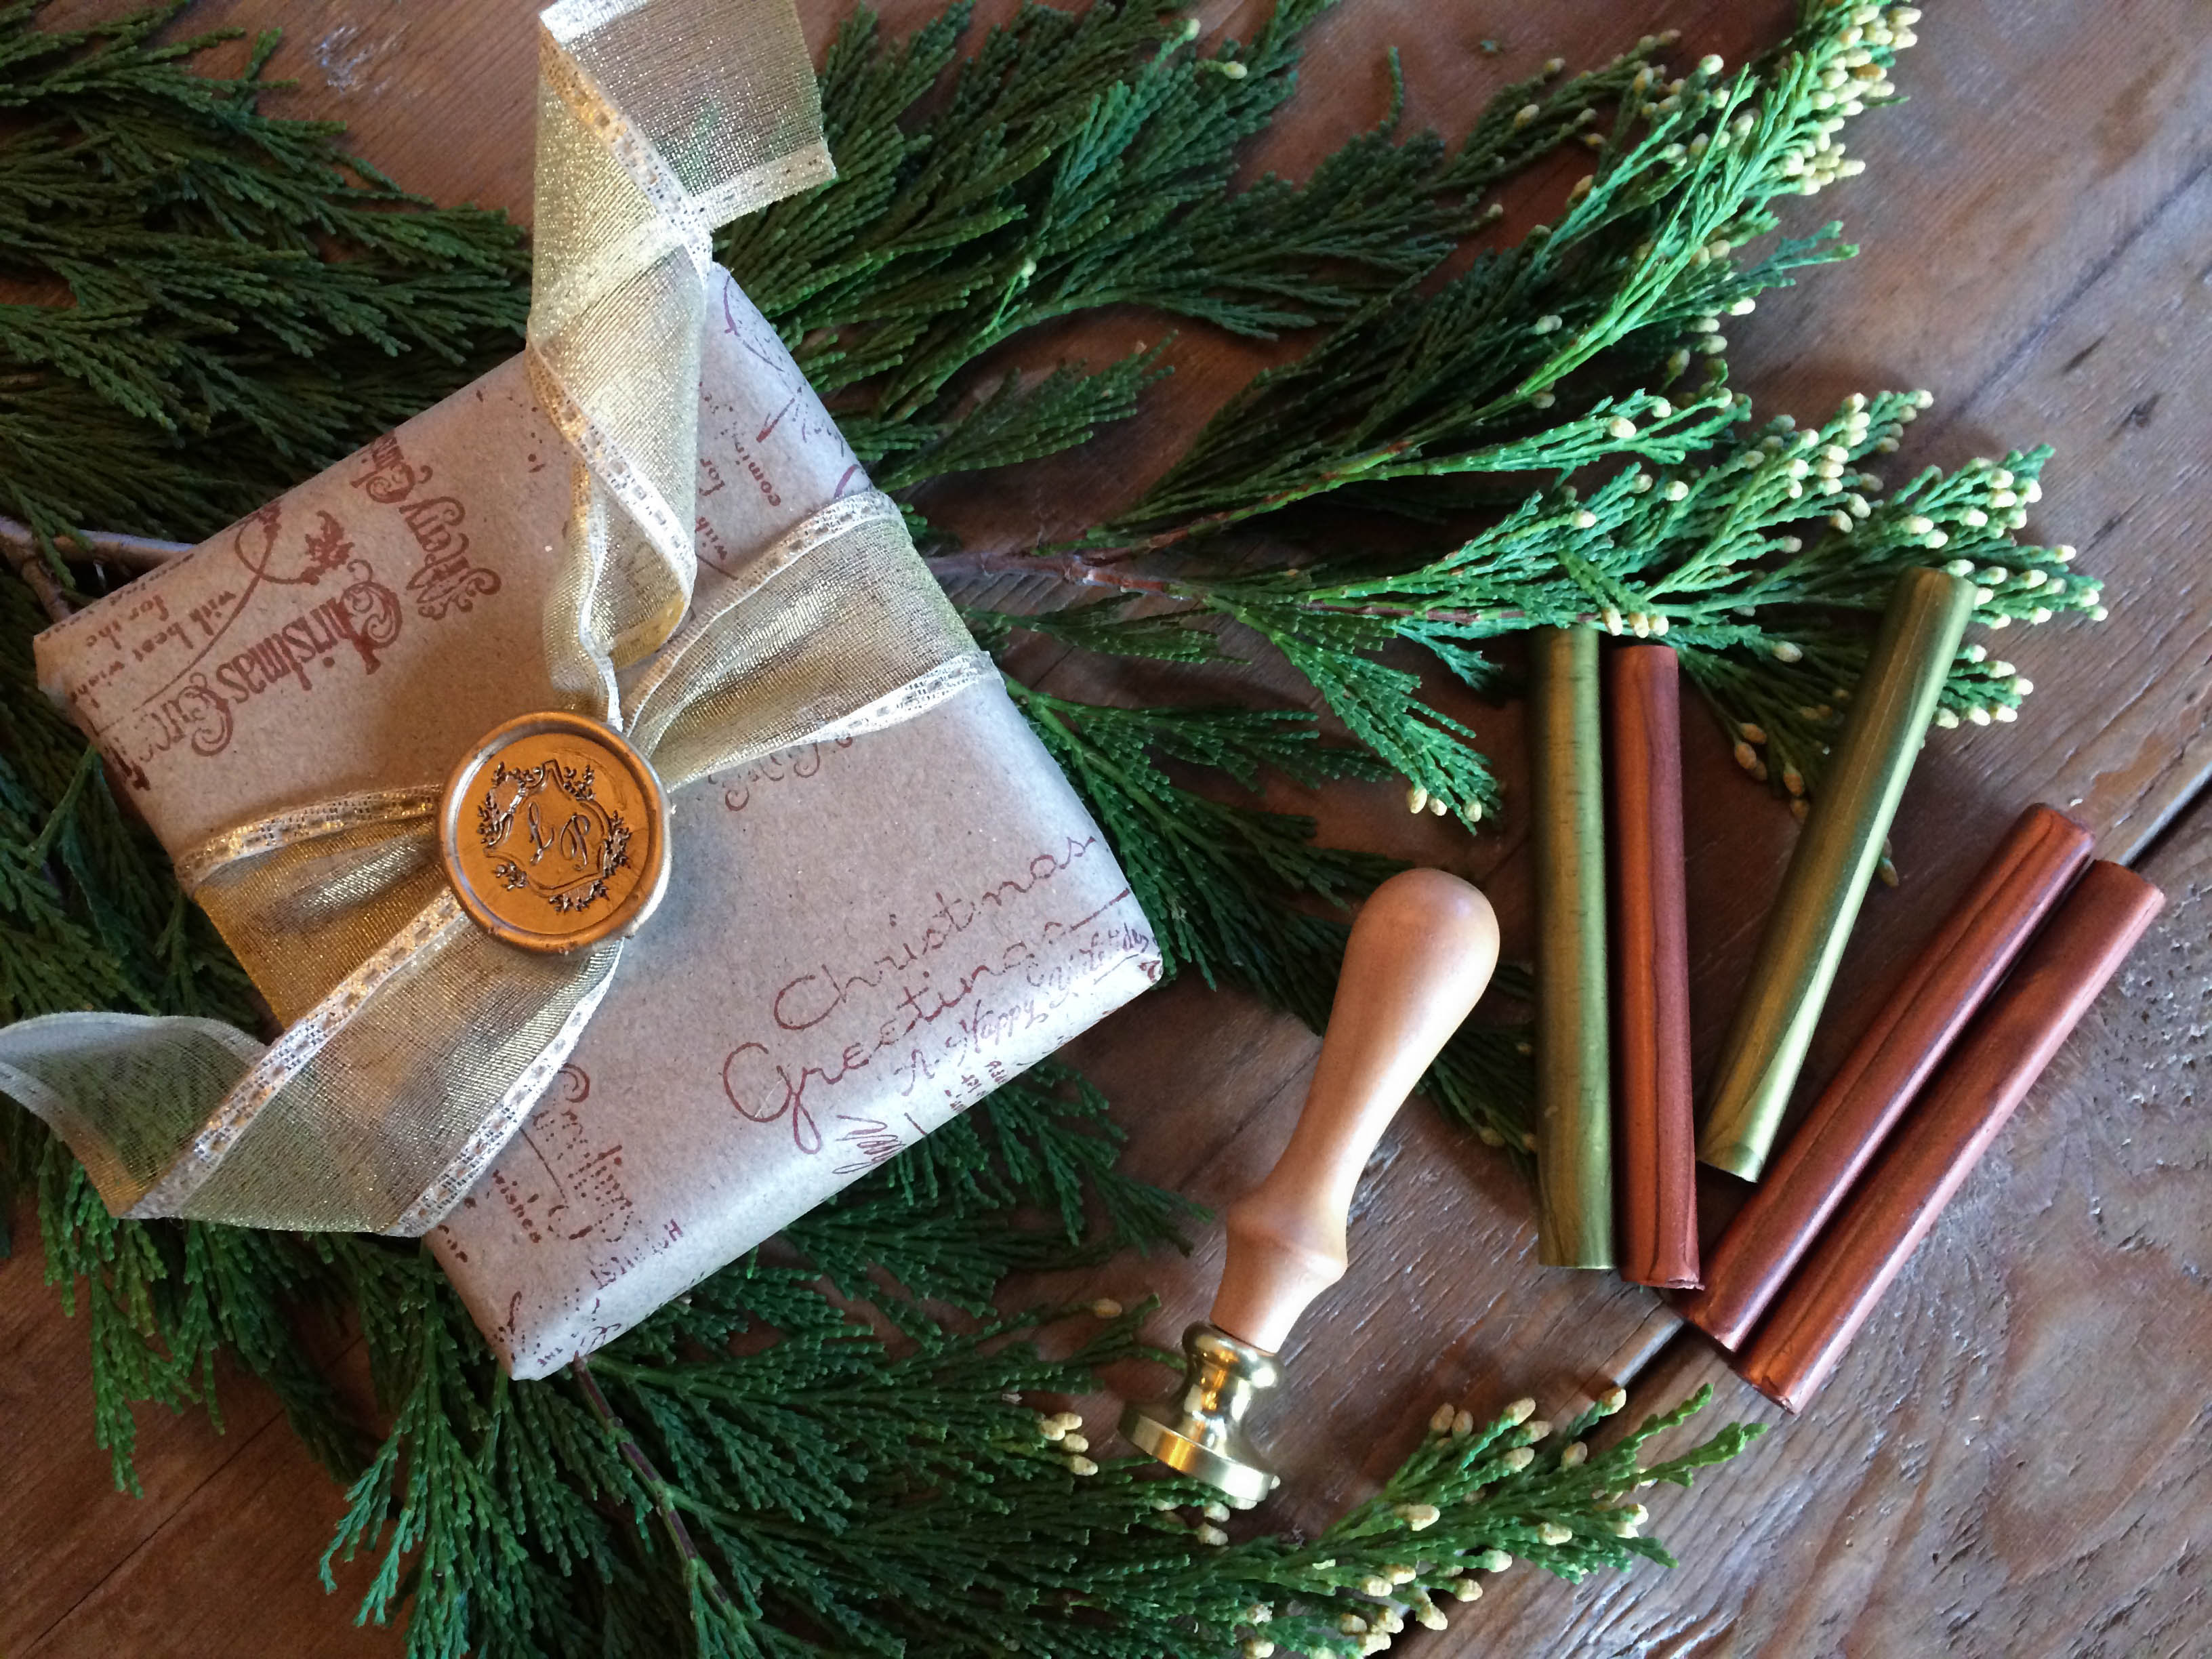
This year we tried a new craft that Maggie inspired us to do for she used this method for her wedding thank you cards. I tried wax seals years ago from a kit one of our sons bought on a trip to Williamsburg. It was wax seals the old fashioned way…melting the wax in a double boiler, pouring the wax into little dollops on wax paper and then stamping the images. It was a messy and time consuming process and I have to say that it was one of those attempts that prompted the “been there done that, don’t need to do it again” phrase. That all changed when Maggie told me that you can do wax seals now with a low heat glue gun! Now that is right up my alley. The glue gun has been my best friend for years! We ordered a Life’s Patina stamp from Nostalgic Impressions as well as some metallic hued glue sticks and made these pretty stamps to top our packages.
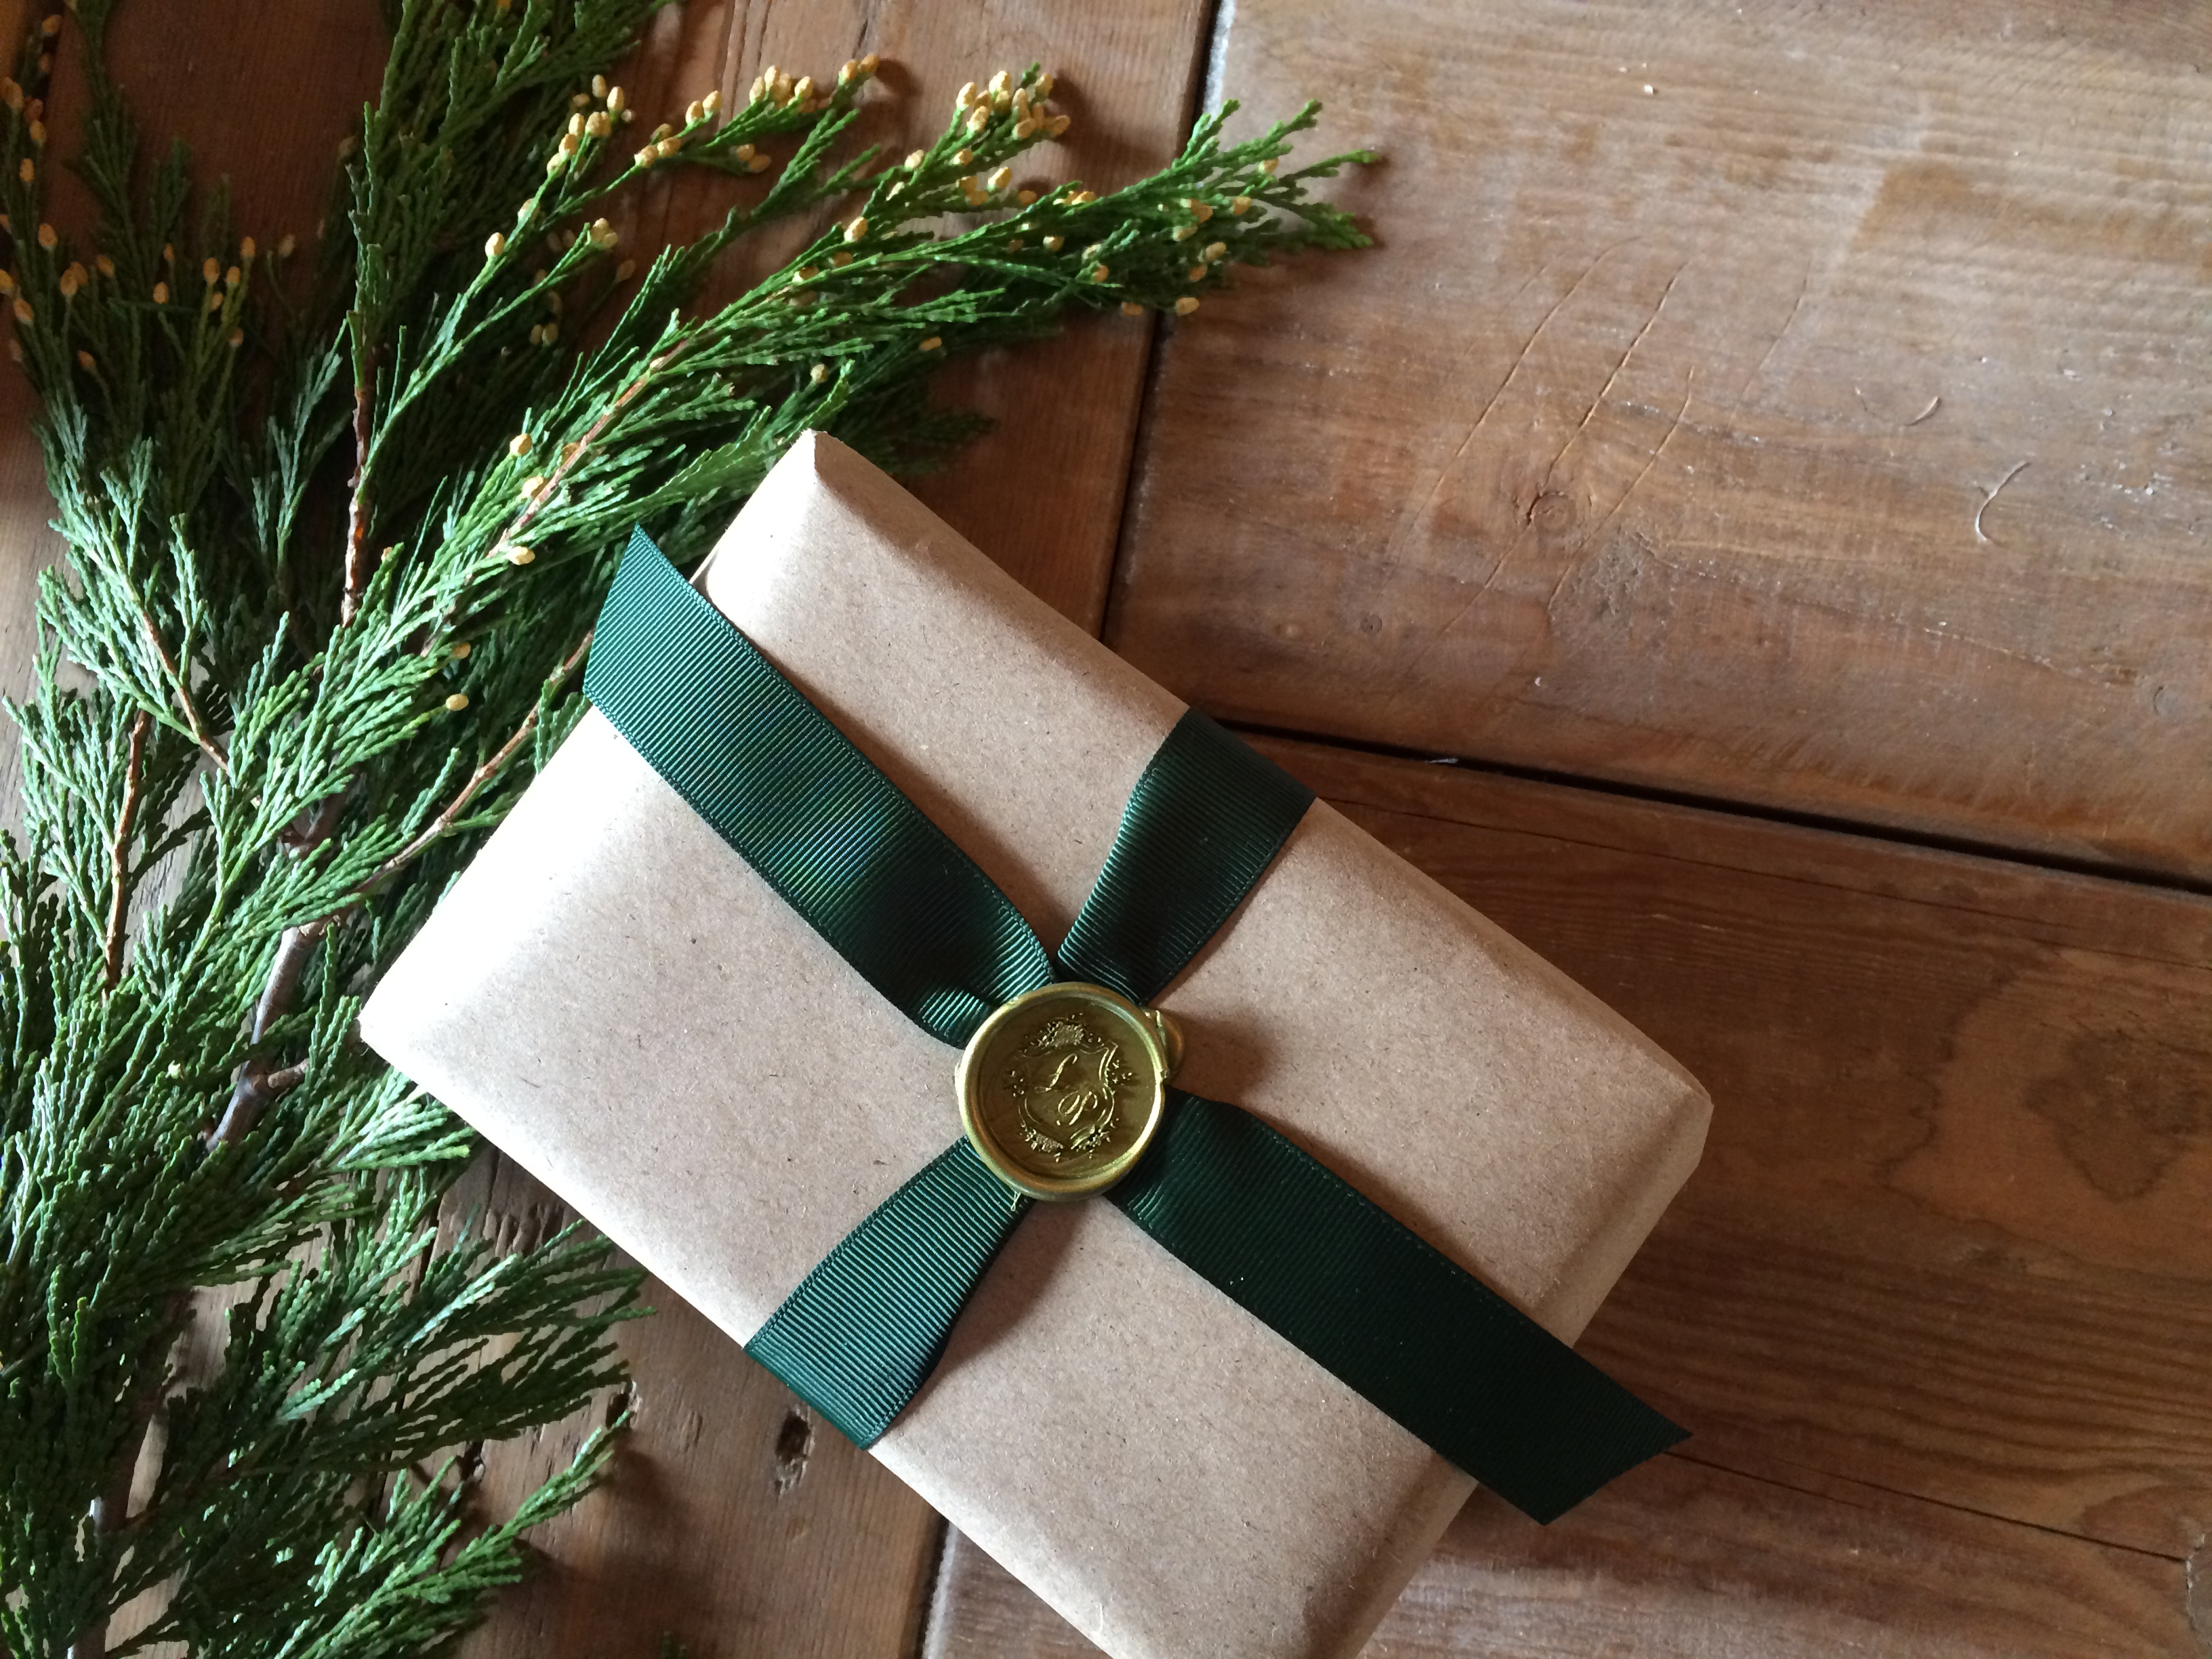
A rich deep green grosgrain ribbon makes this a simple but elegant presentation.
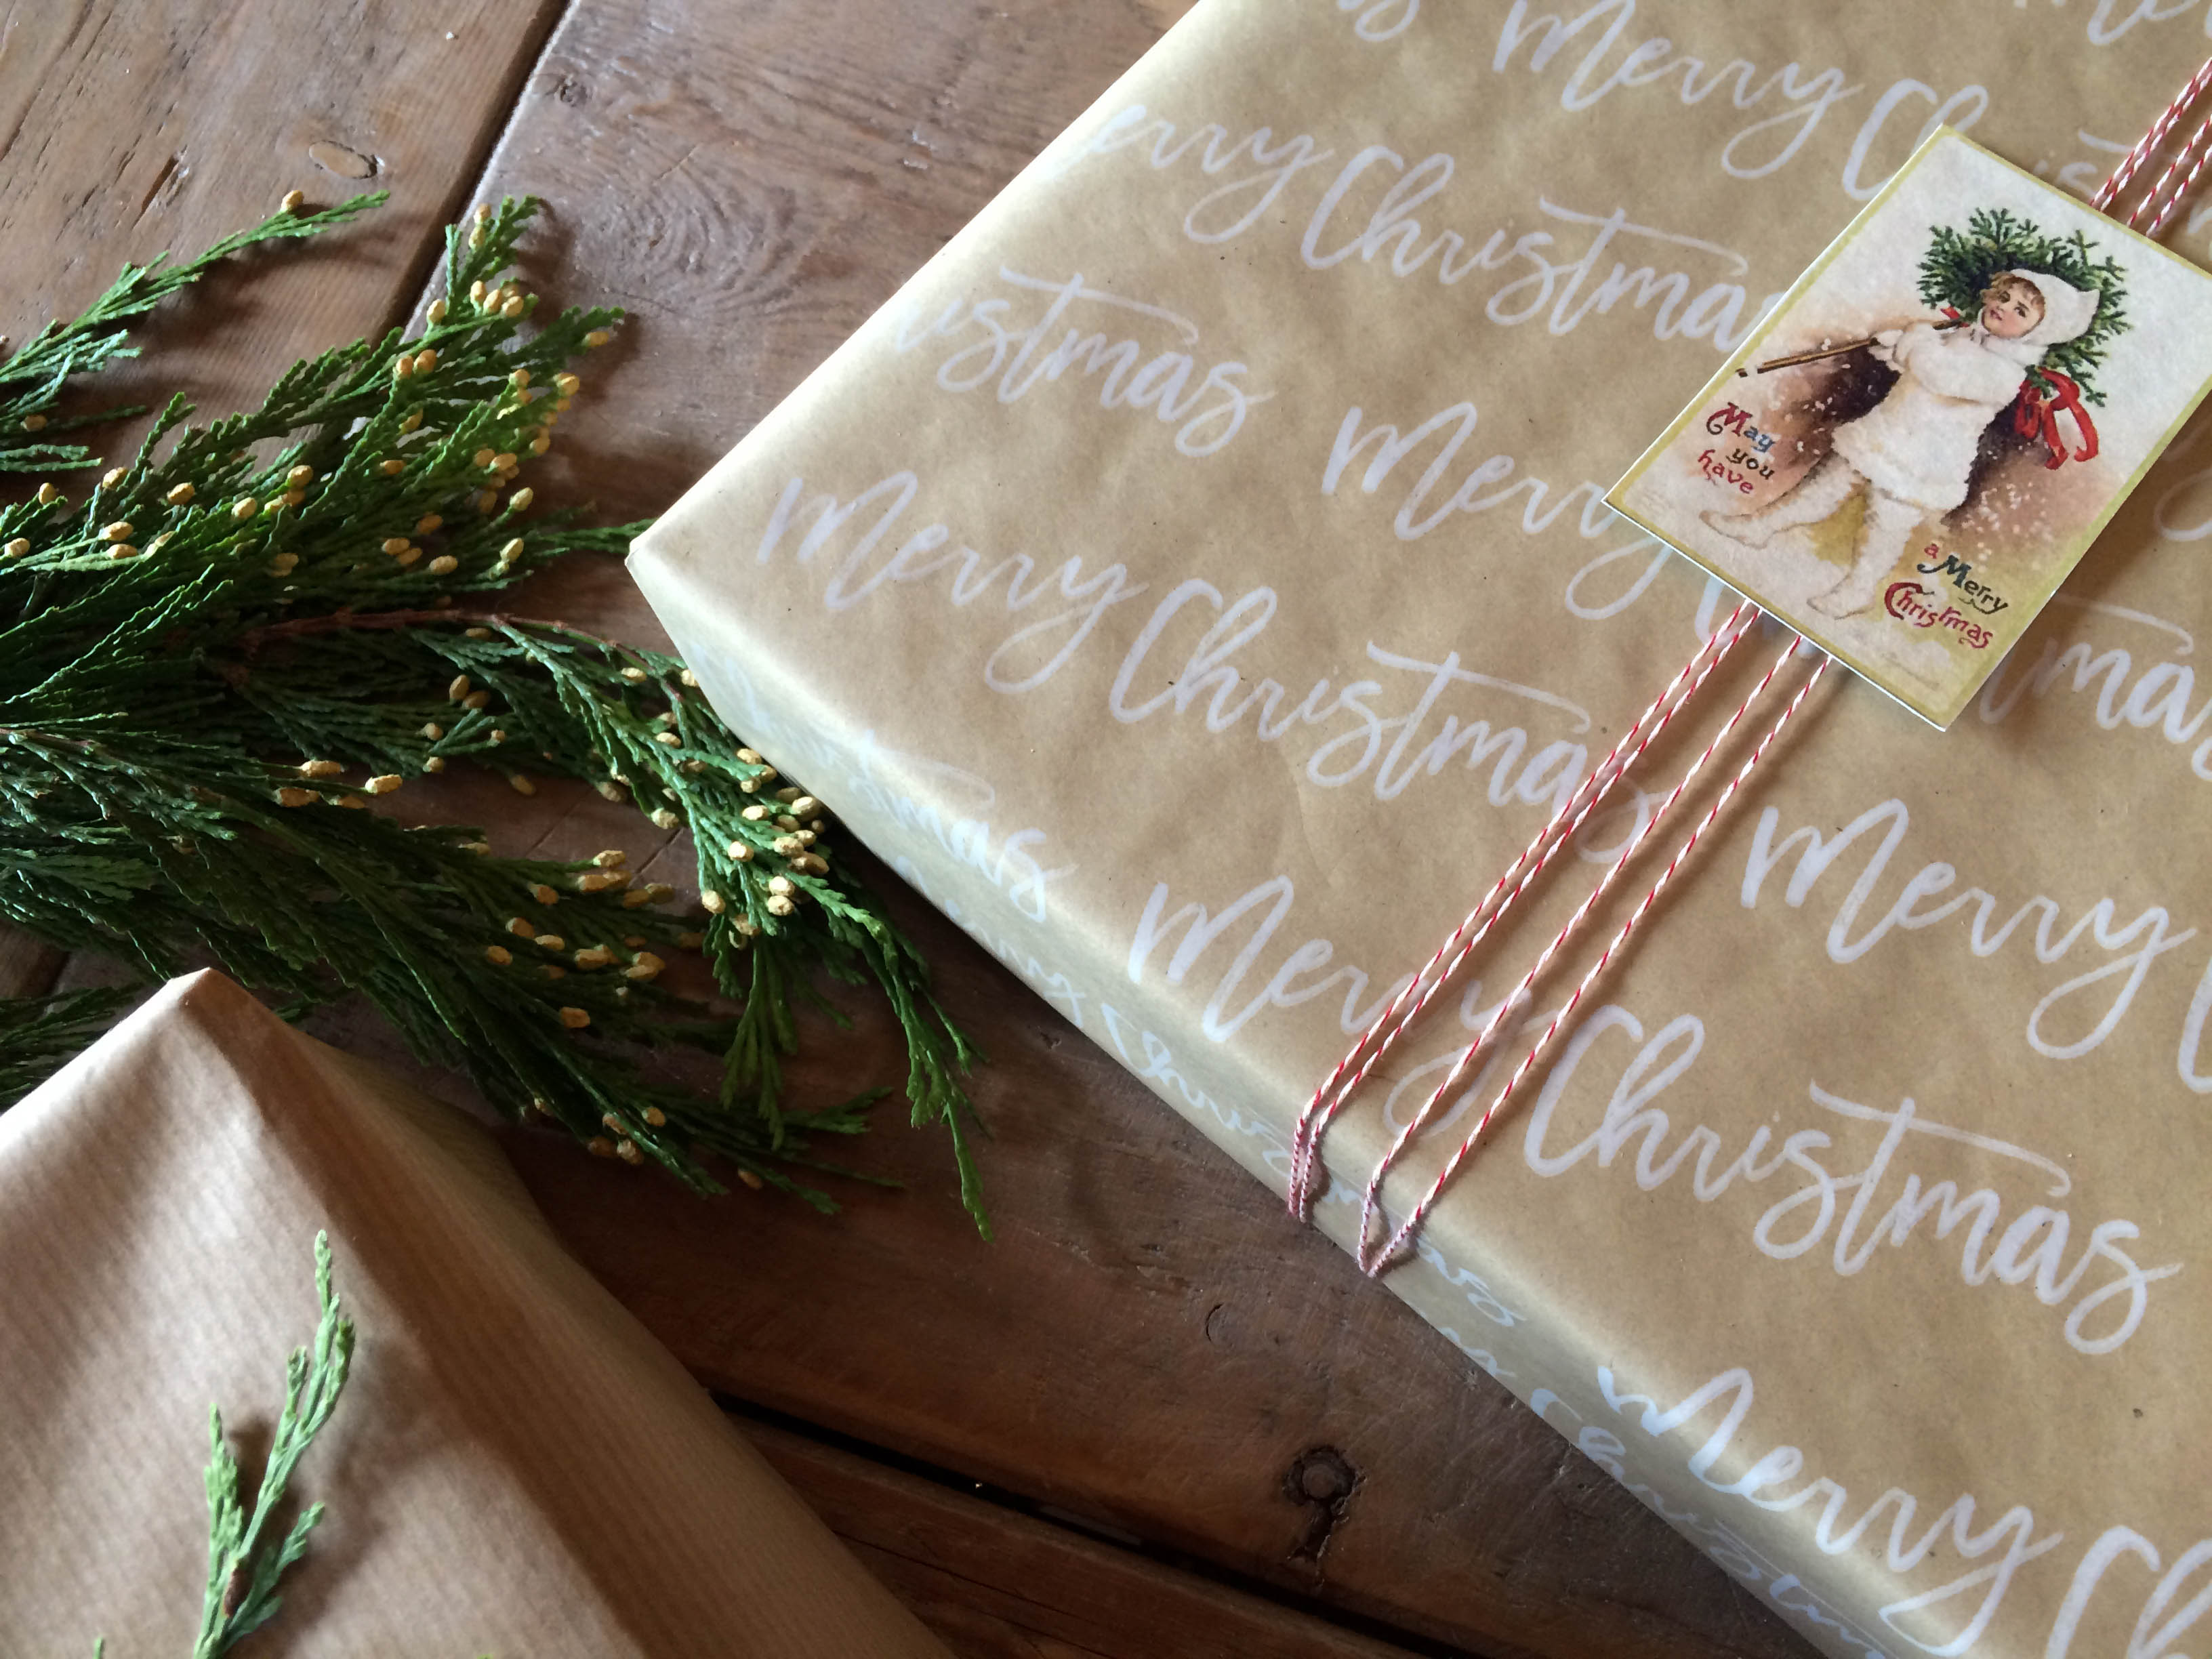
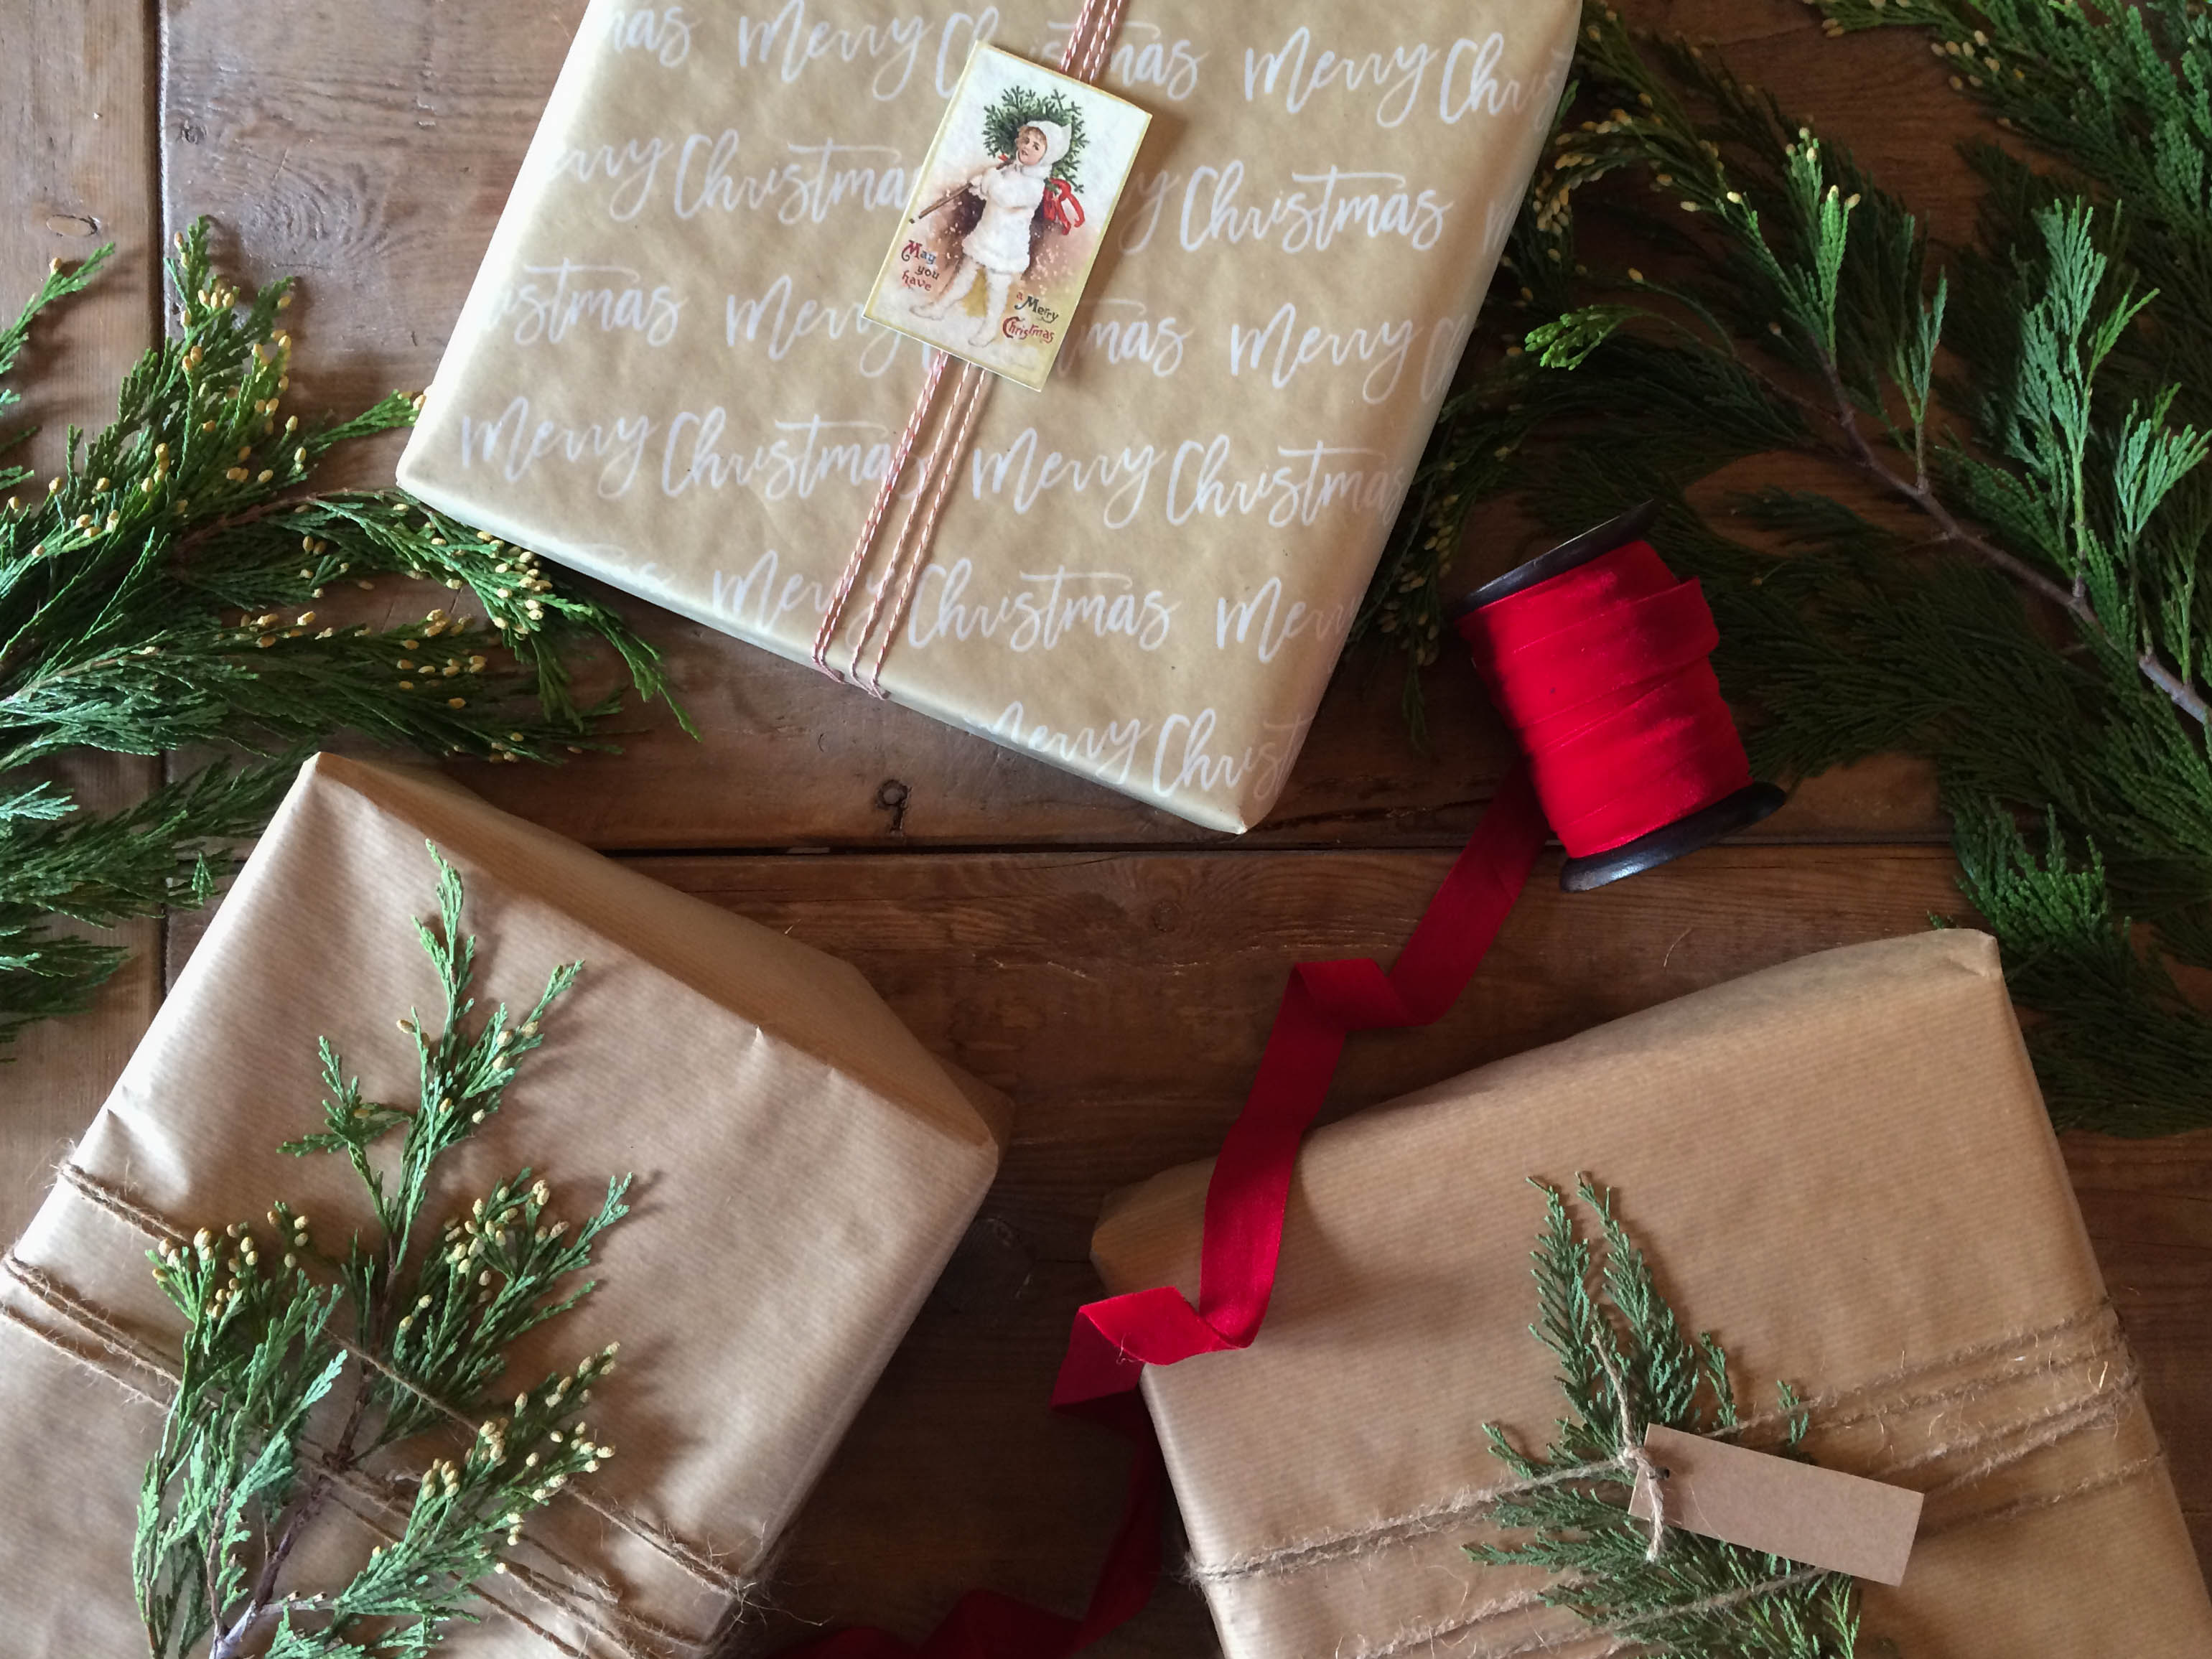
Along with natural kraft paper, we love papers with script writing on them. I found this wrapping paper at T.J. Maxx that we embellished with printed tags from The Graphics Fairy along with some bakers twine.
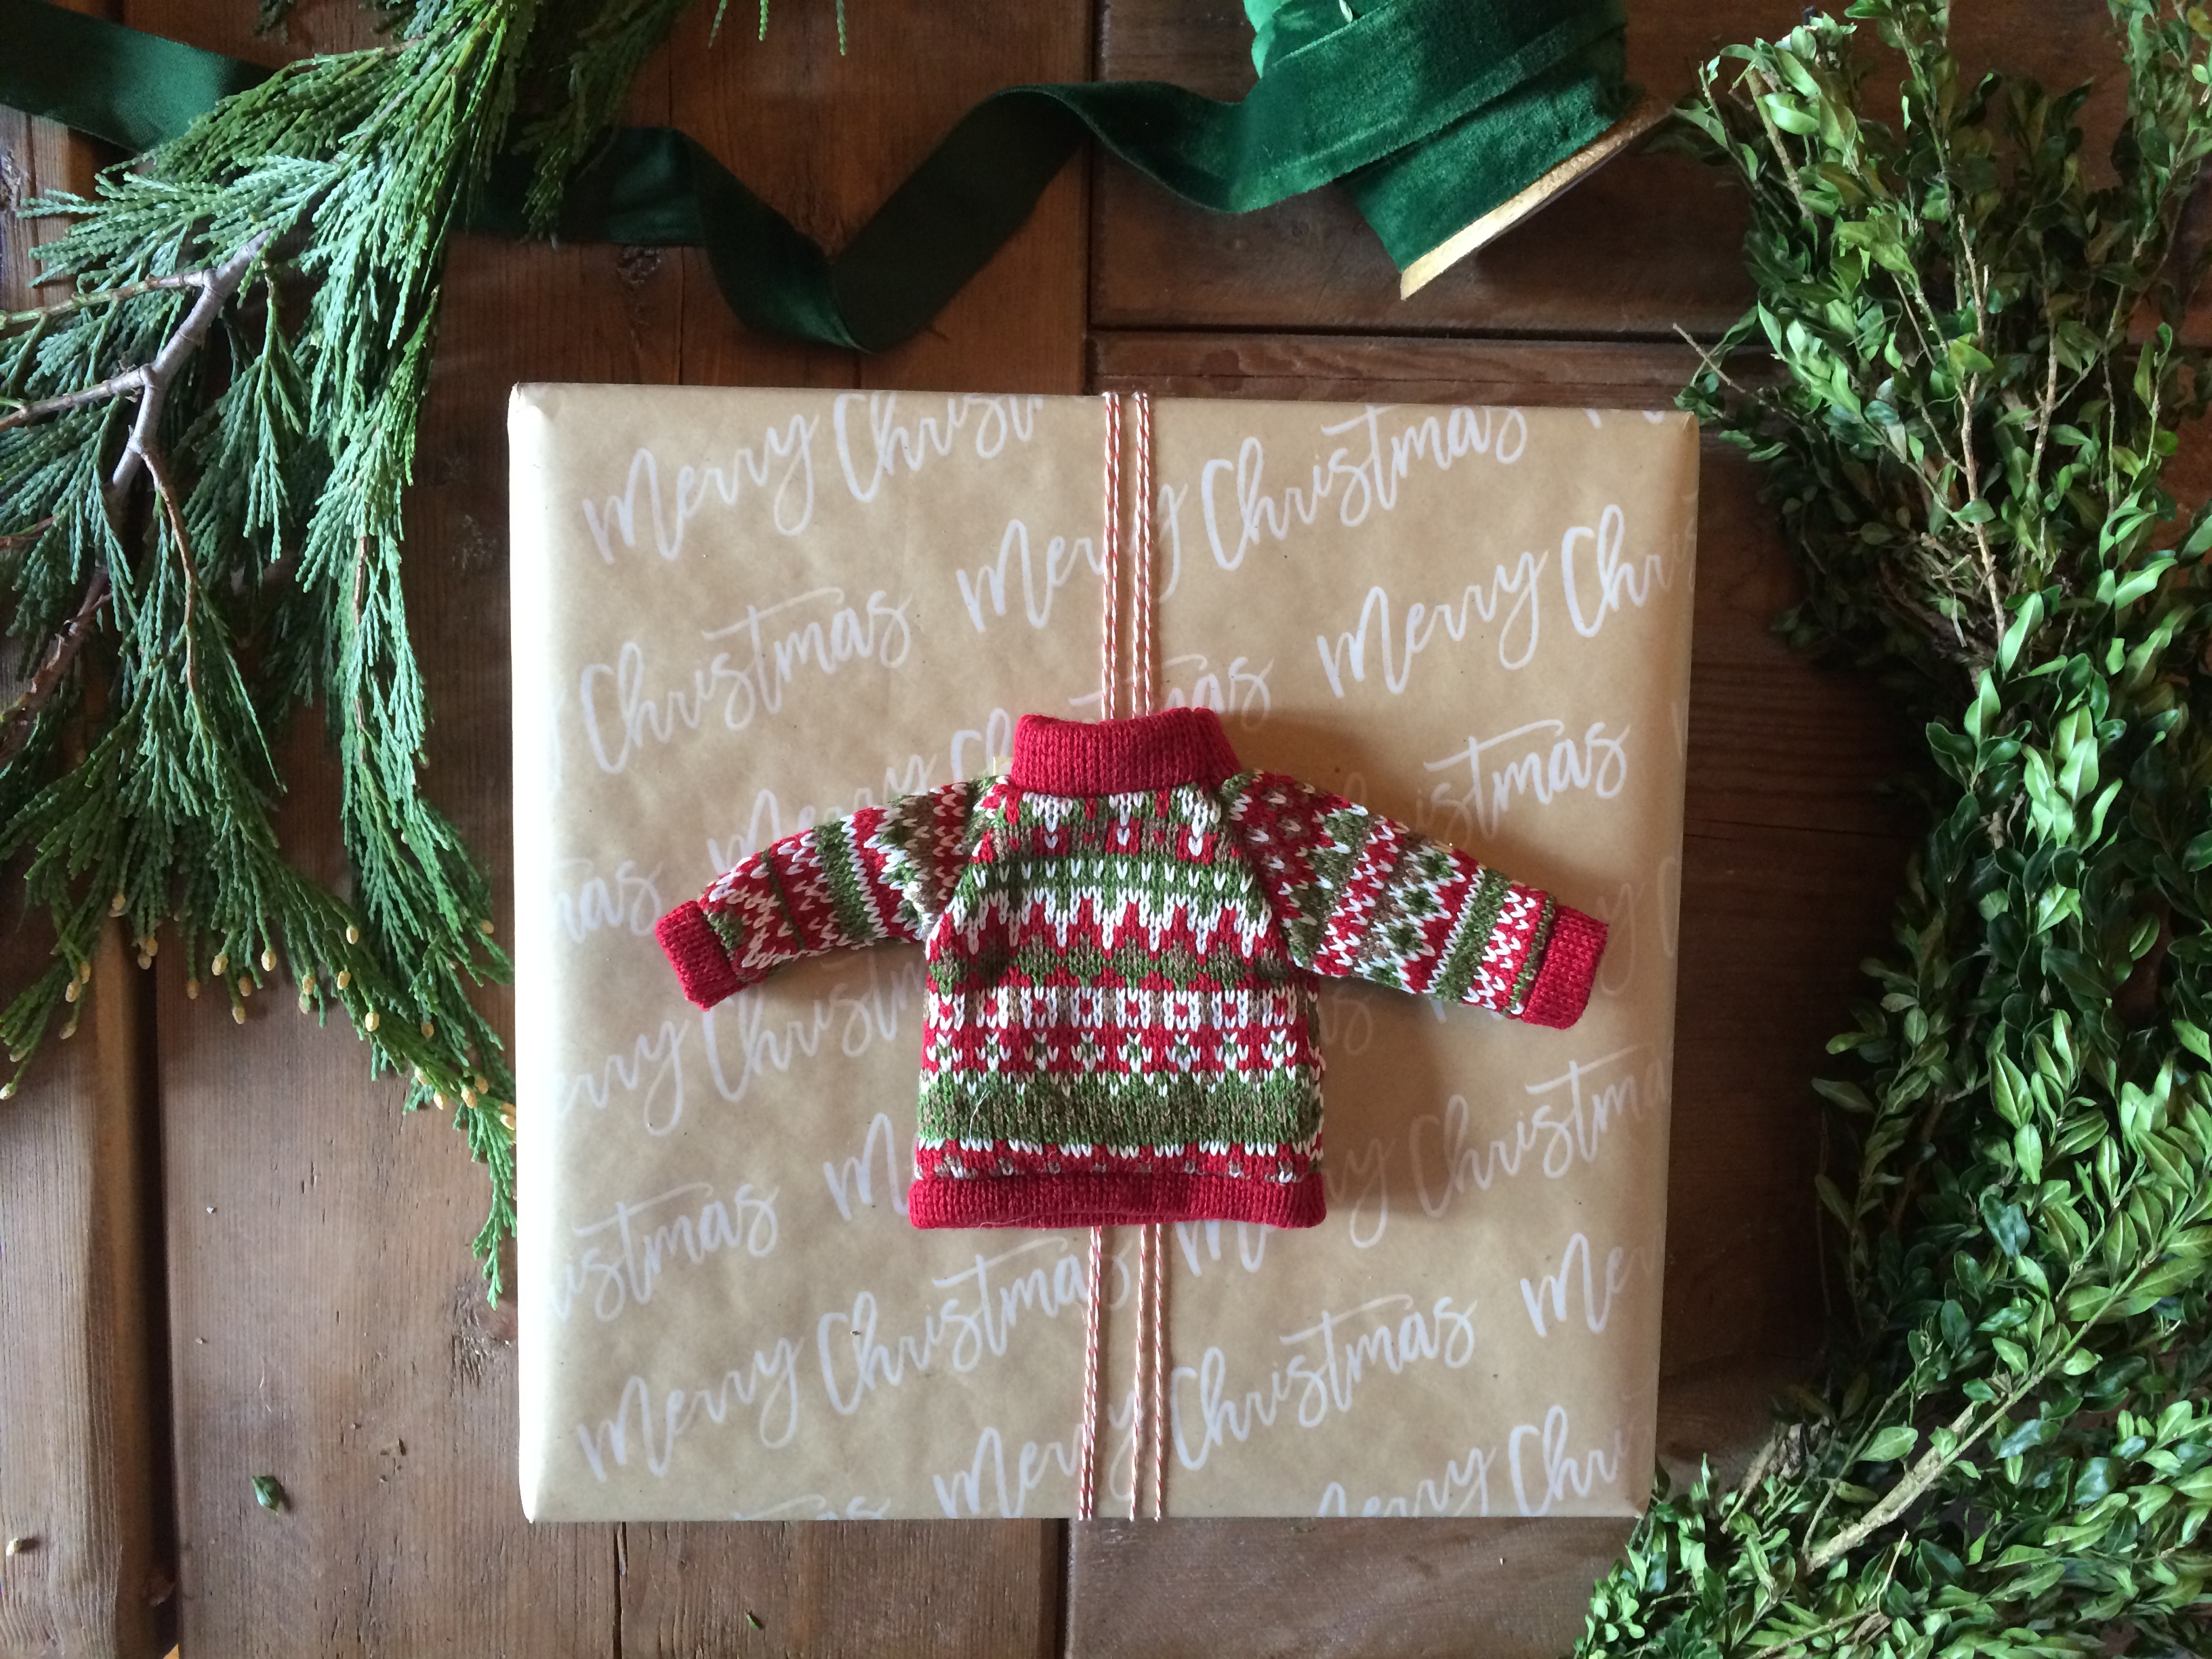
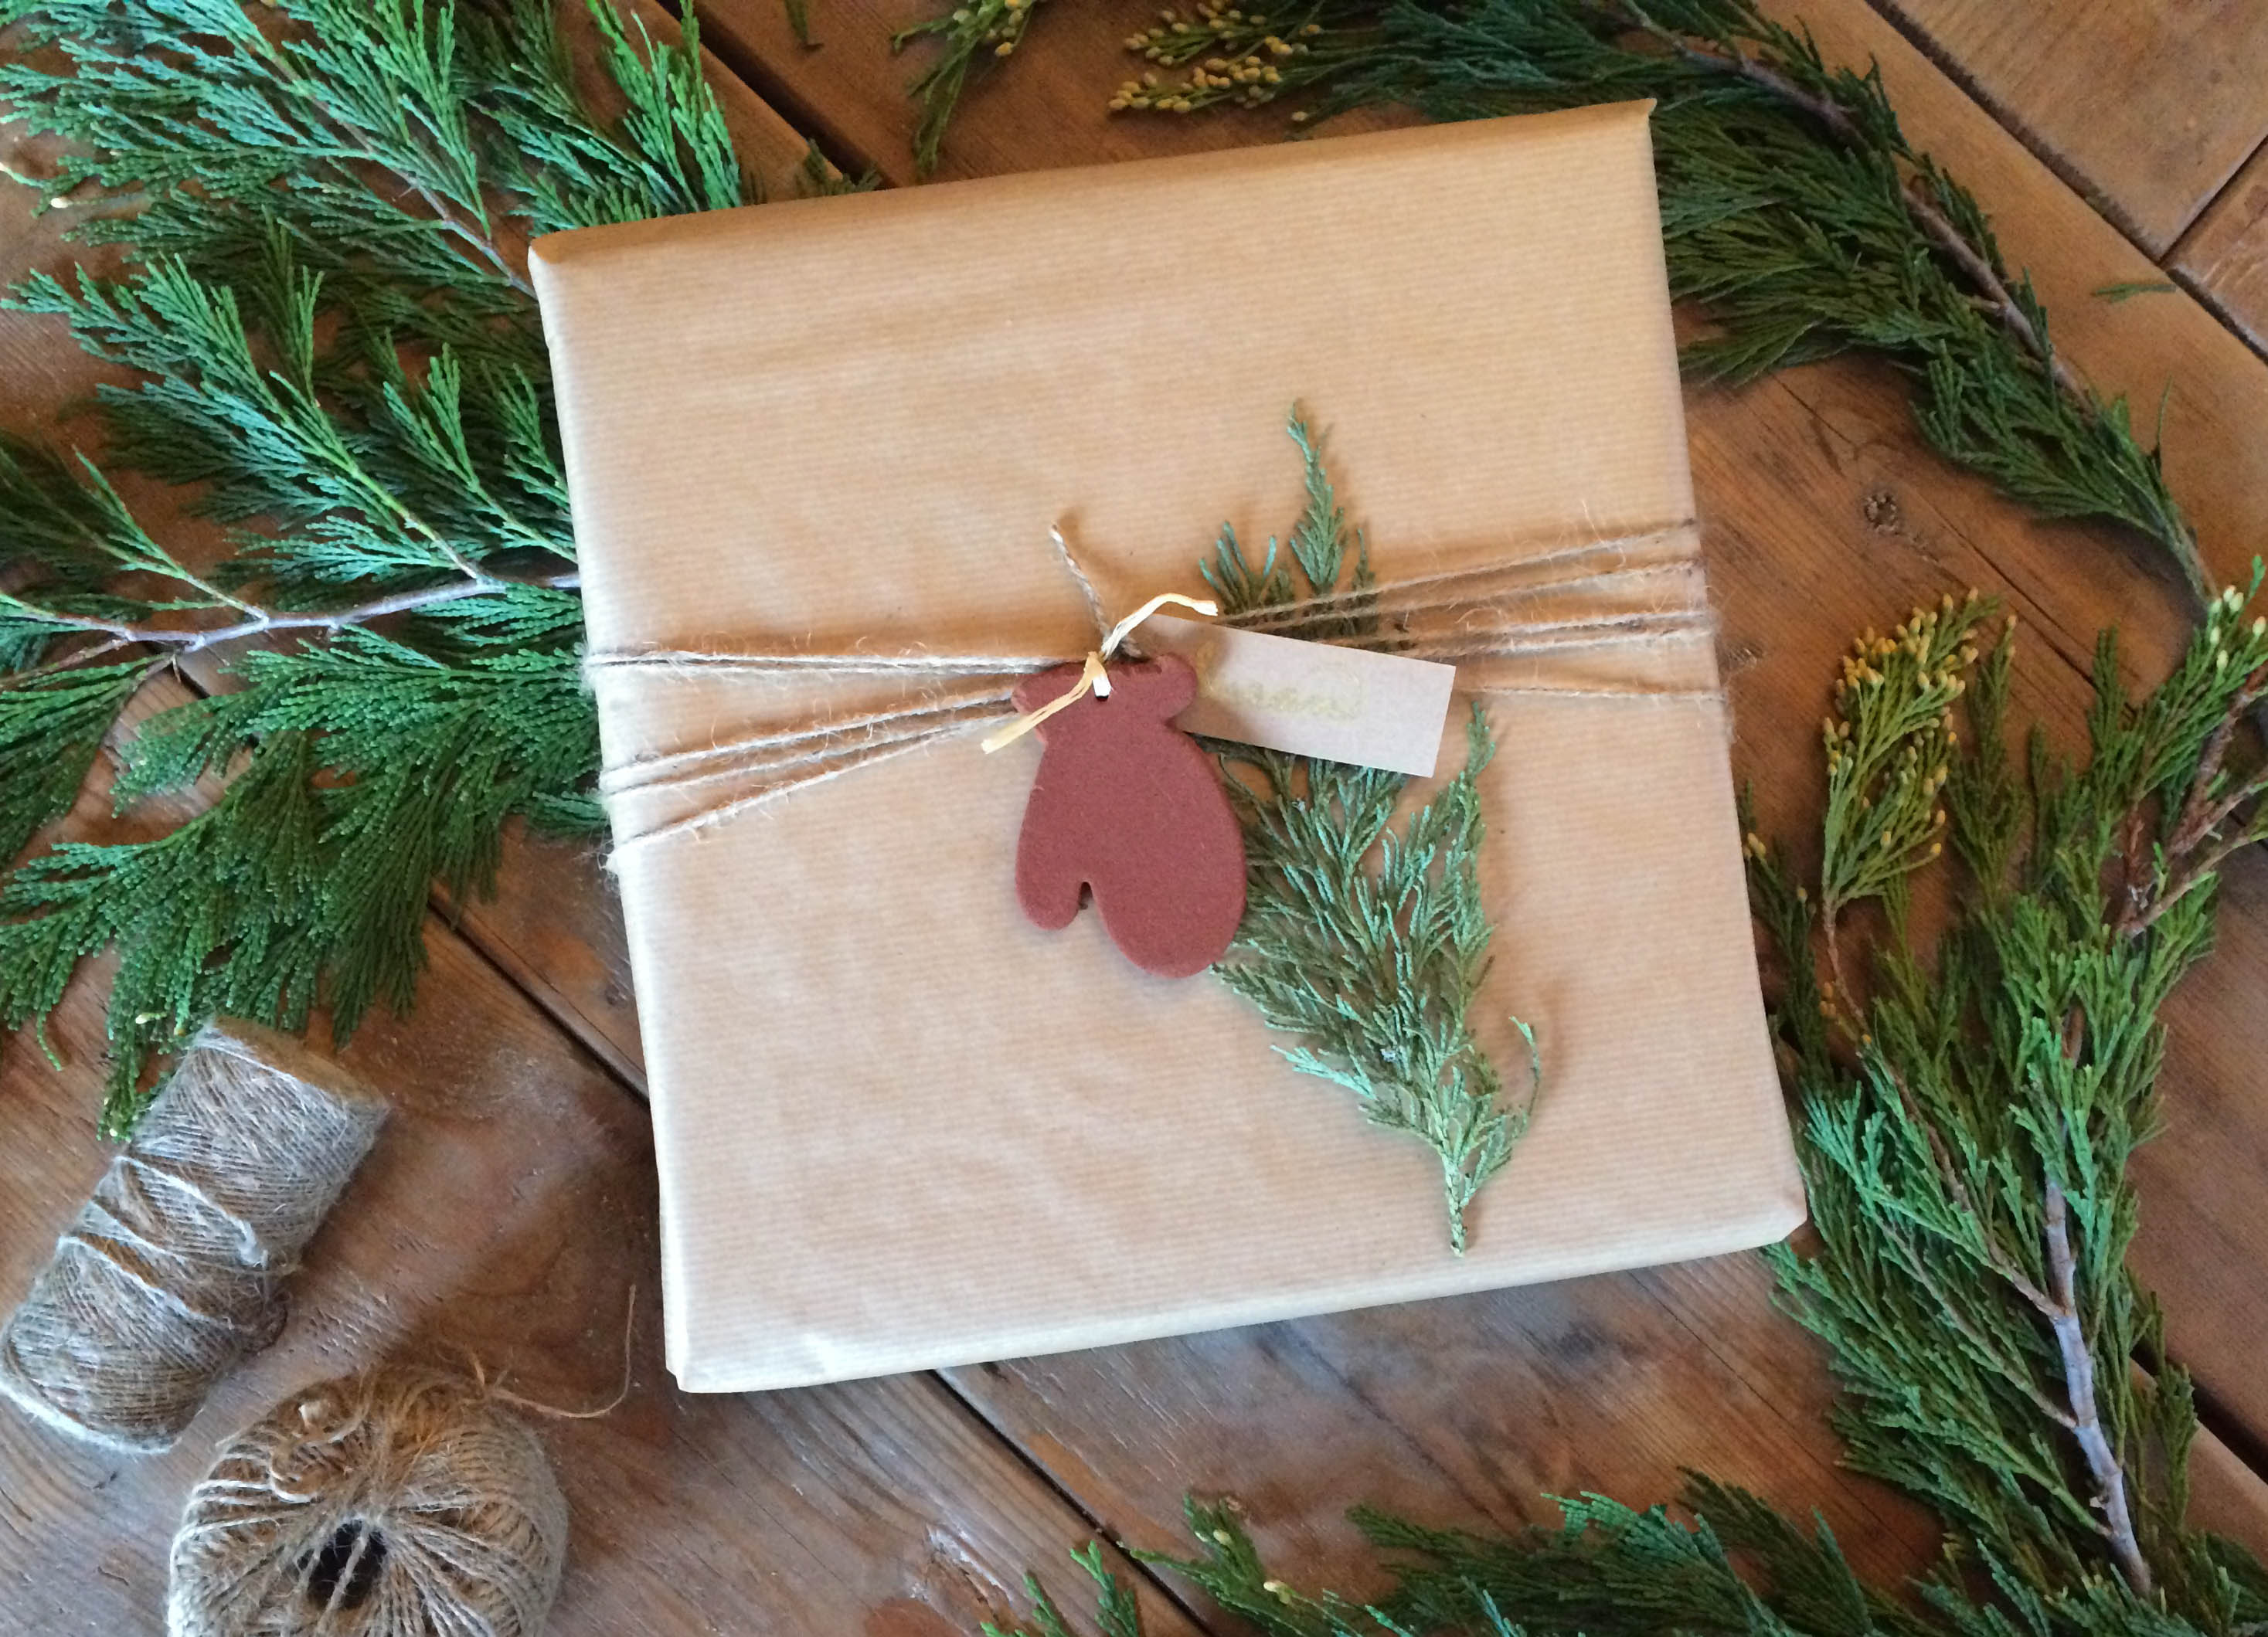
For gifting to children, we thought this cute sweater ornament would be a nice present topper that serves two purposes.
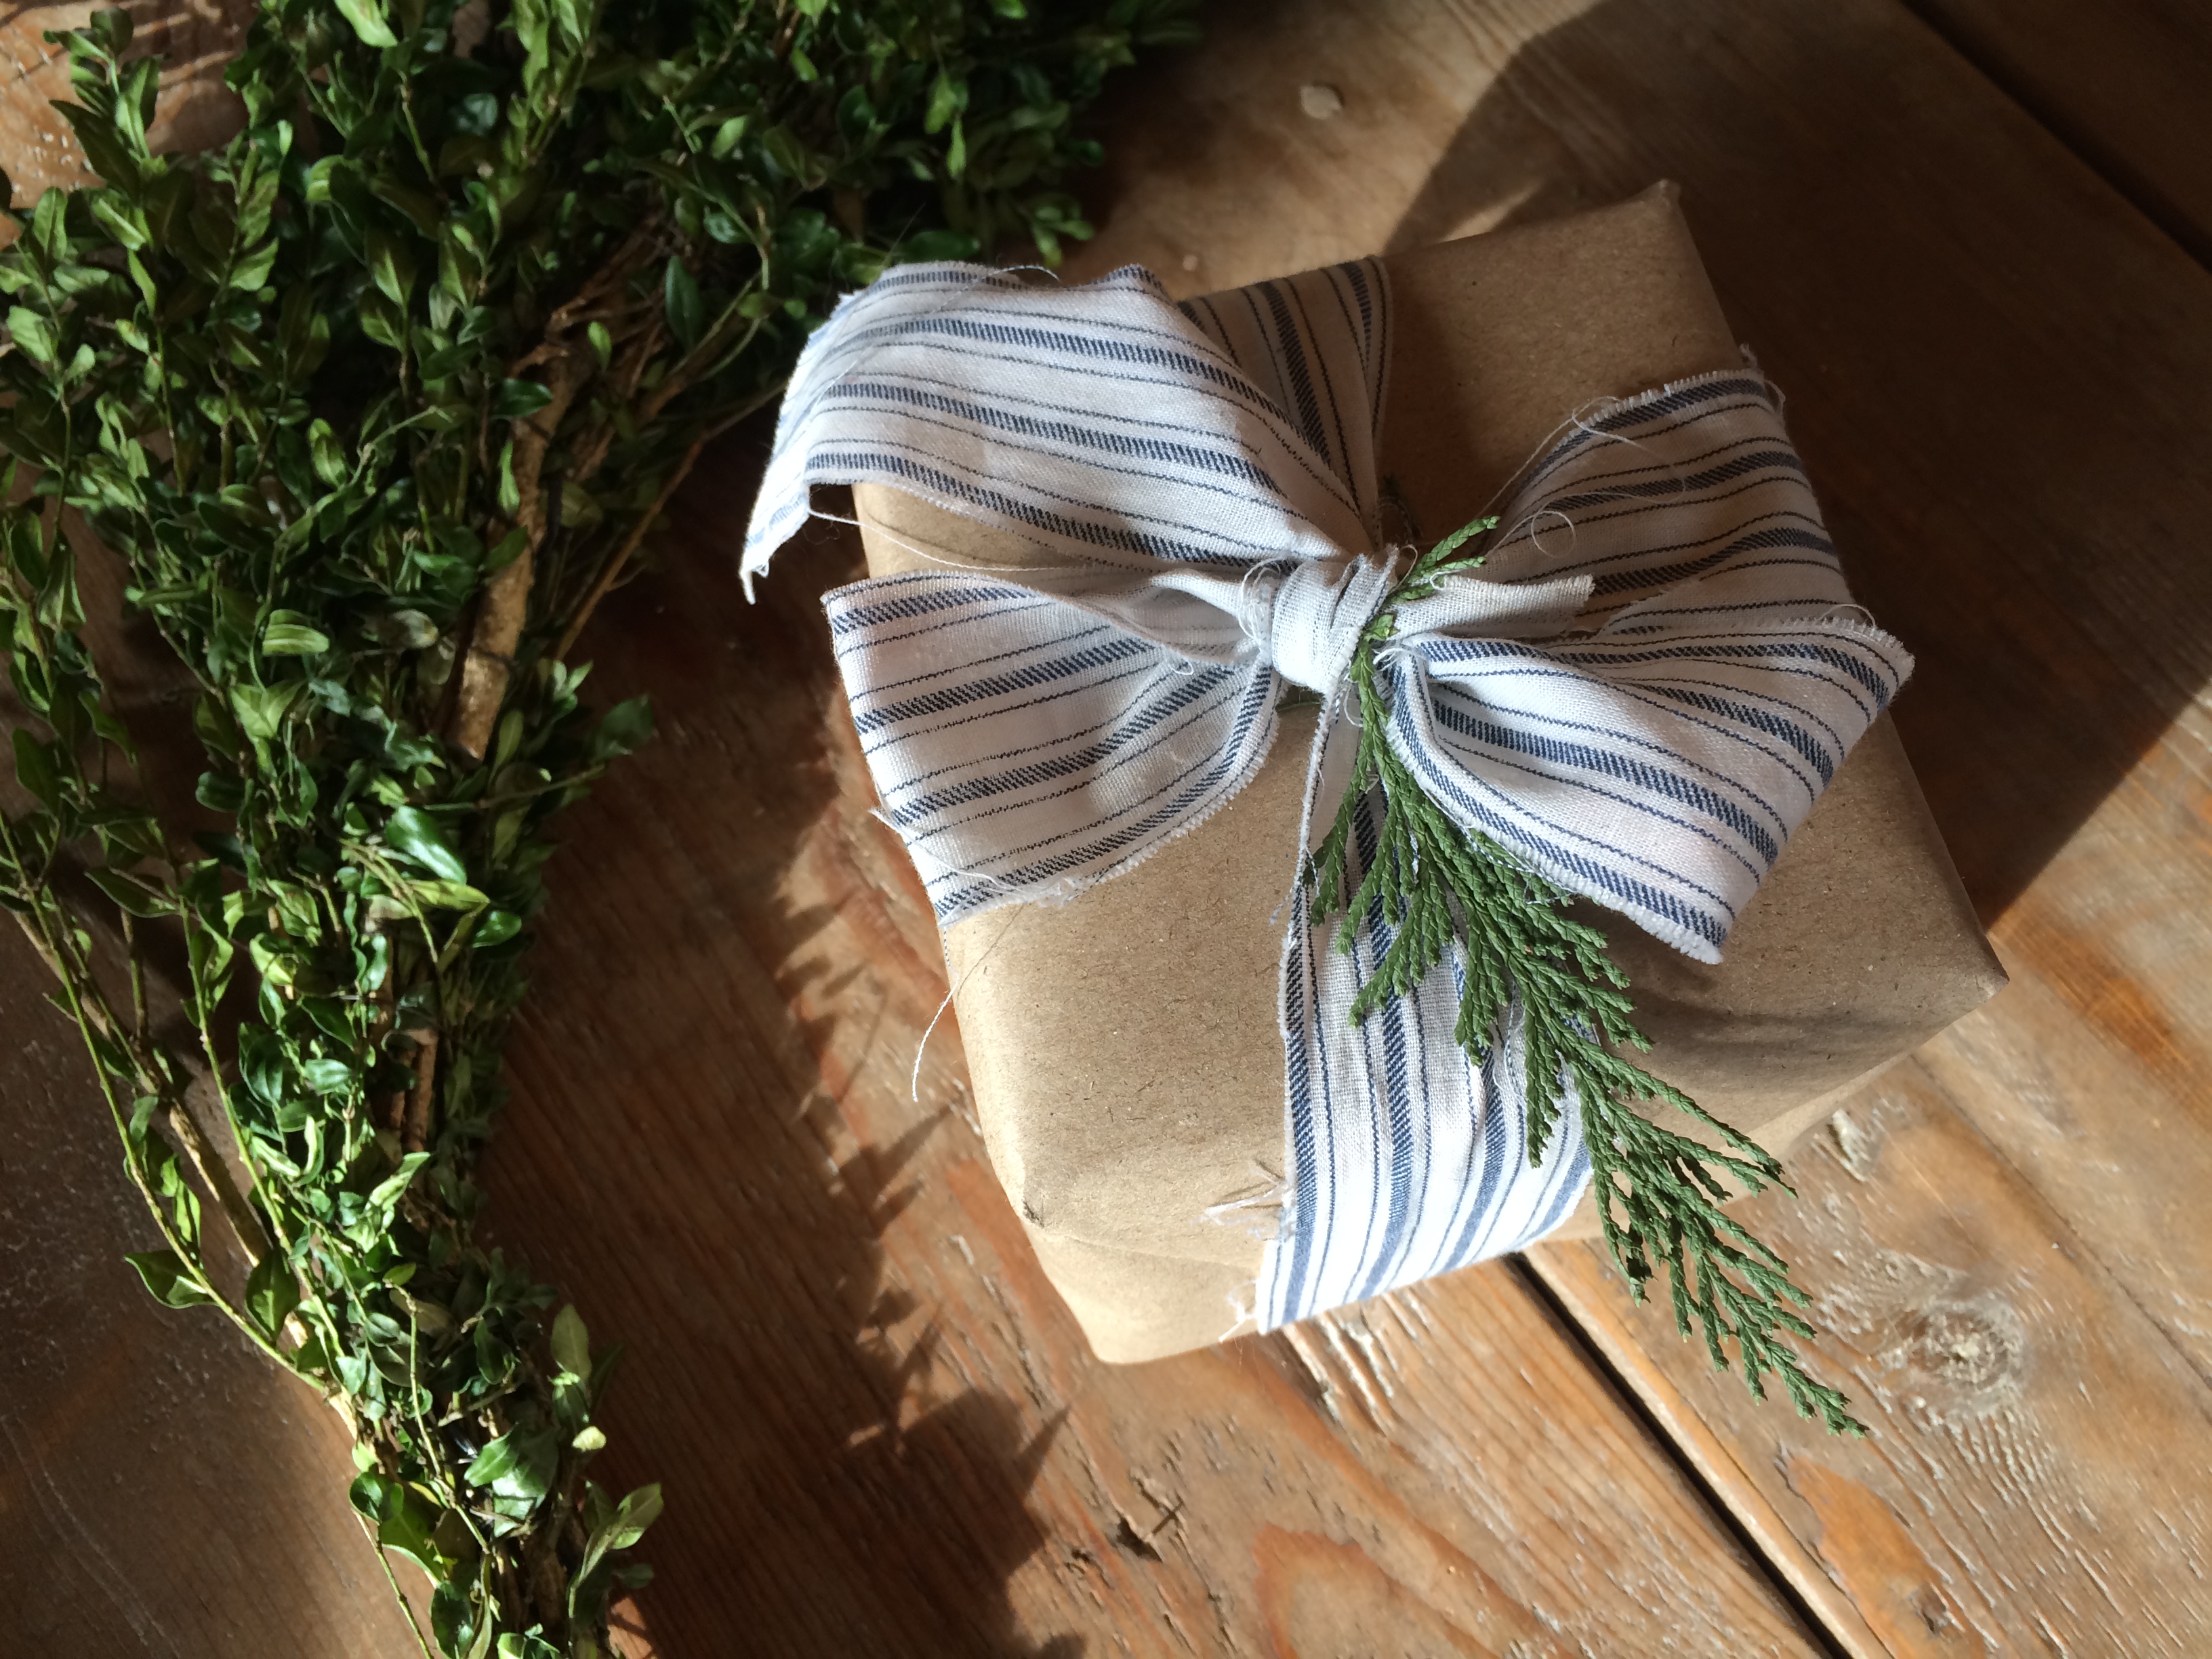
Besides tying our brown paper package with string… we love to tie them with scraps of vintage fabrics such as this blue and white stripe.
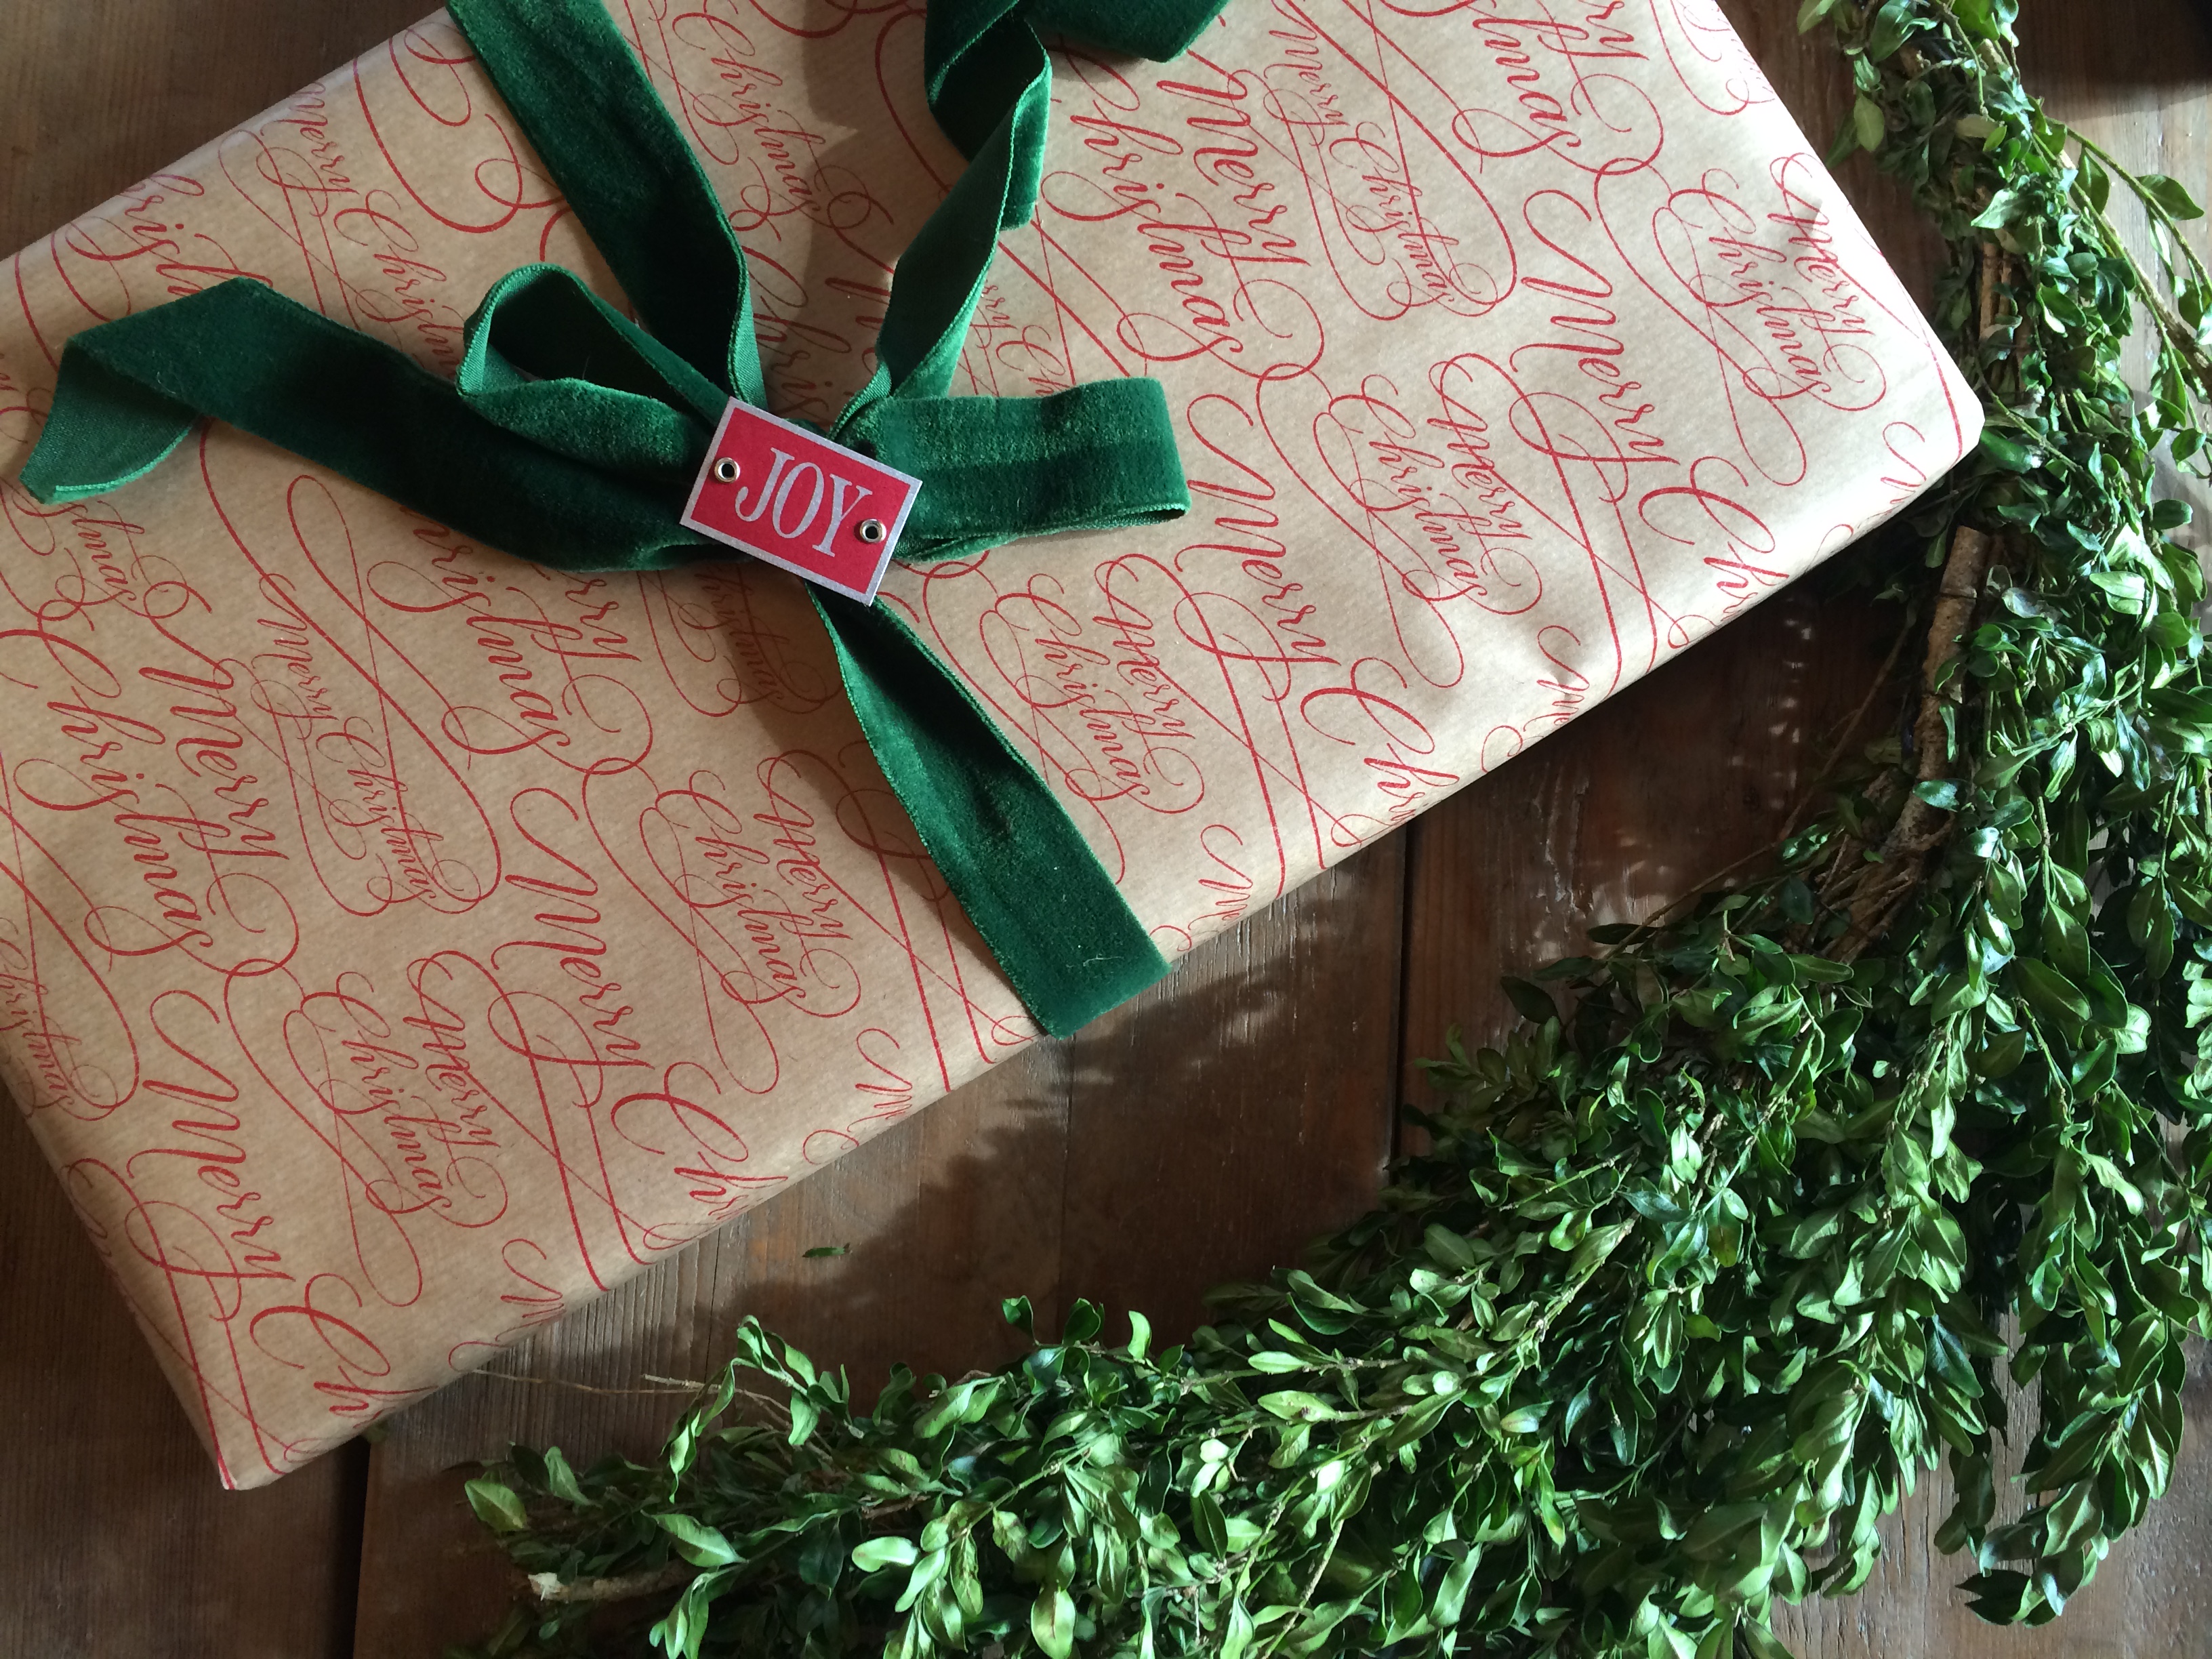
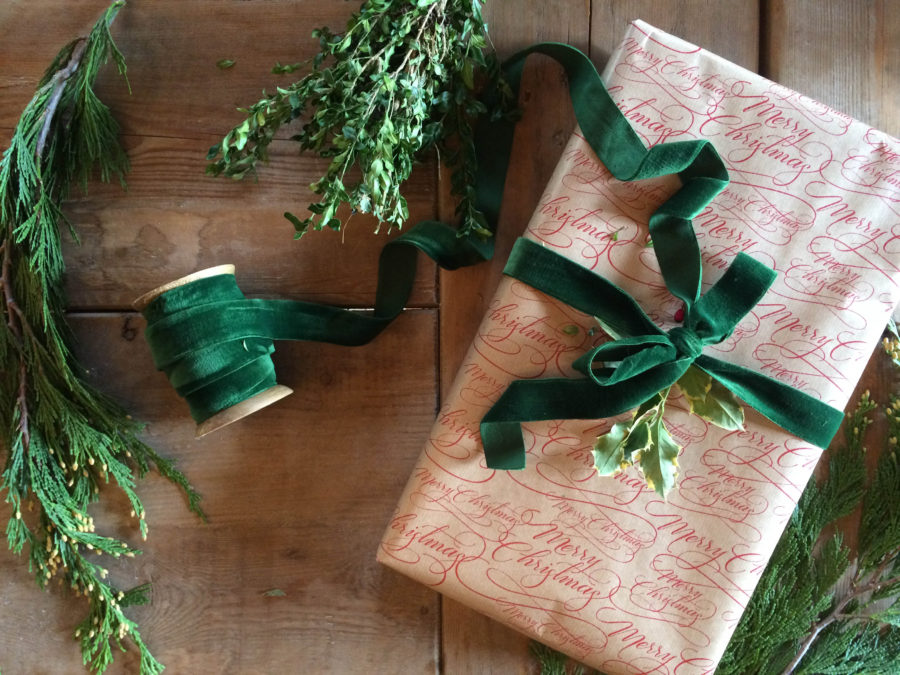
Along with the white script paper I also found this kraft paper with an elegant red script “Merry Christmas” printed on it. Combined with green velvet ribbon we think it makes a beautiful presentation.
 We love to use textile ribbons of a variety of textures…
… to create the background for pretty vintage images.
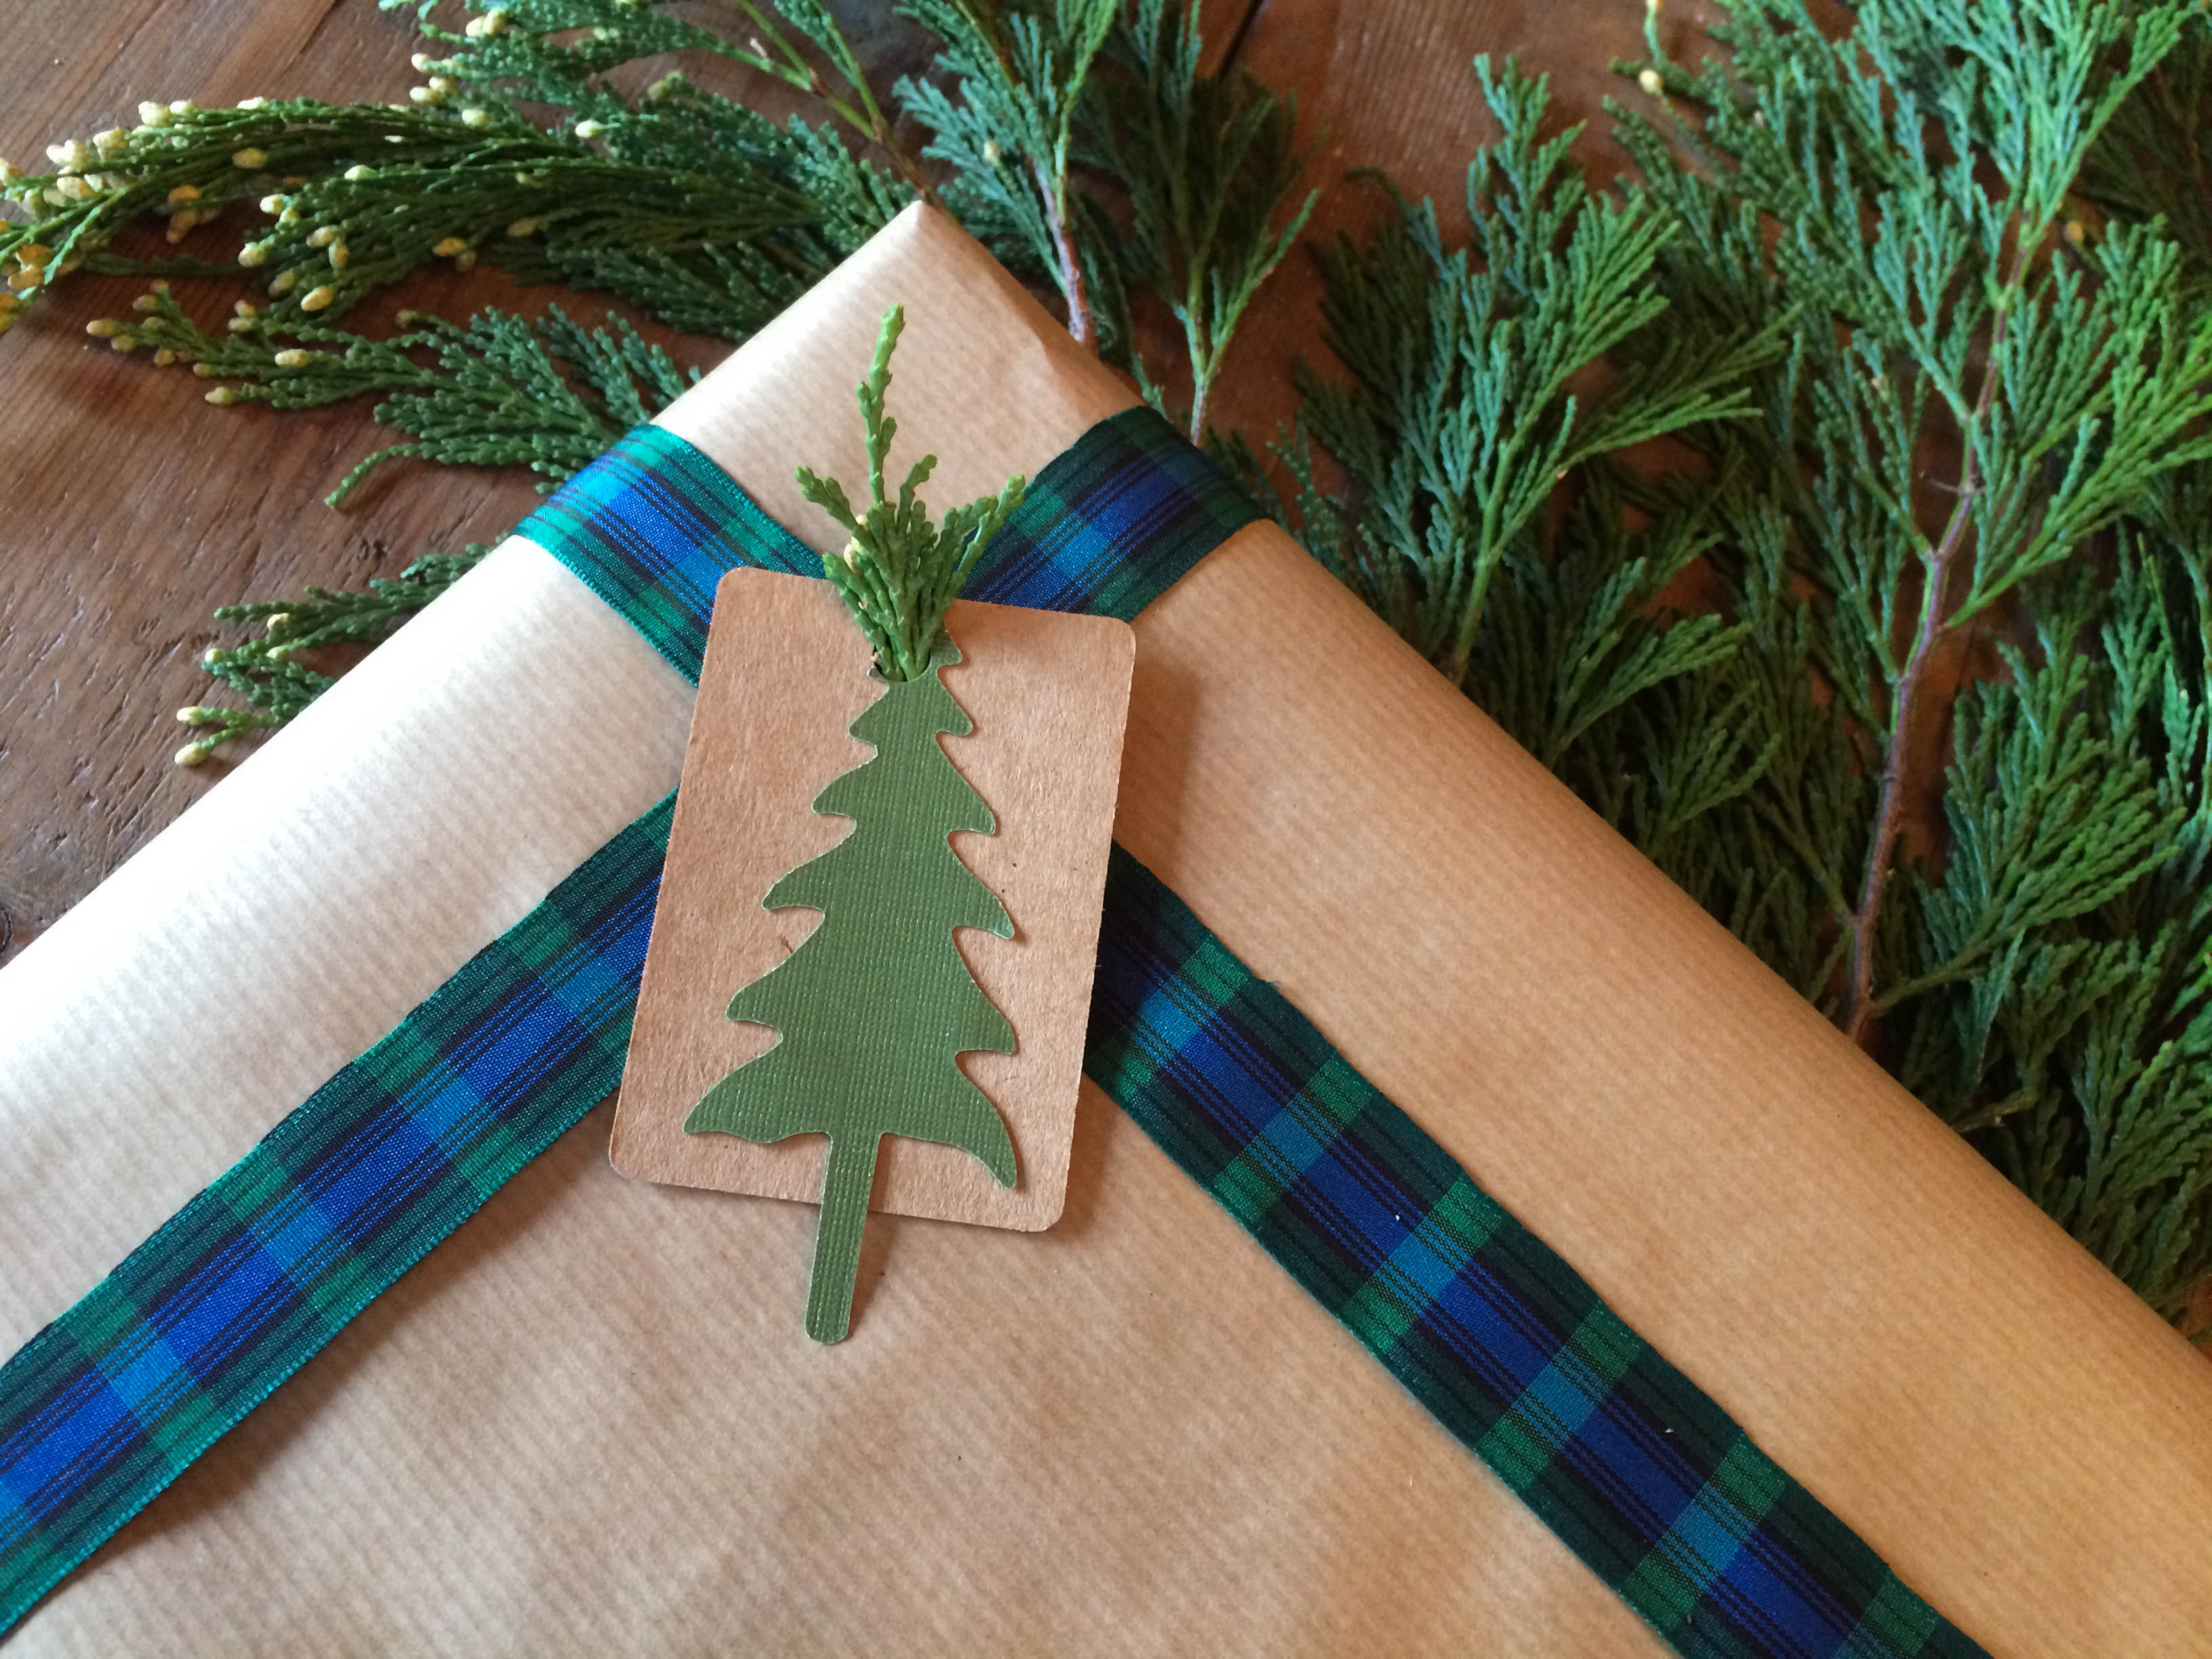
Plaid ribbon is another favorite topped with a brown Kraft tag and a cut out evergreen tree punched out with a Sizzix. A sprig of greens tucked into the punched hole at the top adds a little texture.
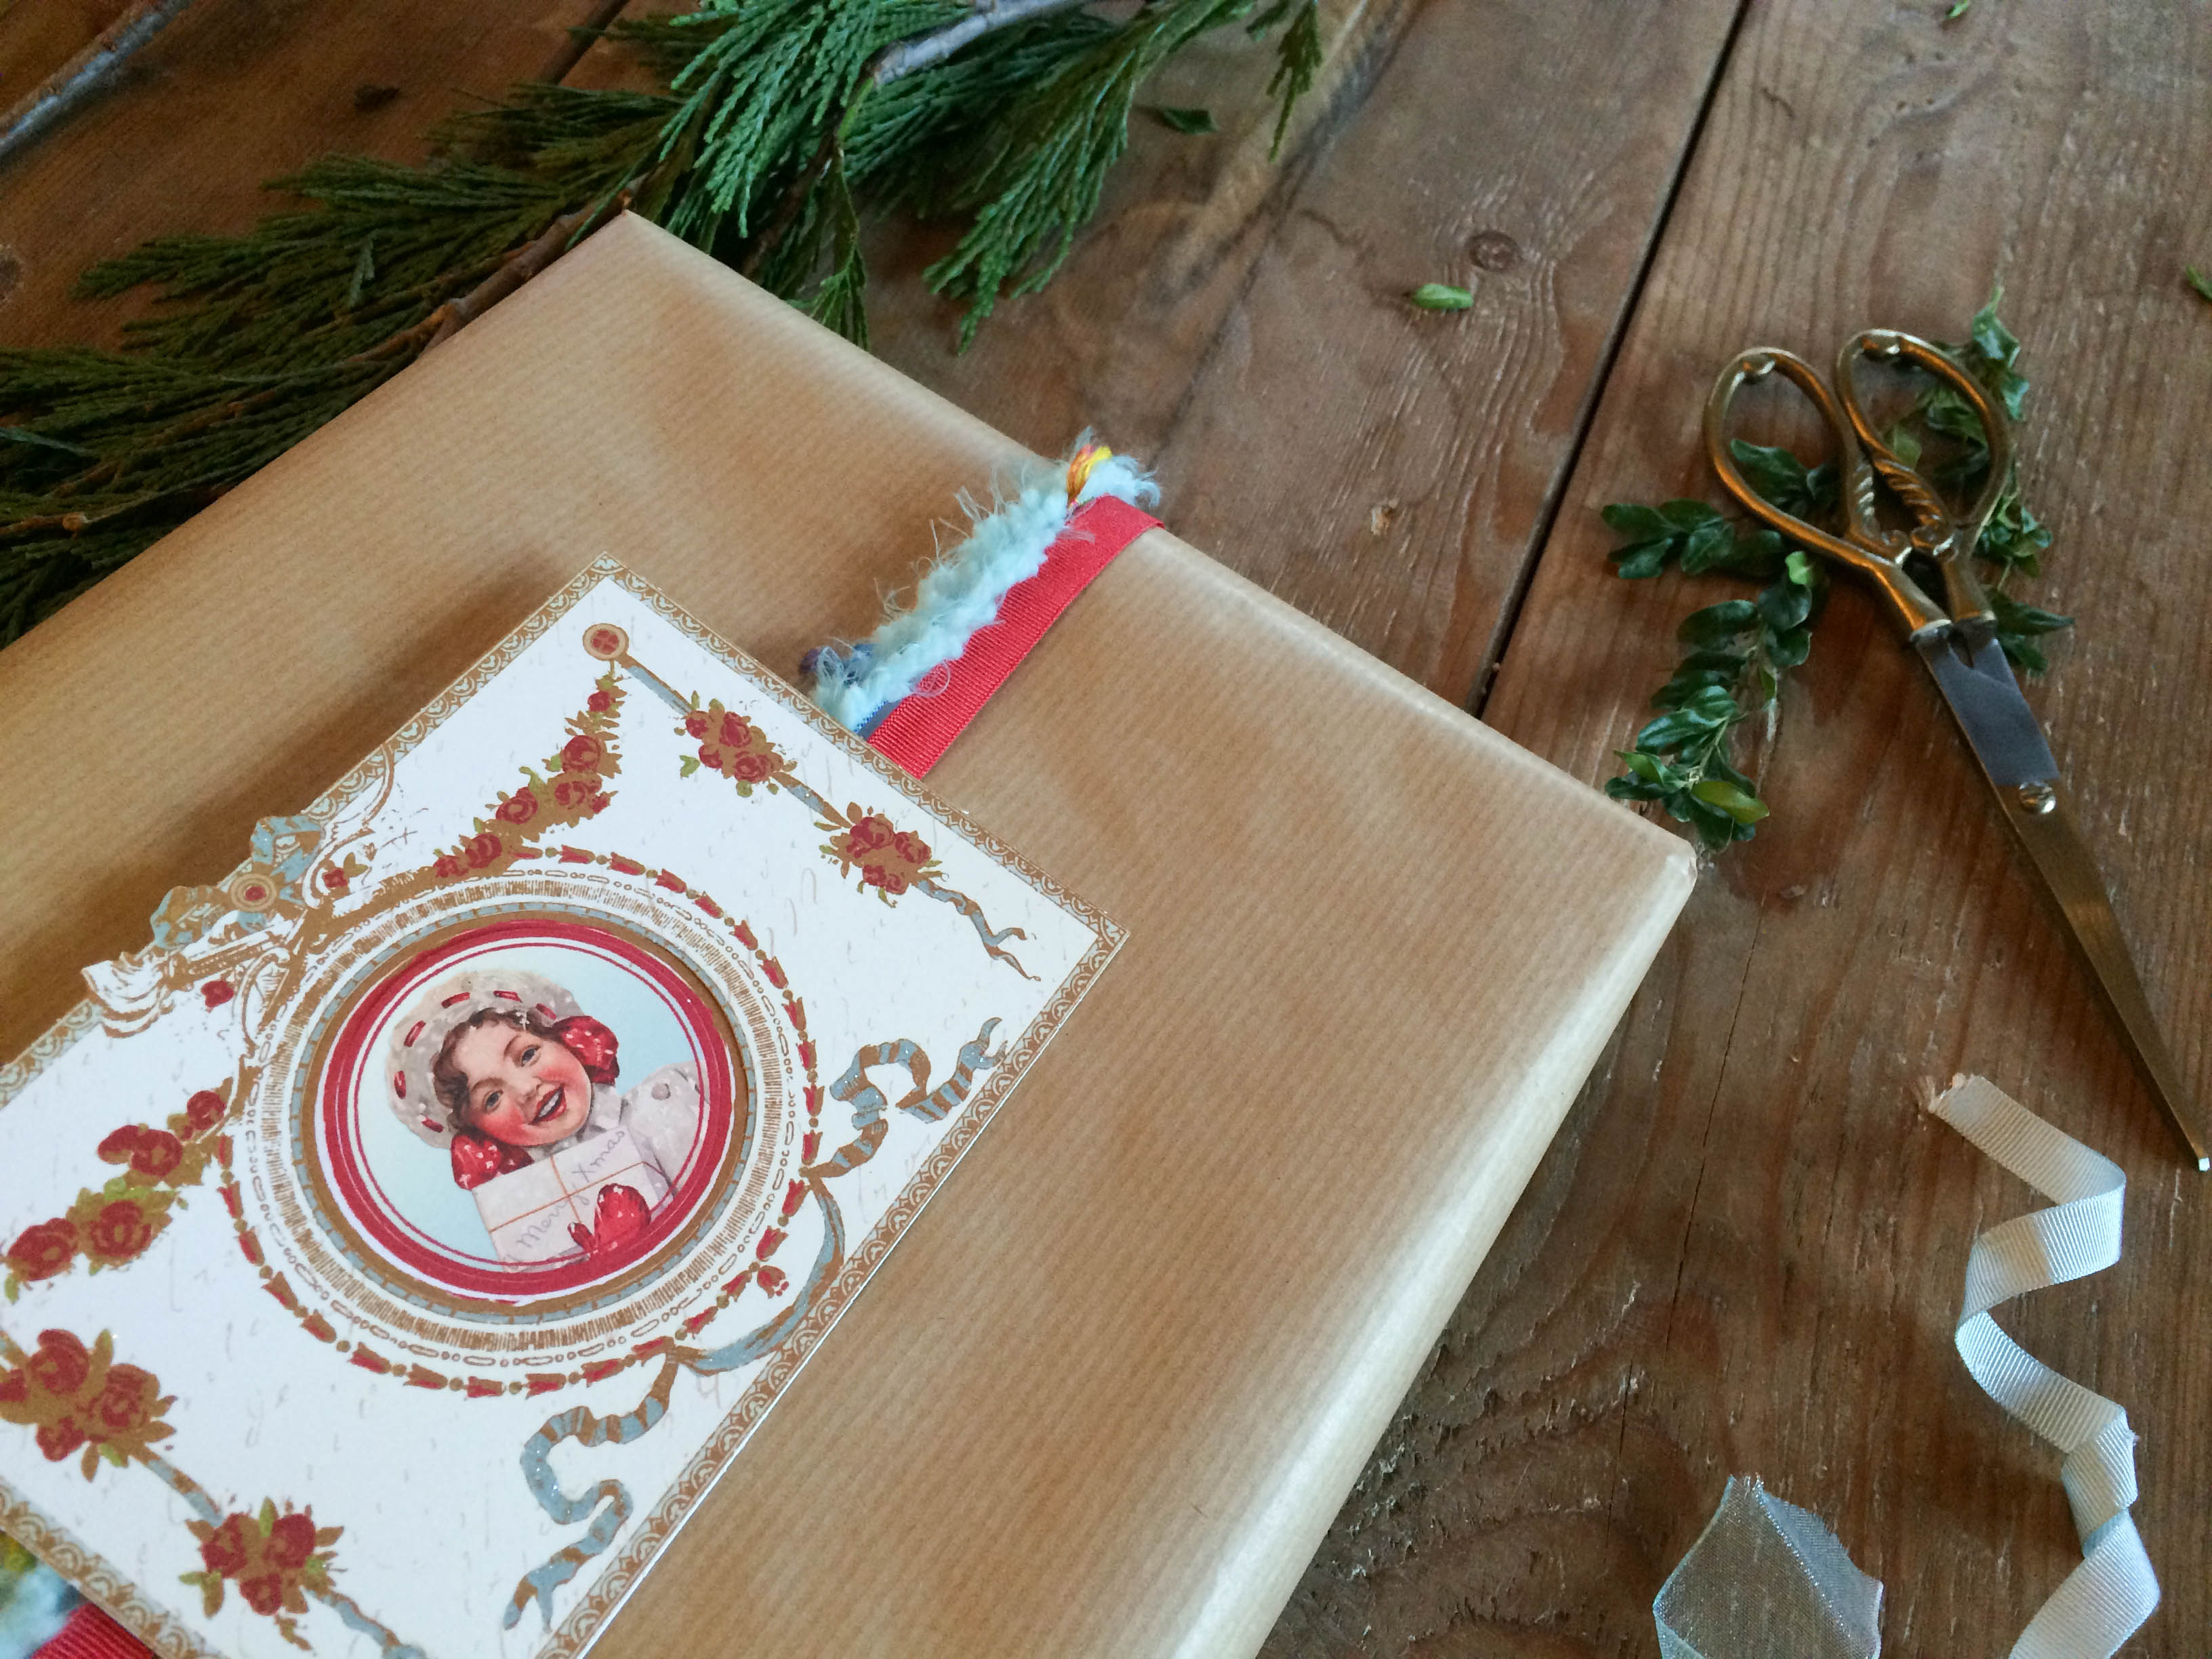
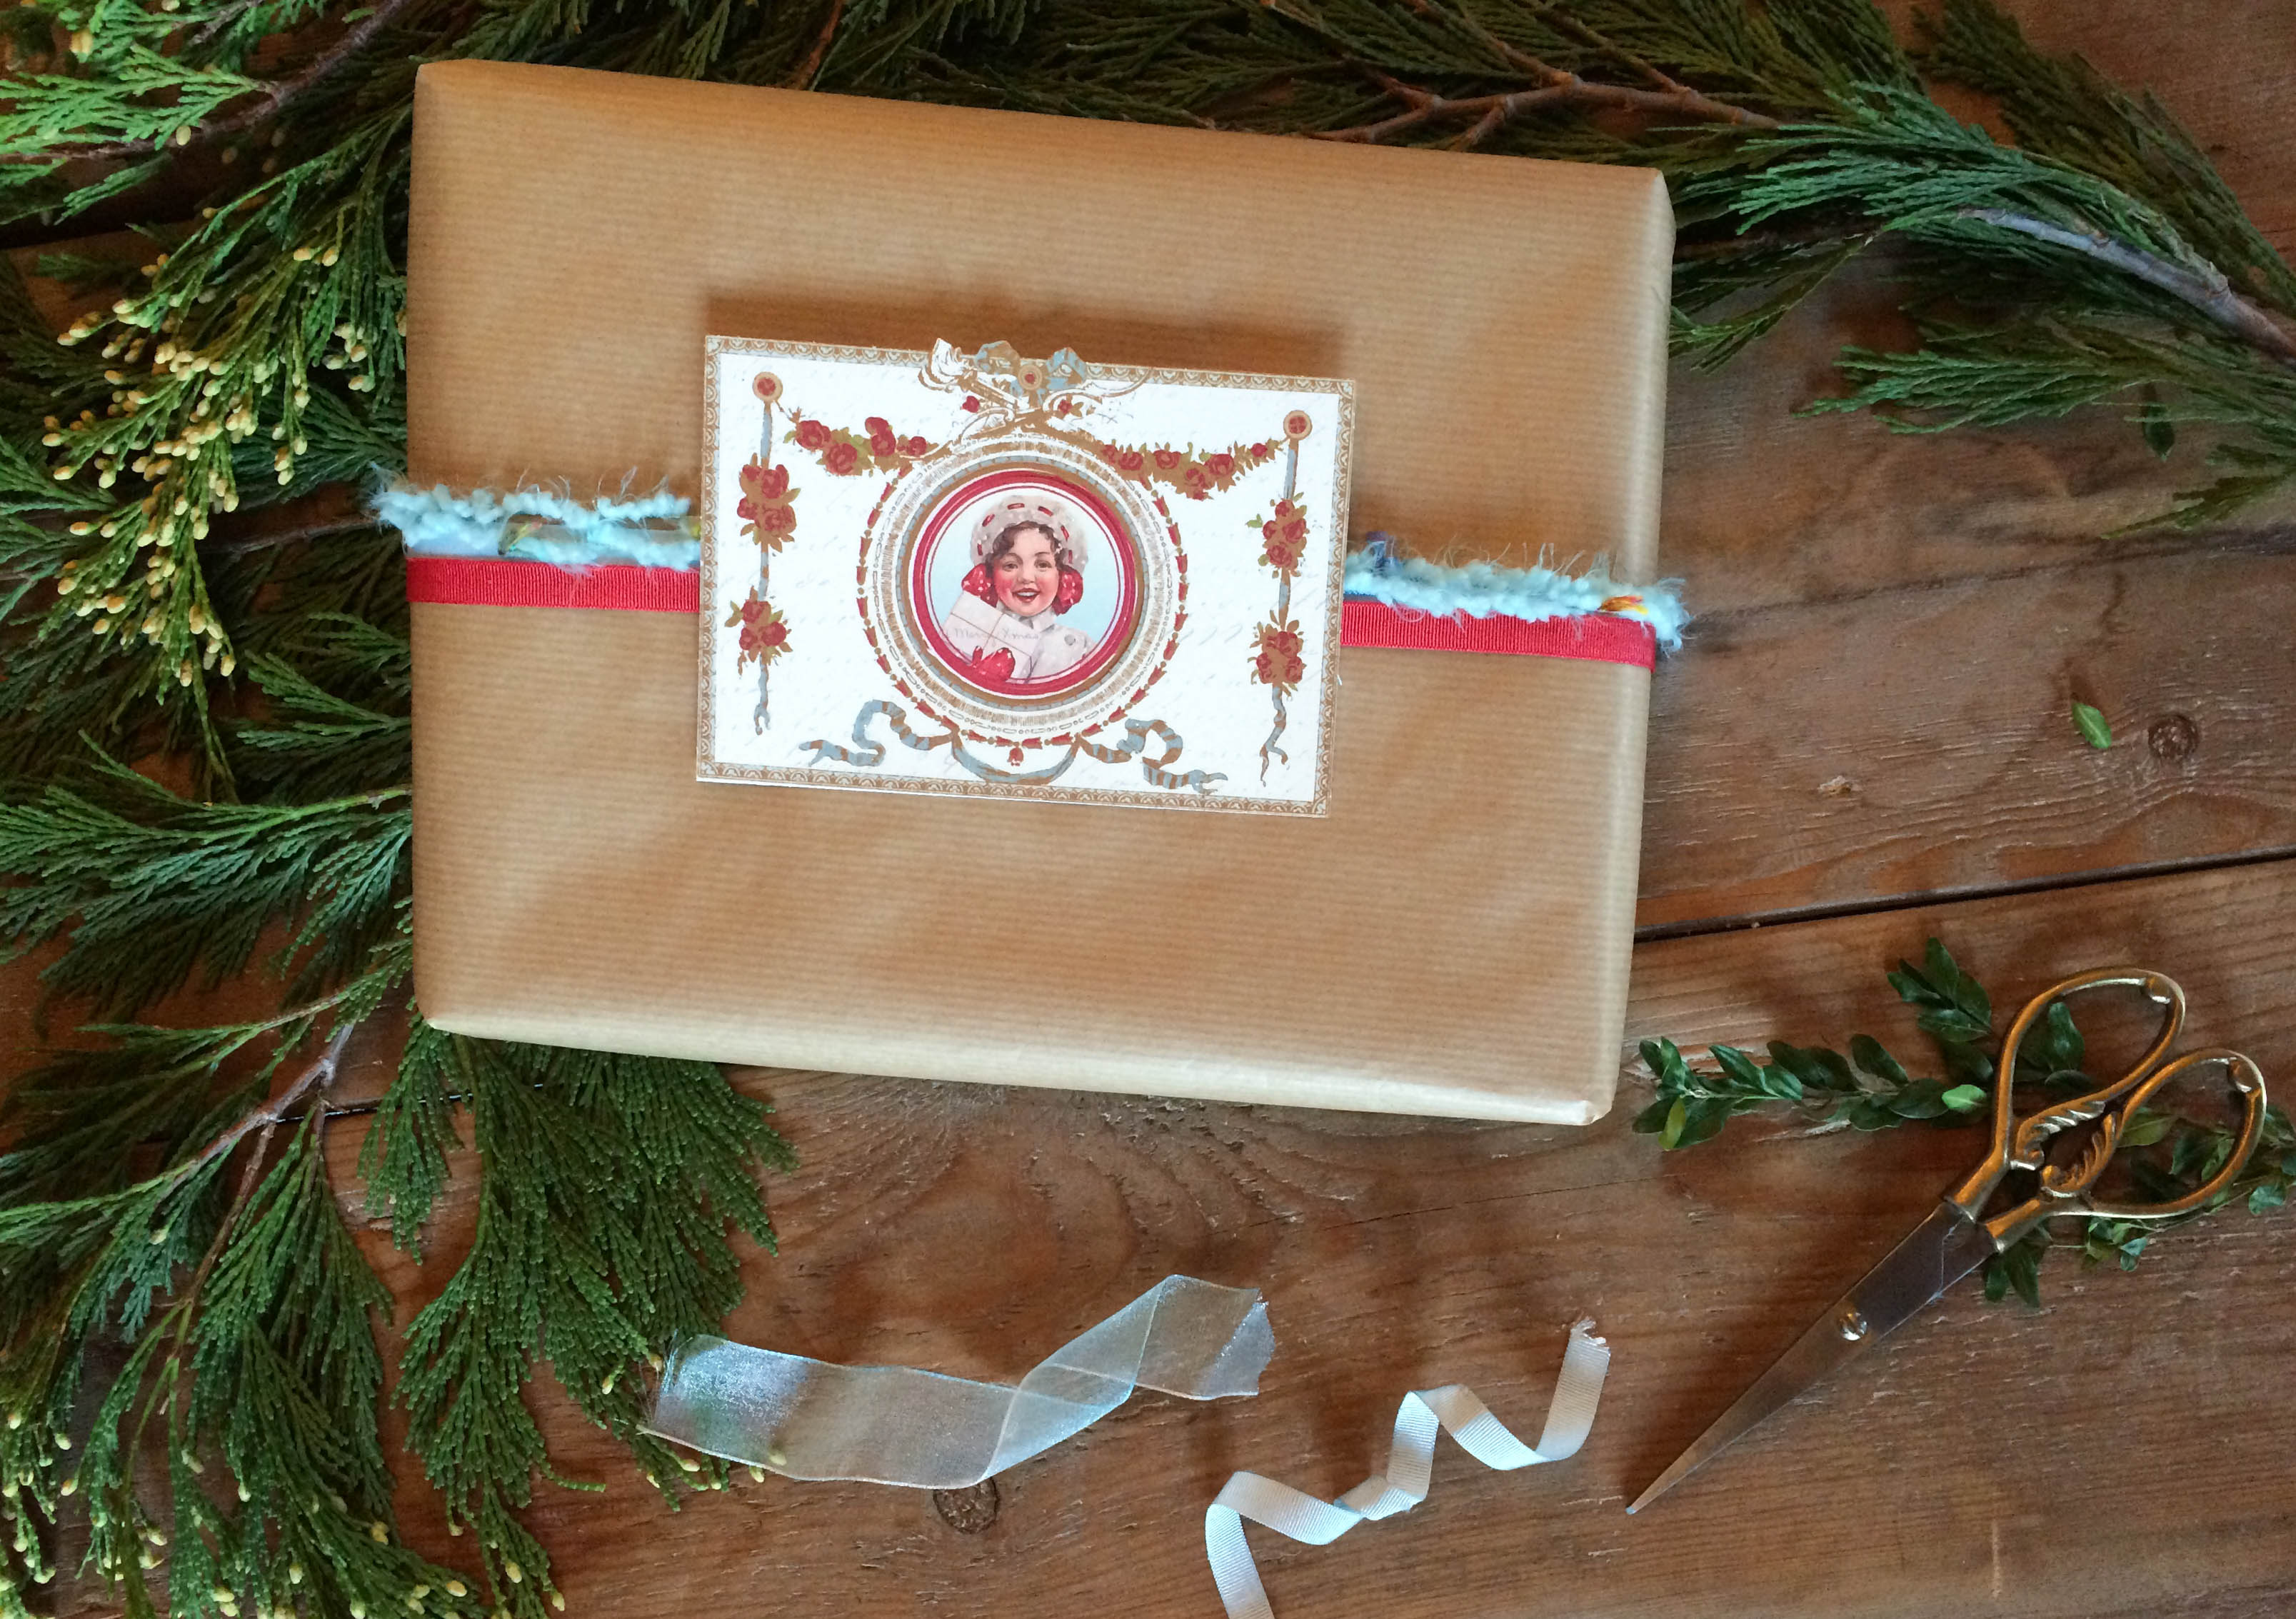
We had to depart from the kraft paper for just a little bit due to our love of this vintage inspired collage wrapping from Cavallini & Co.
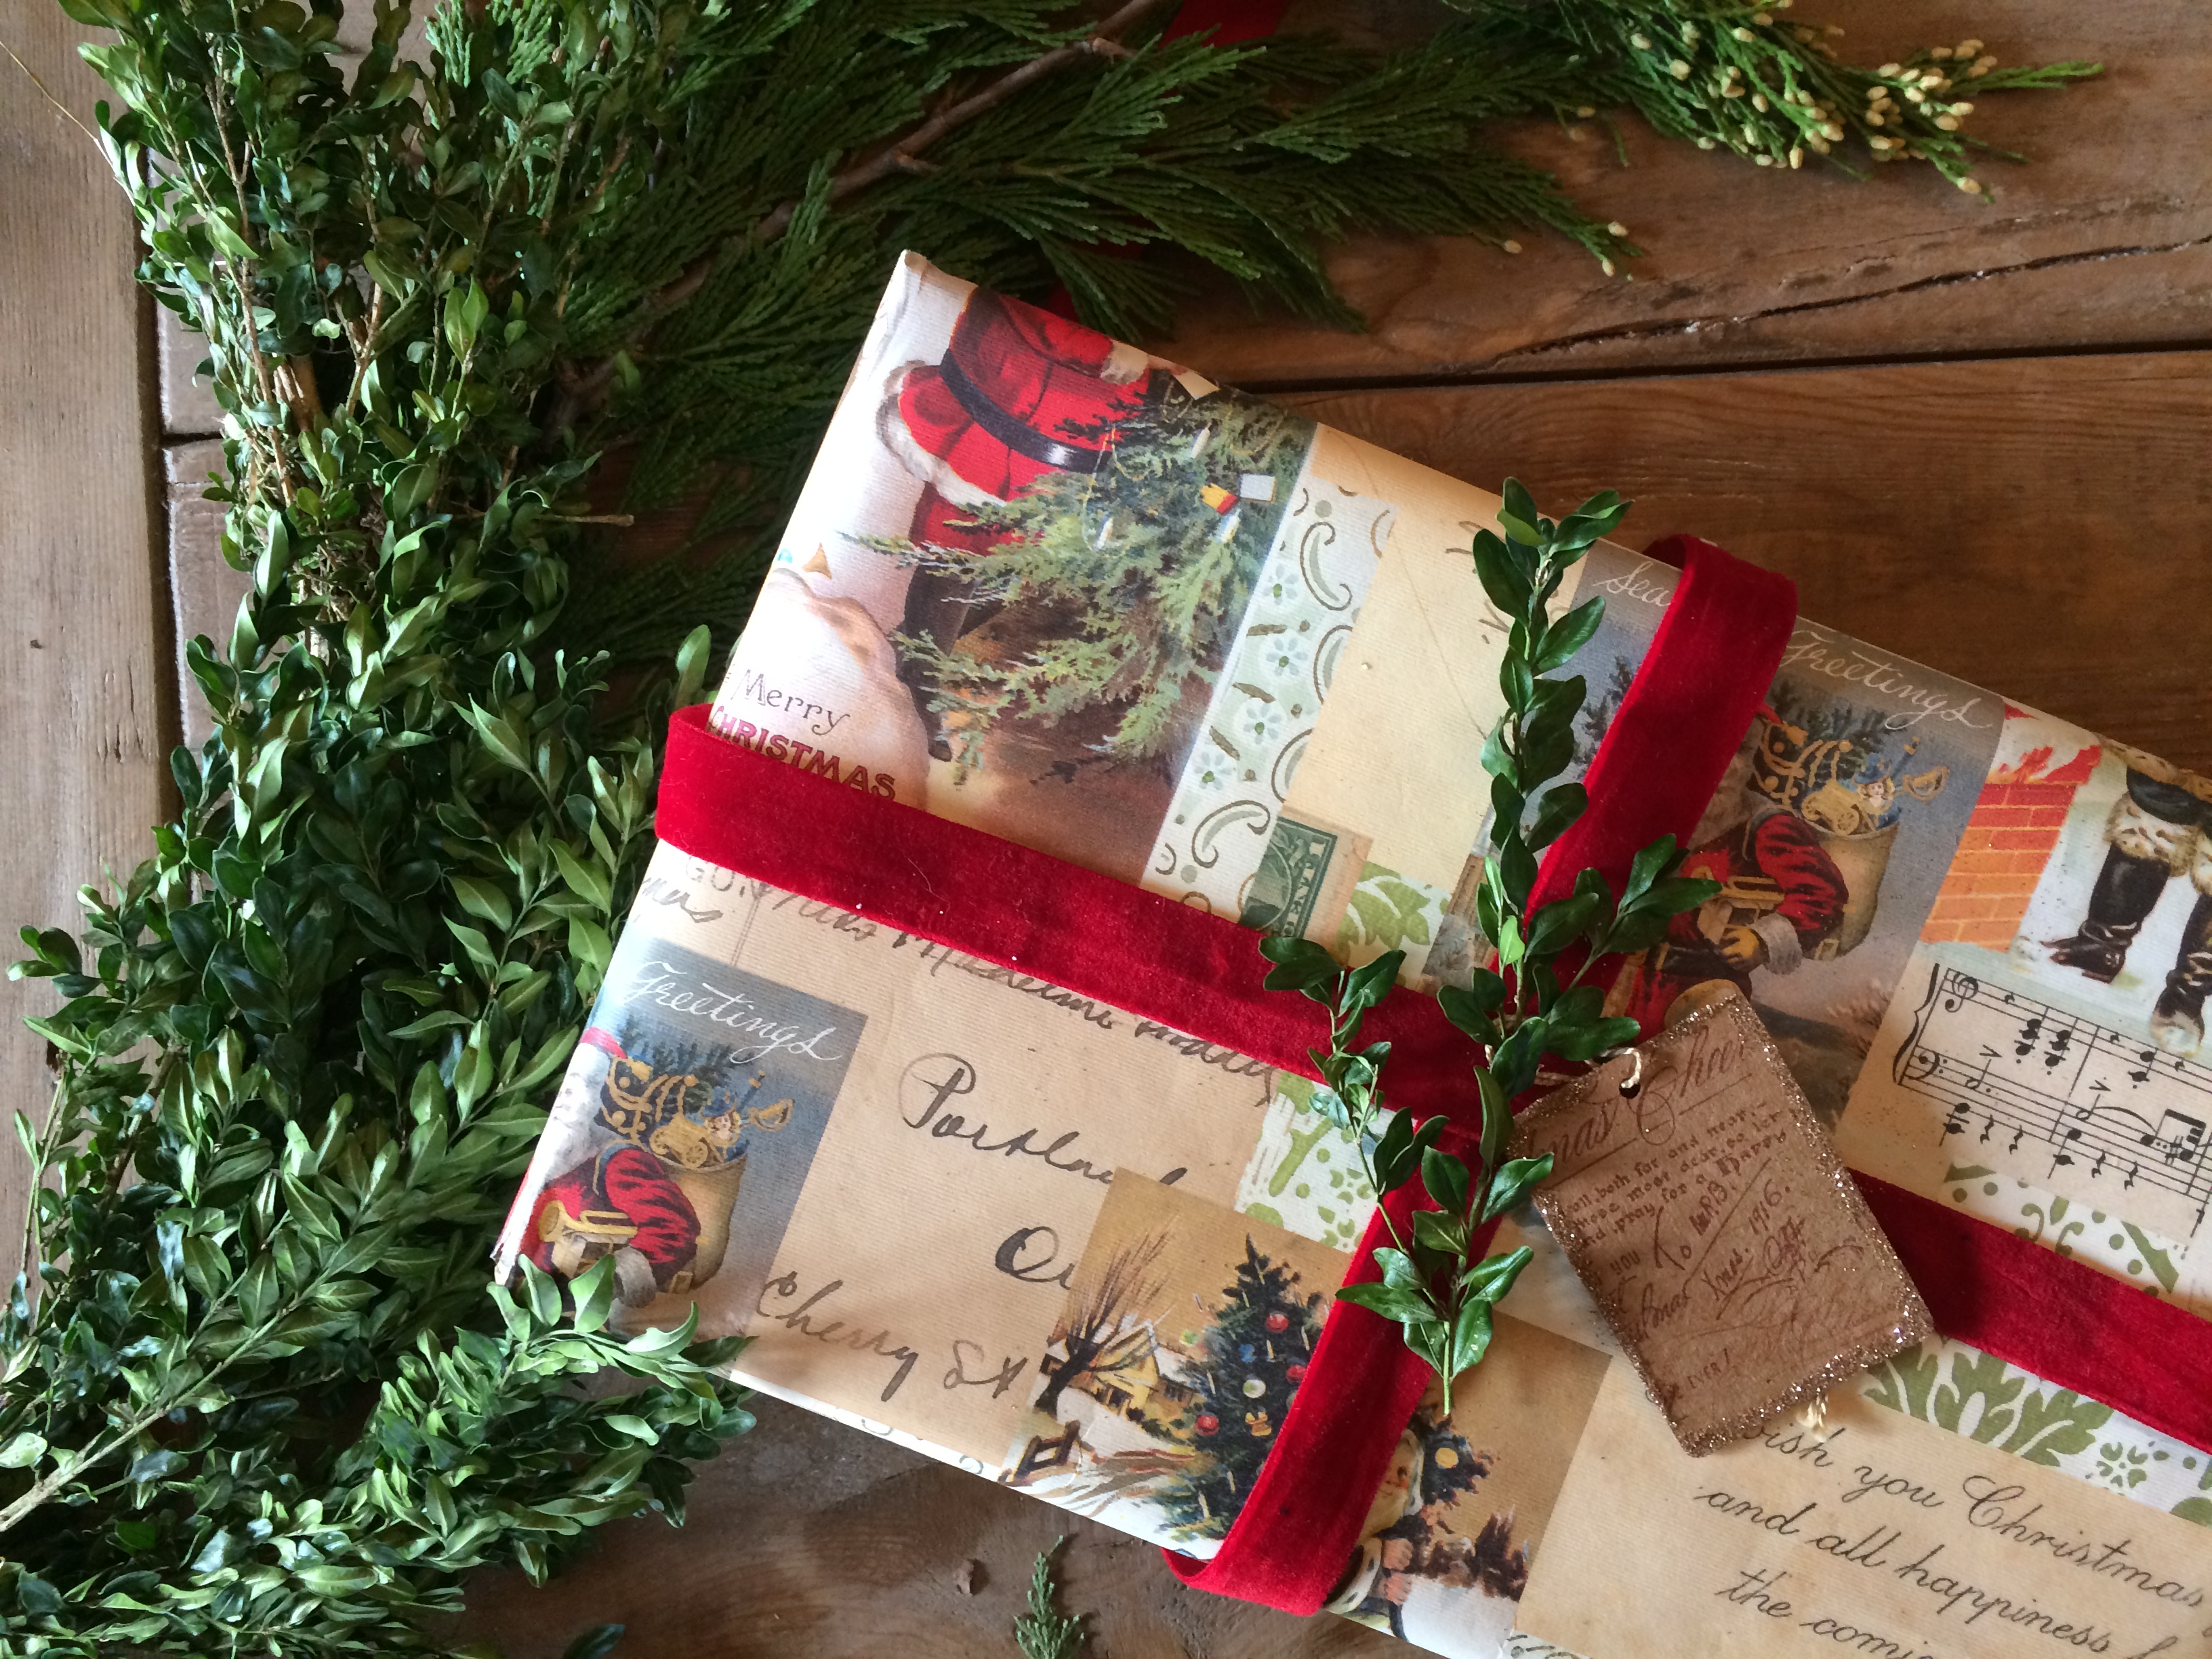
We topped it two ways… red velvet ribbon and
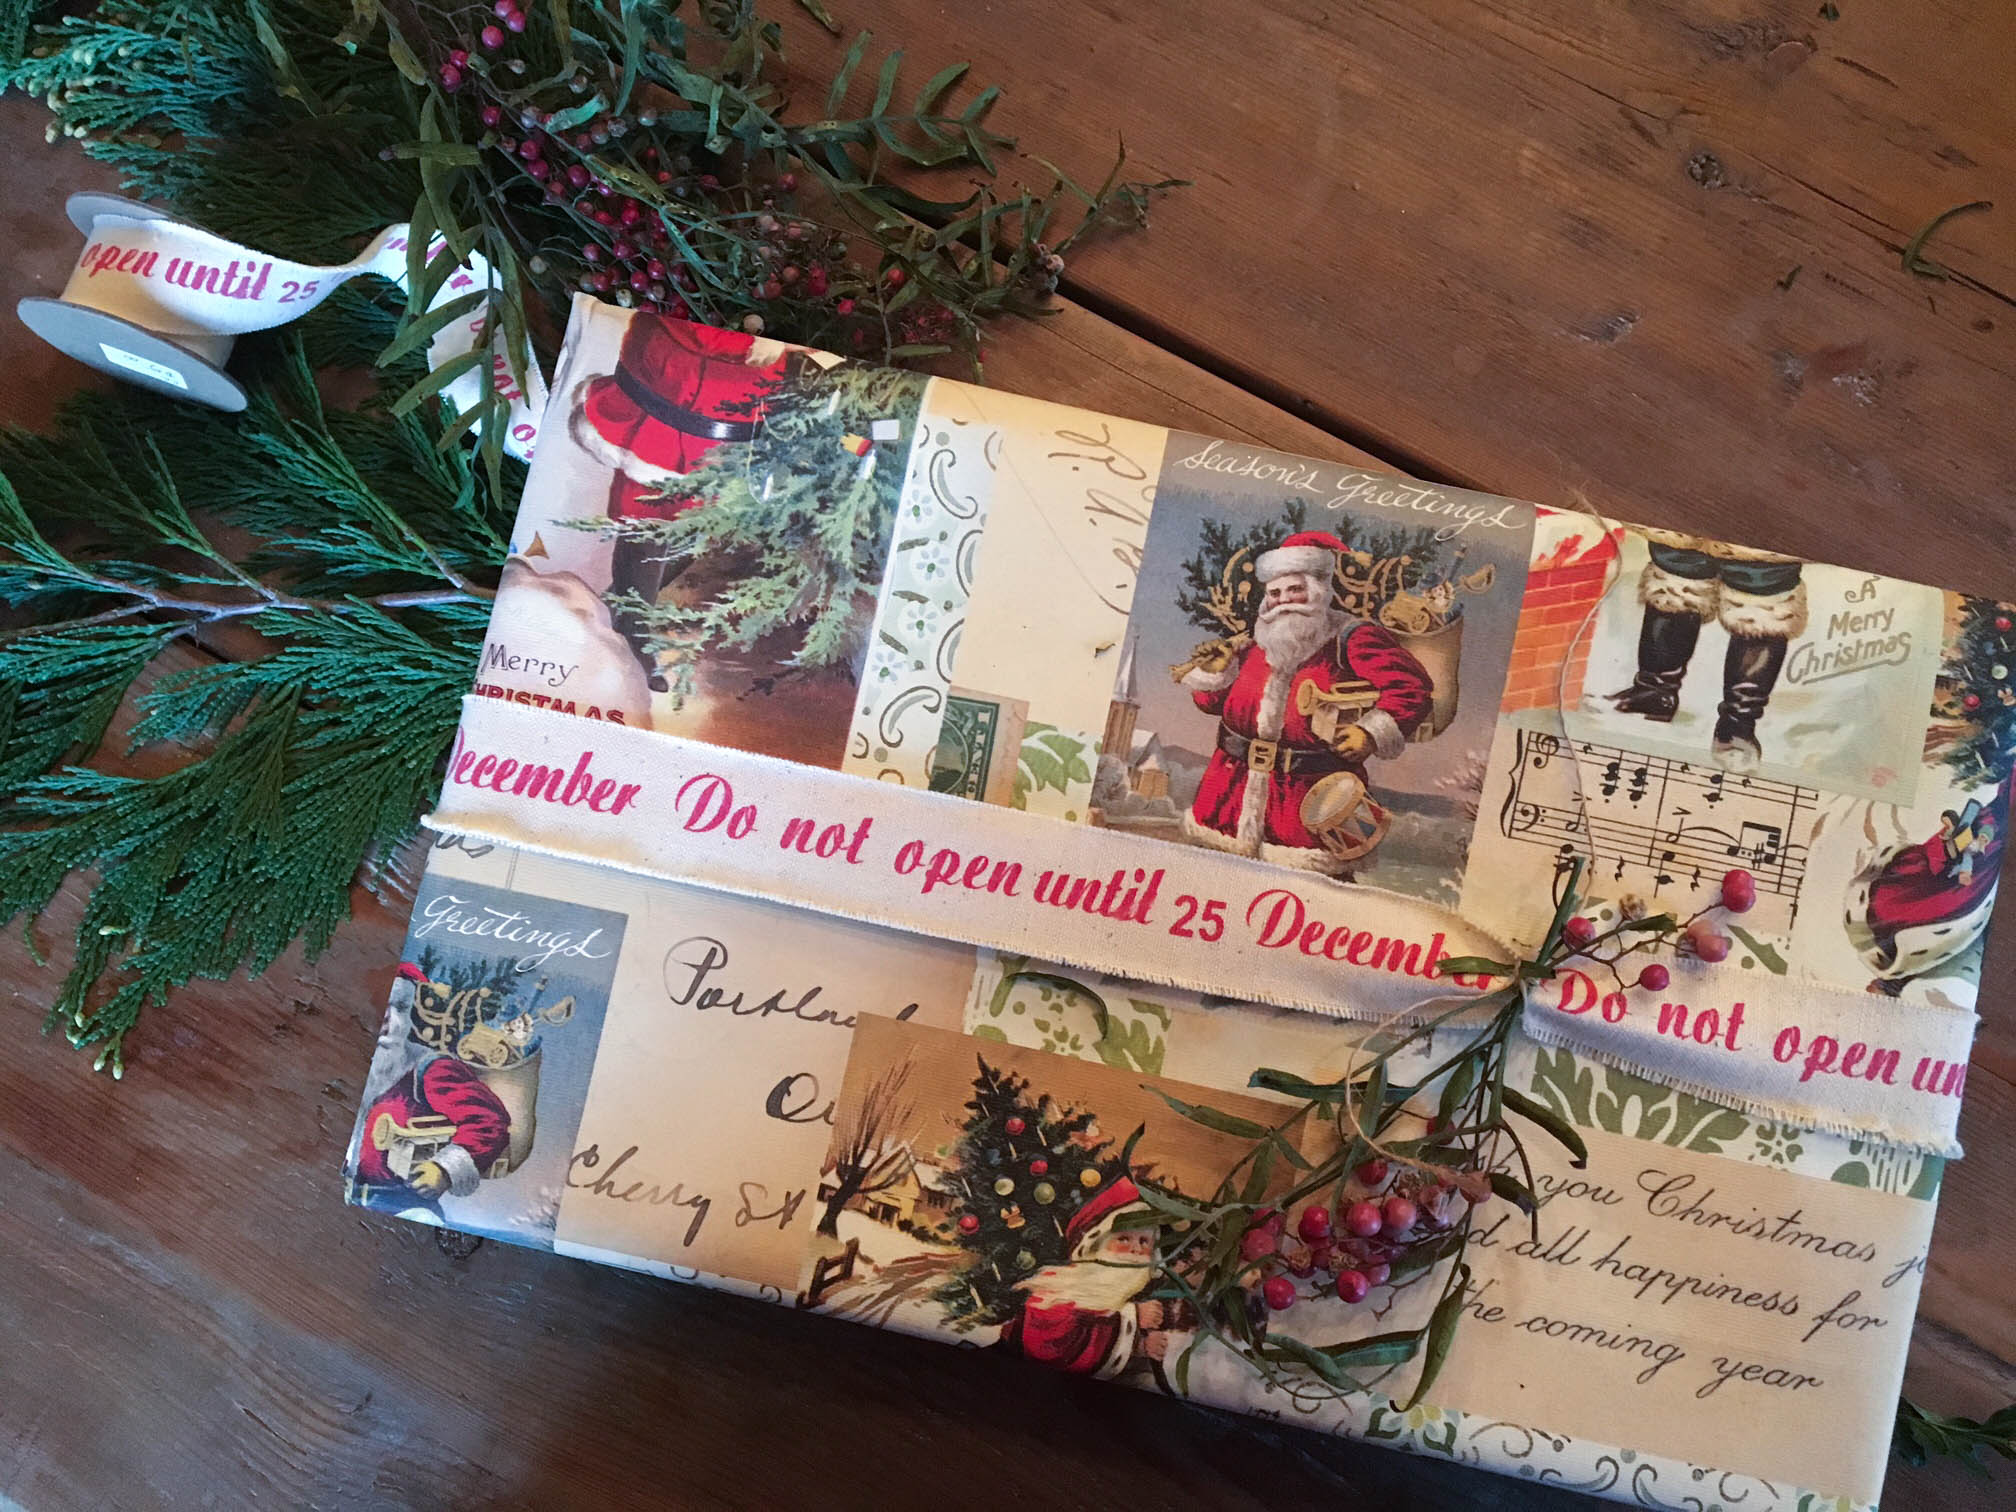
our “Do Not Open until 25 December” ribbon with a little sprig of pepper berries.
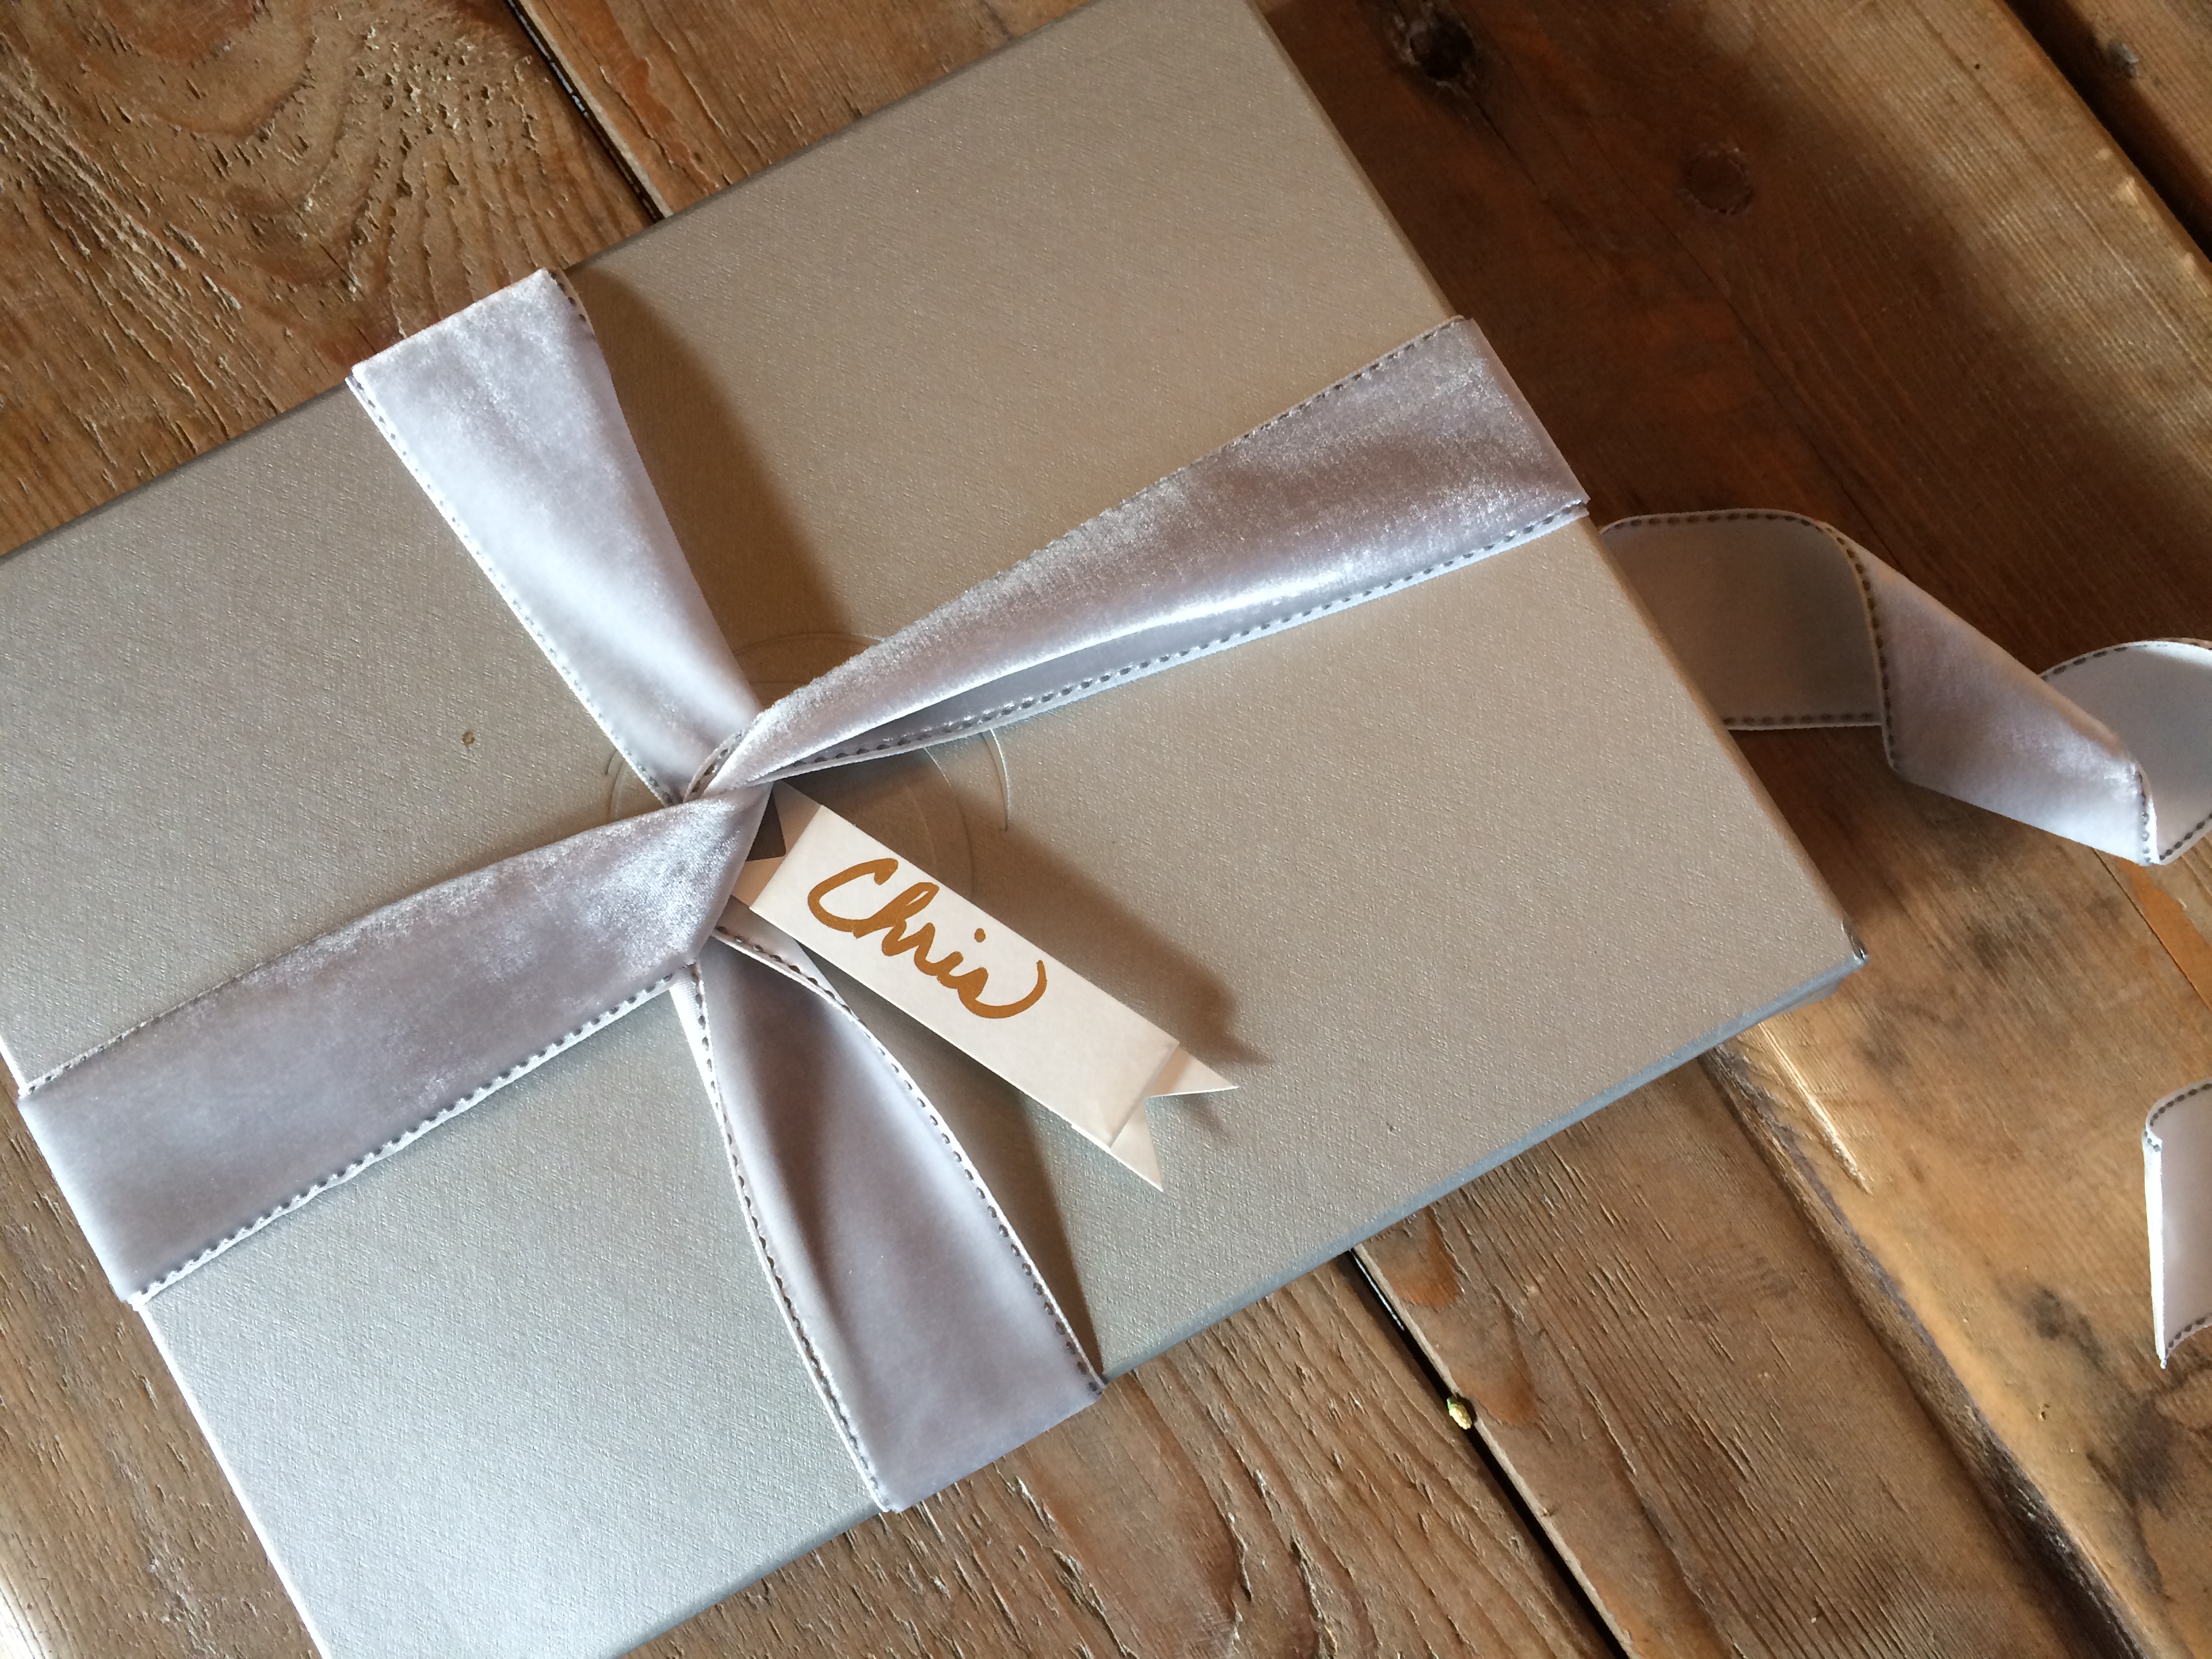
If you have a pretty box to wrap your gifts in, you can forgo the paper and just tie it with a beautiful ribbon and add a handwritten tag.
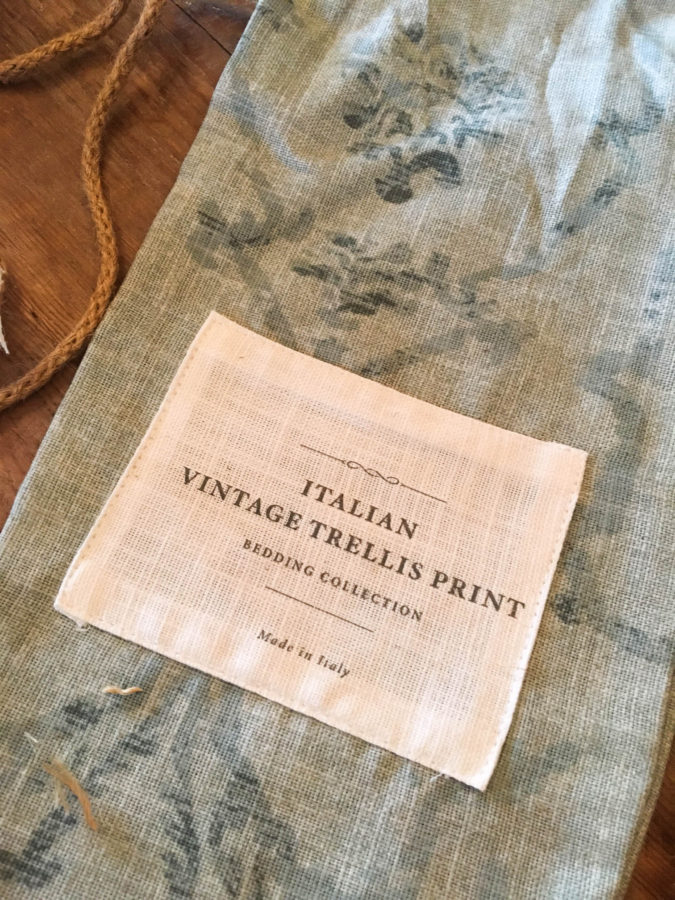
As I am known as the woman who cannot throw anything out…it was no different with these bags in which pillowcases and sheets I bought at the Restoration Hardware outlet resided in. They are way too pretty to toss so I adhered other materials over the original print to repurpose them.
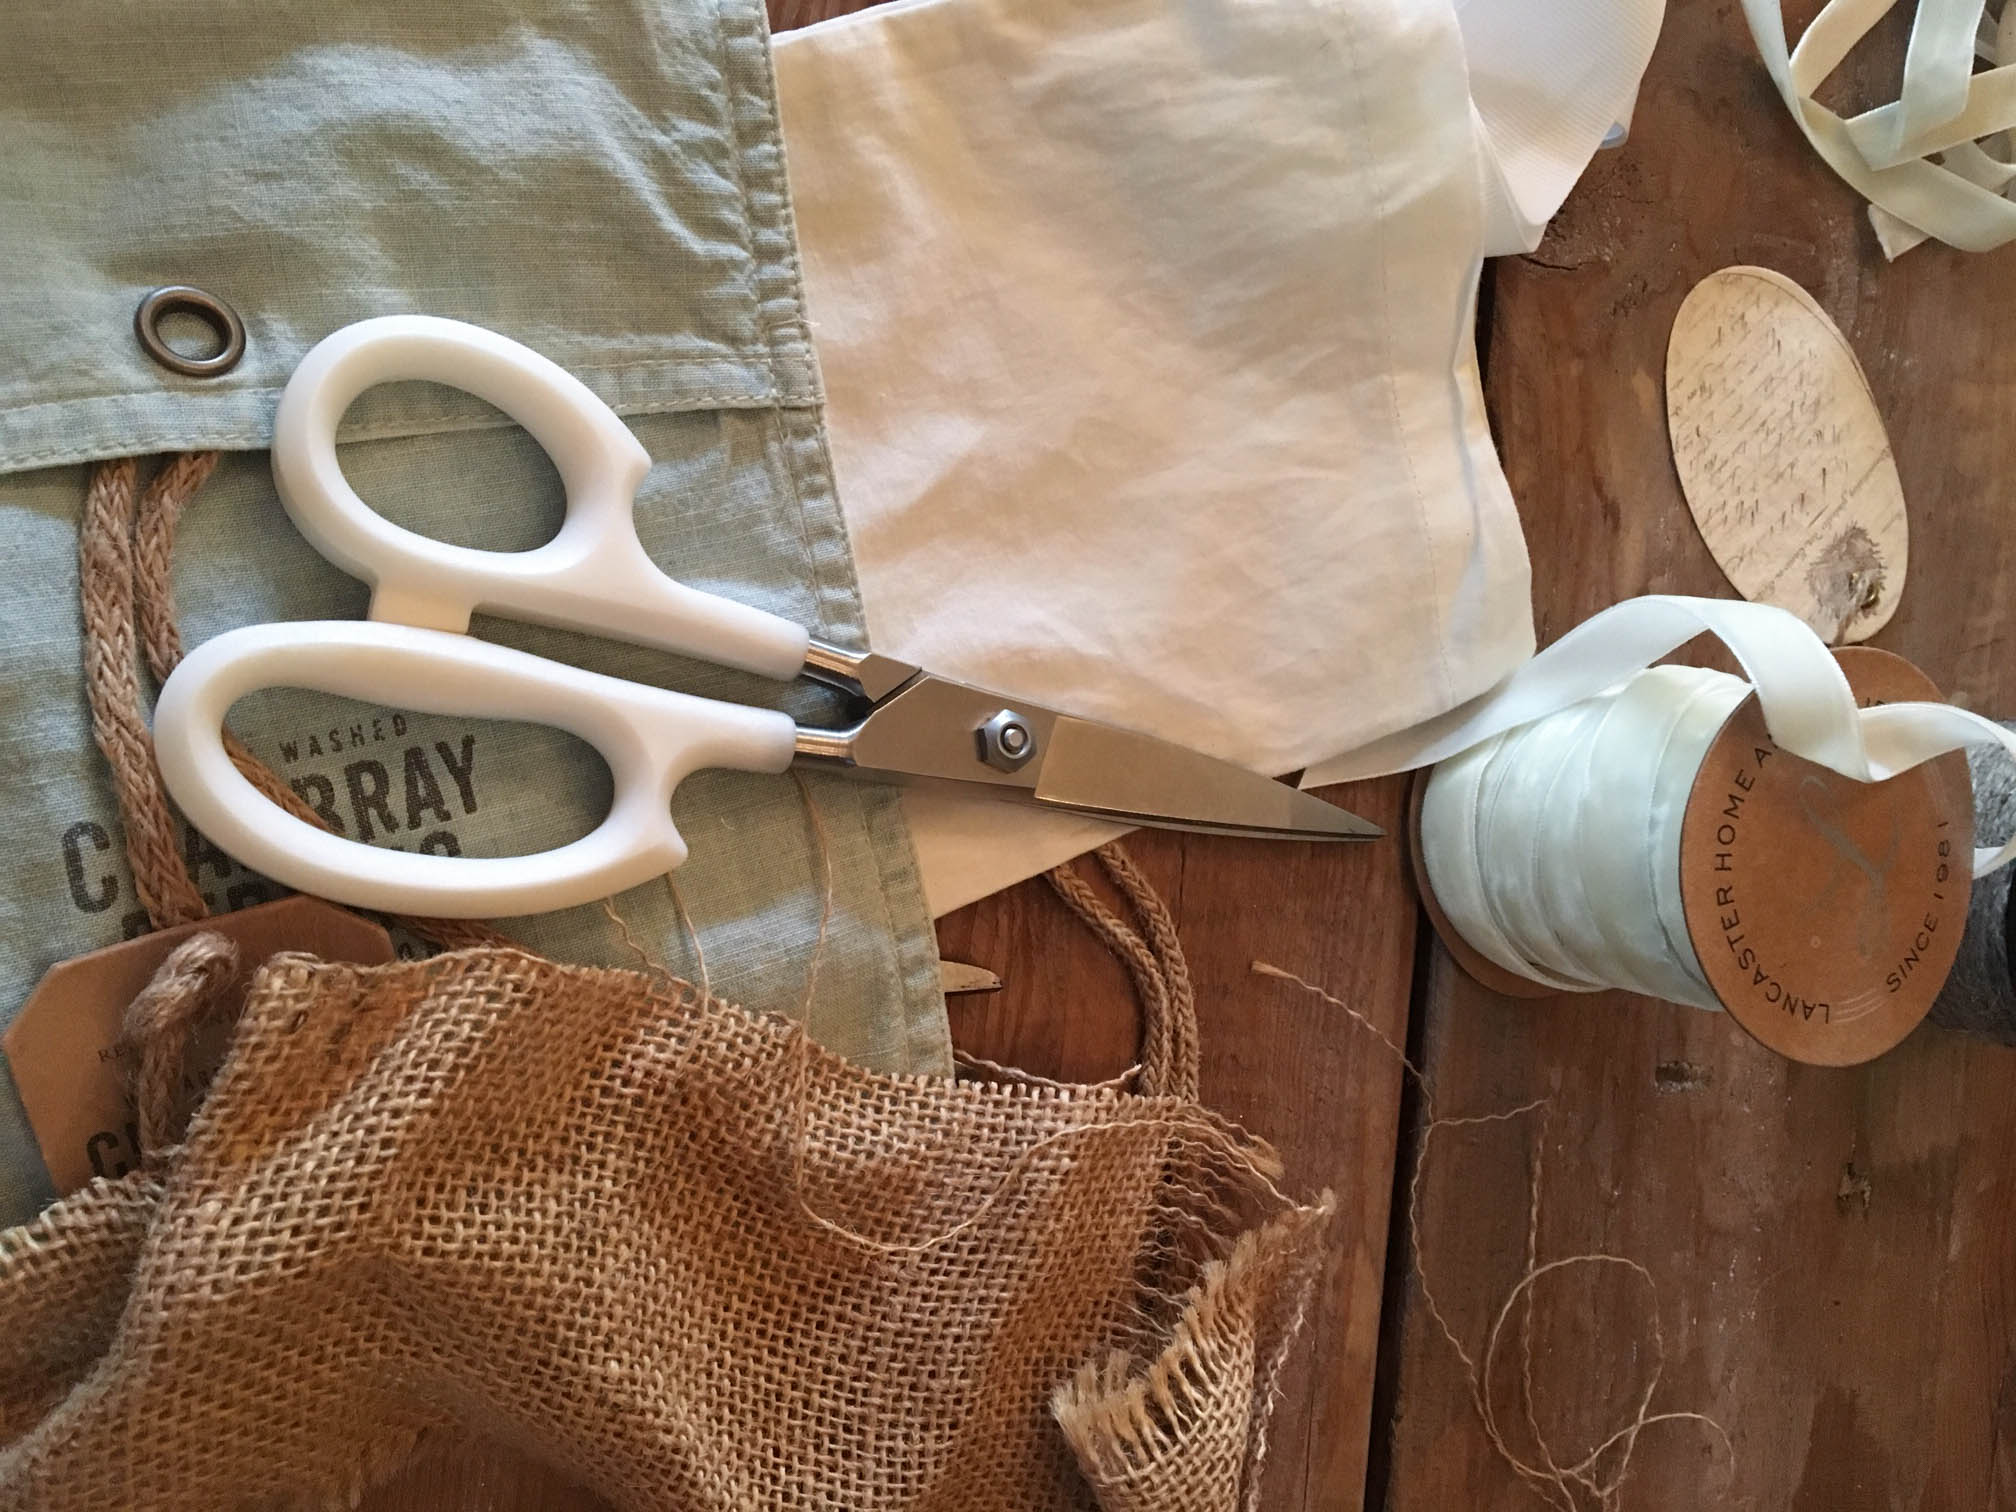
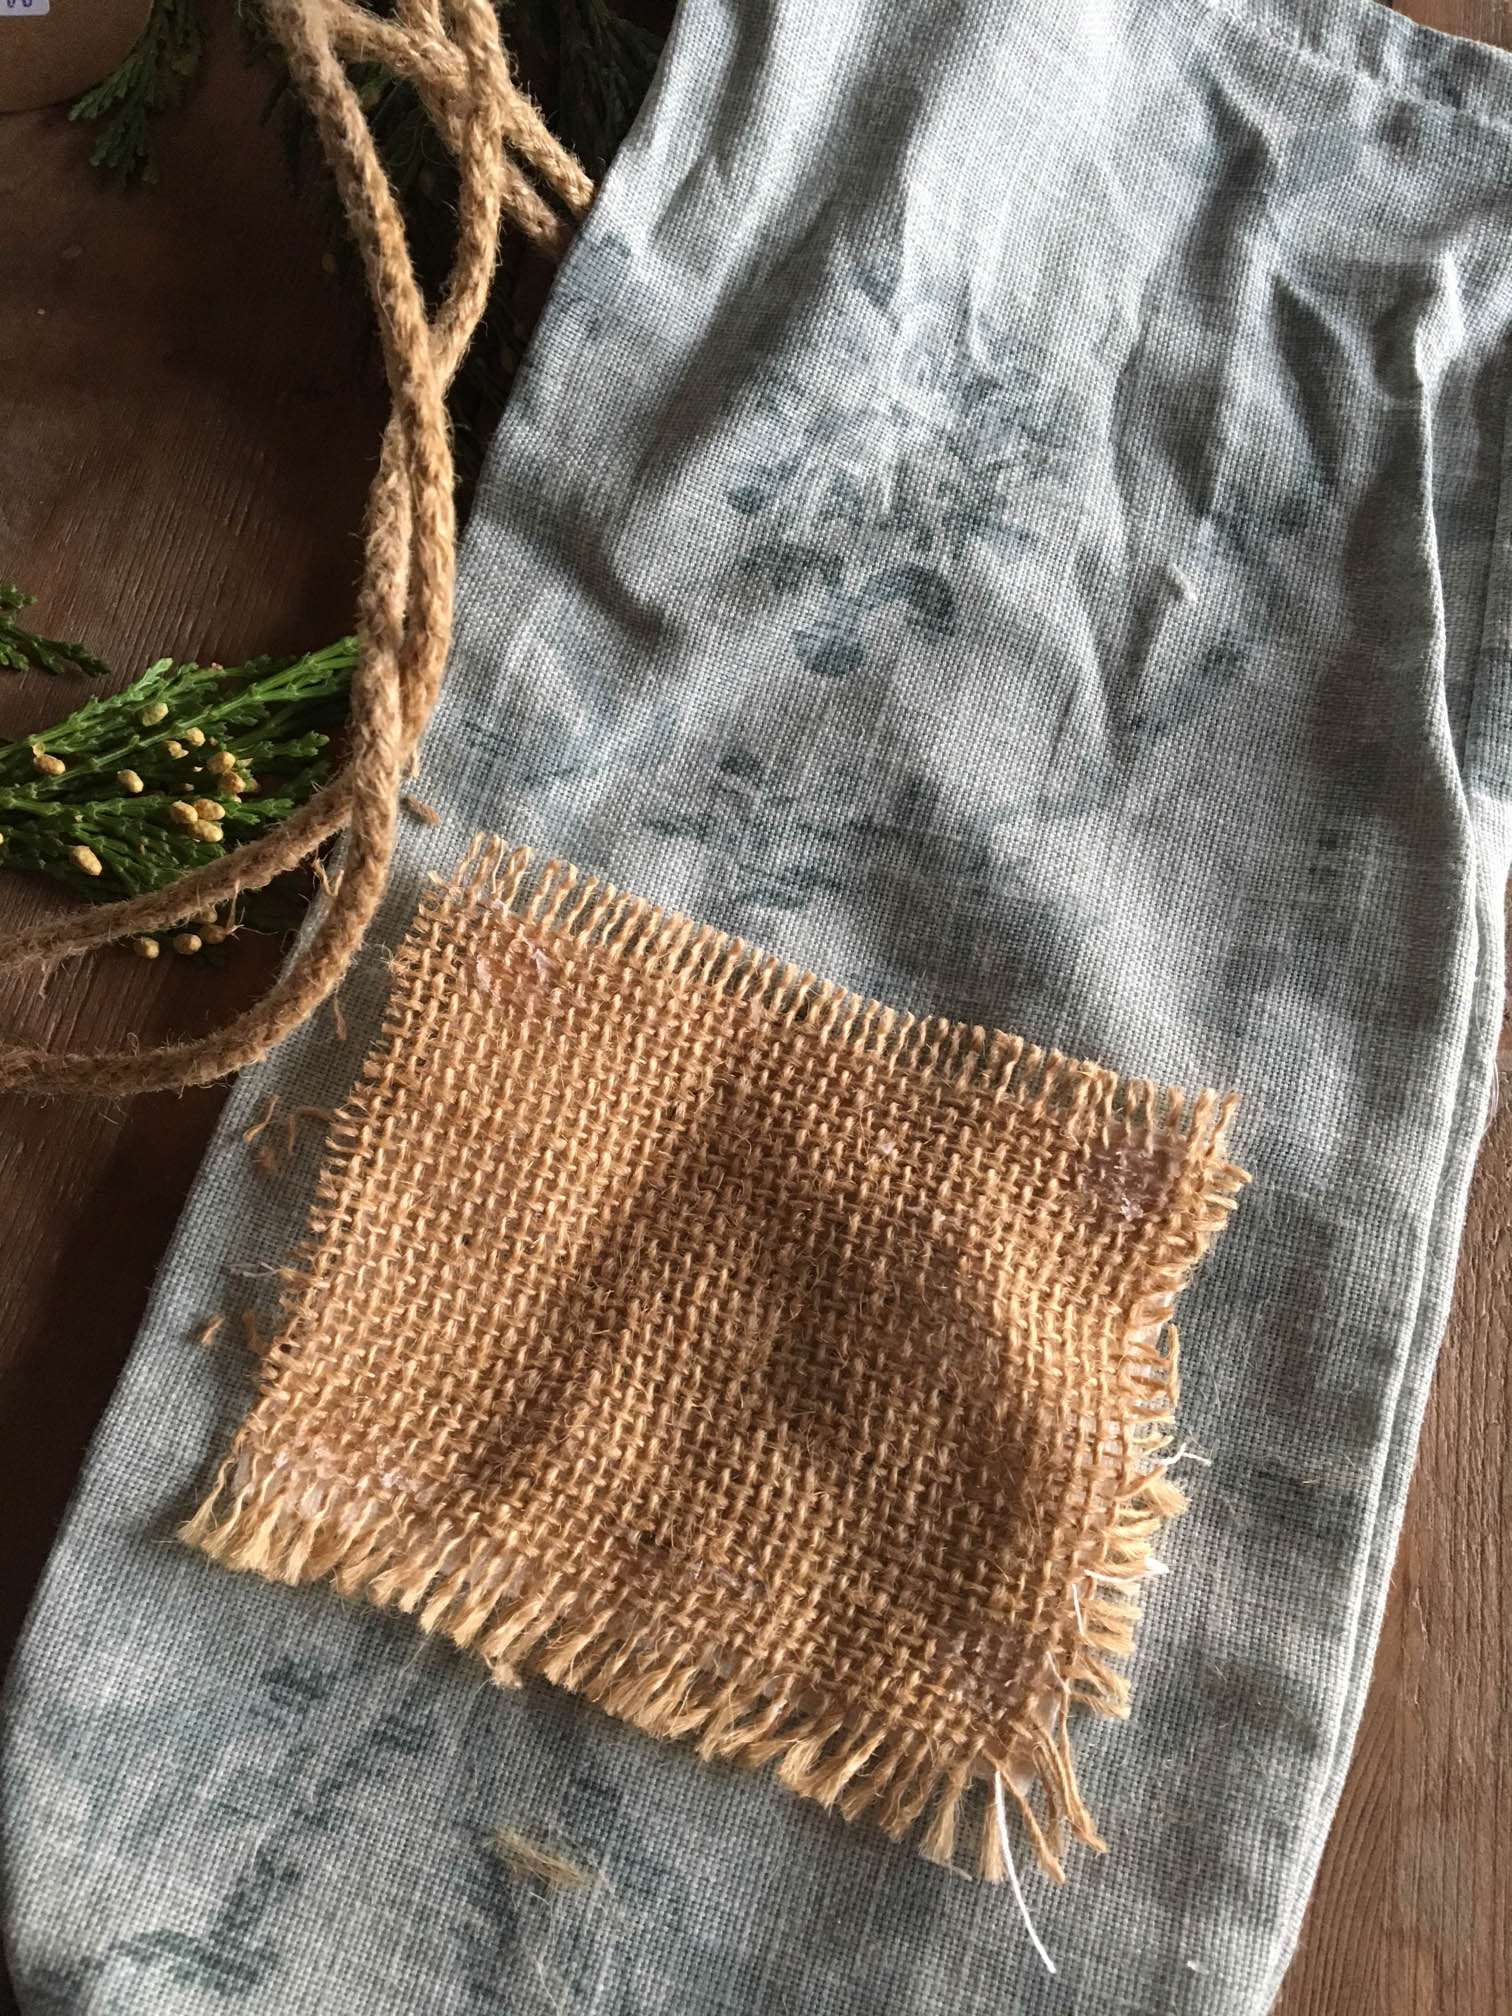
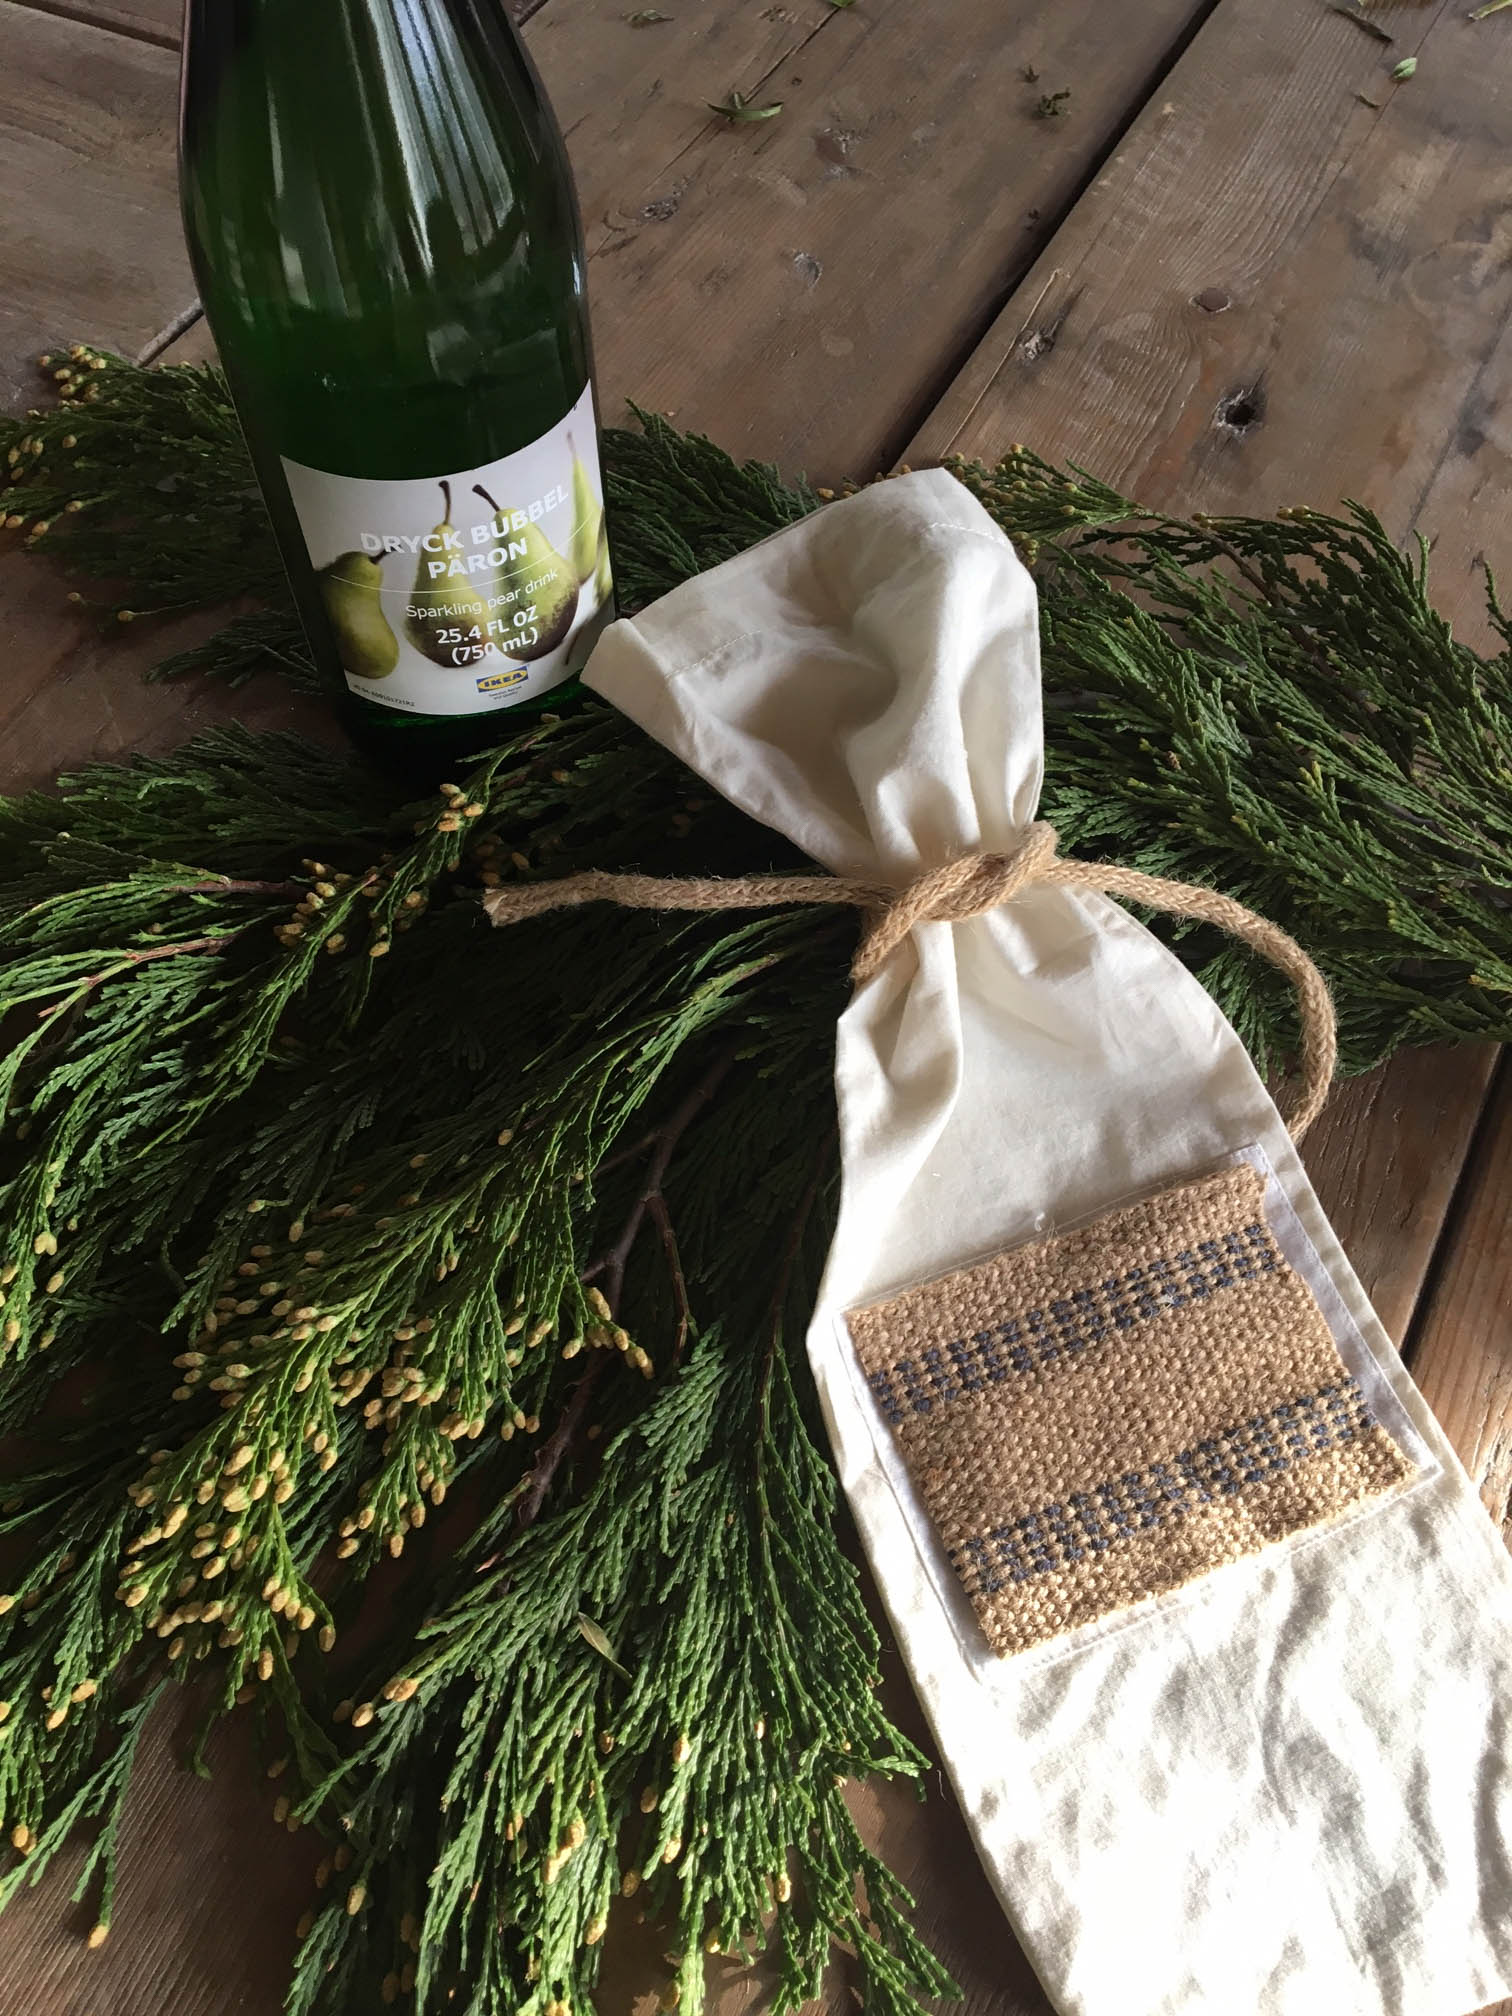
Taking burlap pieces, ribbon and upholstery webbing, the old graphics were hidden and now there is room to personalize these bags with either fabric markers or paper labels.
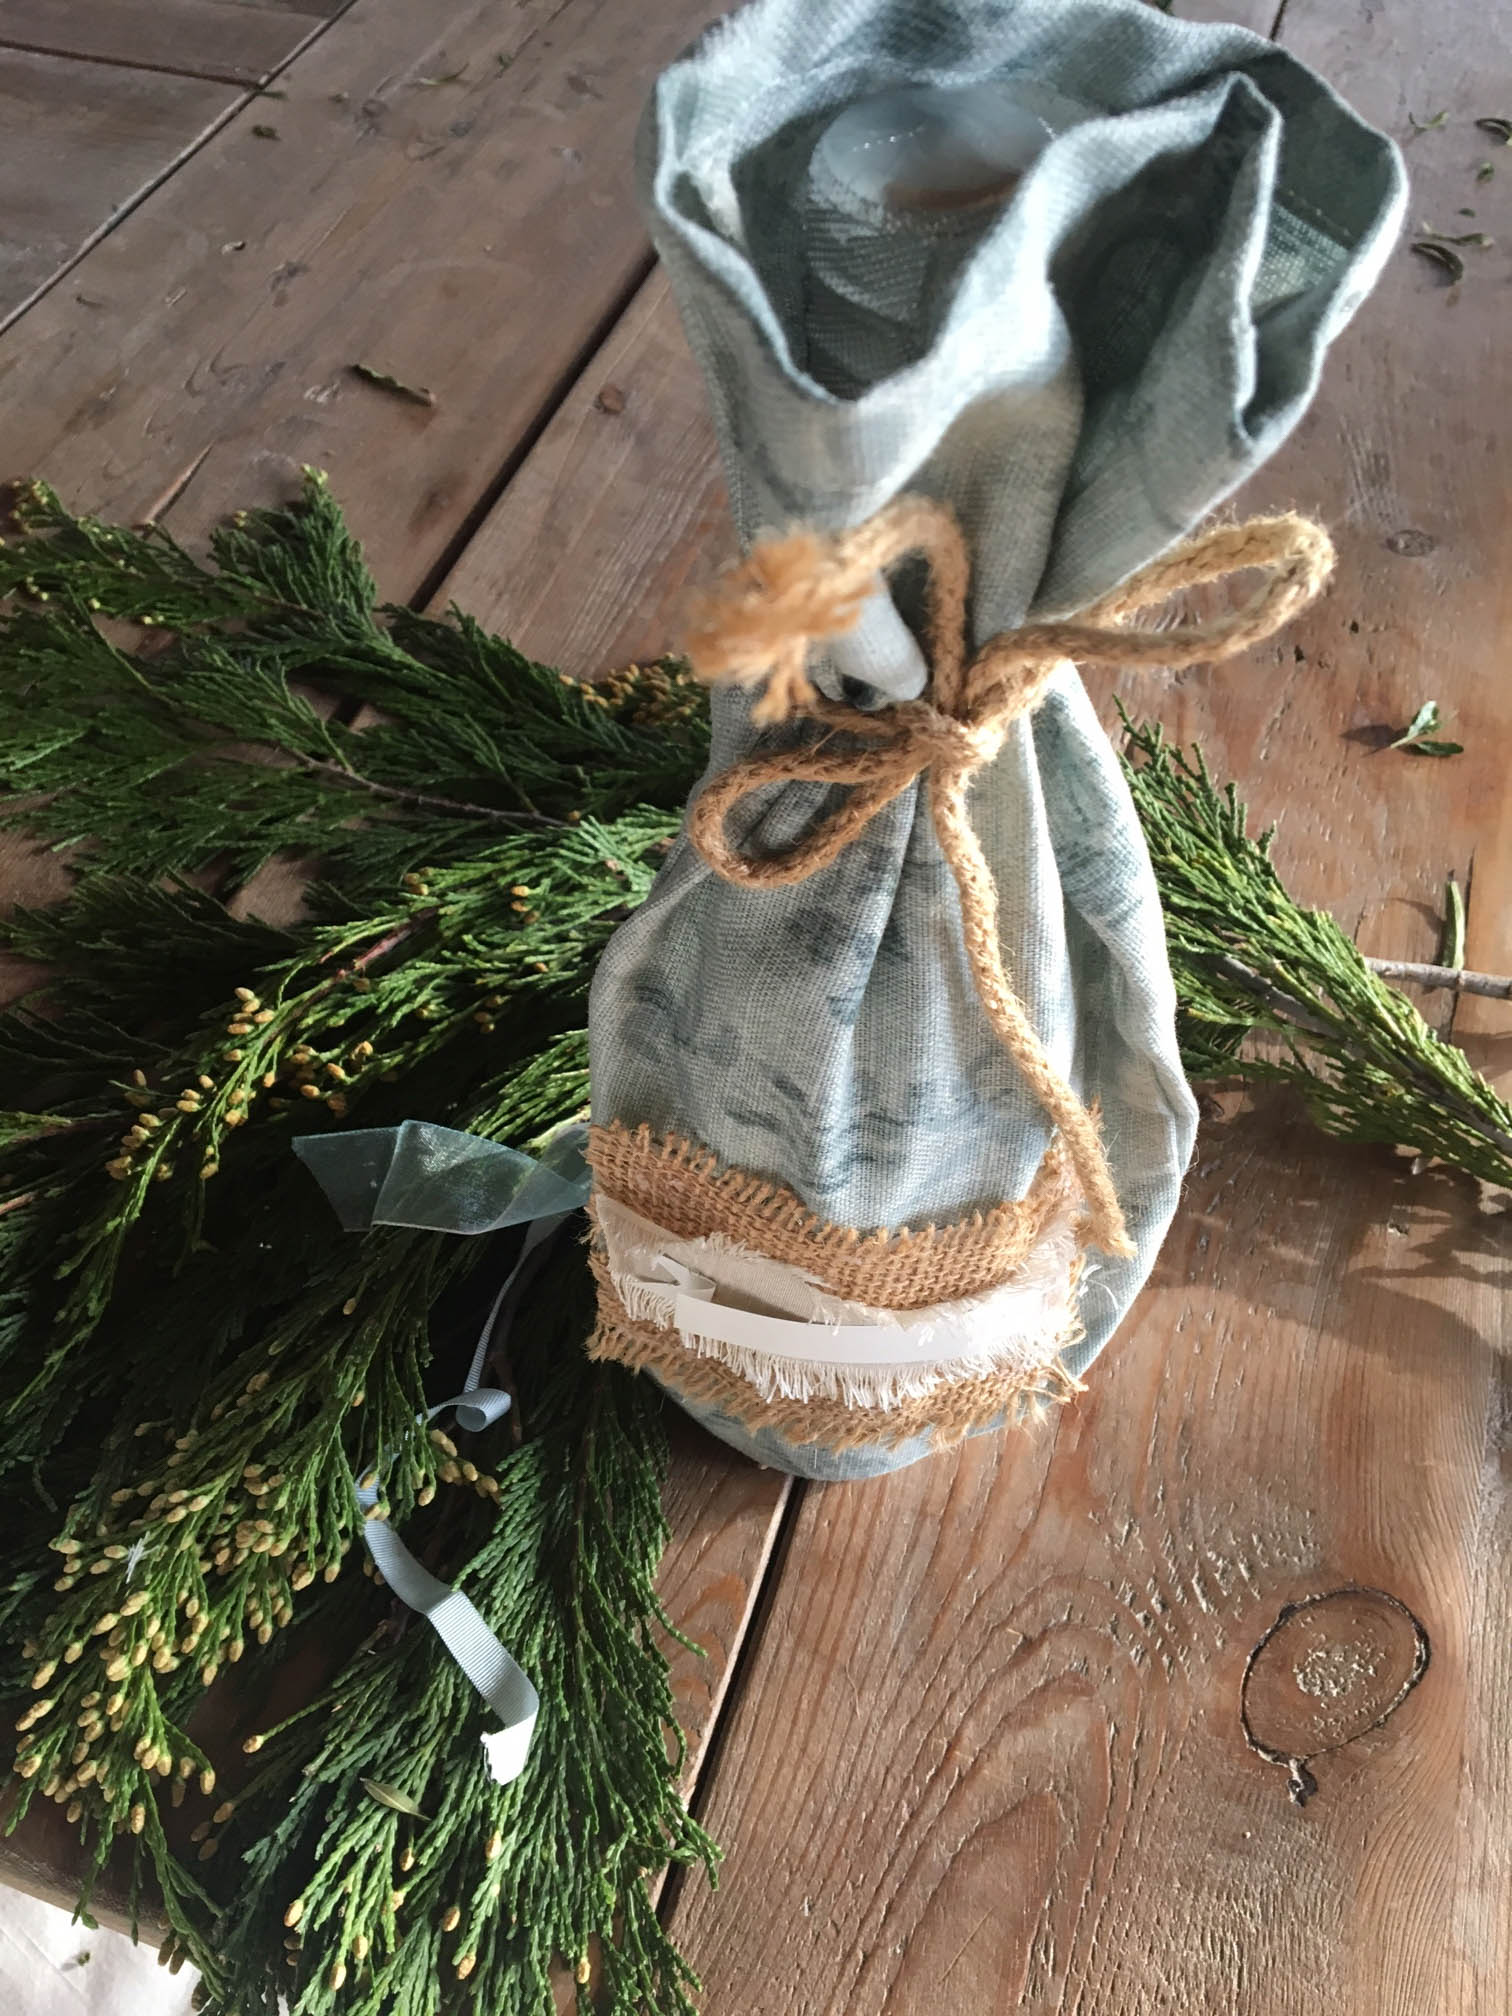
These sizes make for great wine bags.
I used a hot glue gun to adhere these embellishments on but you could also take out a needle and thread and use a few simple stitches to attach the extra elements.
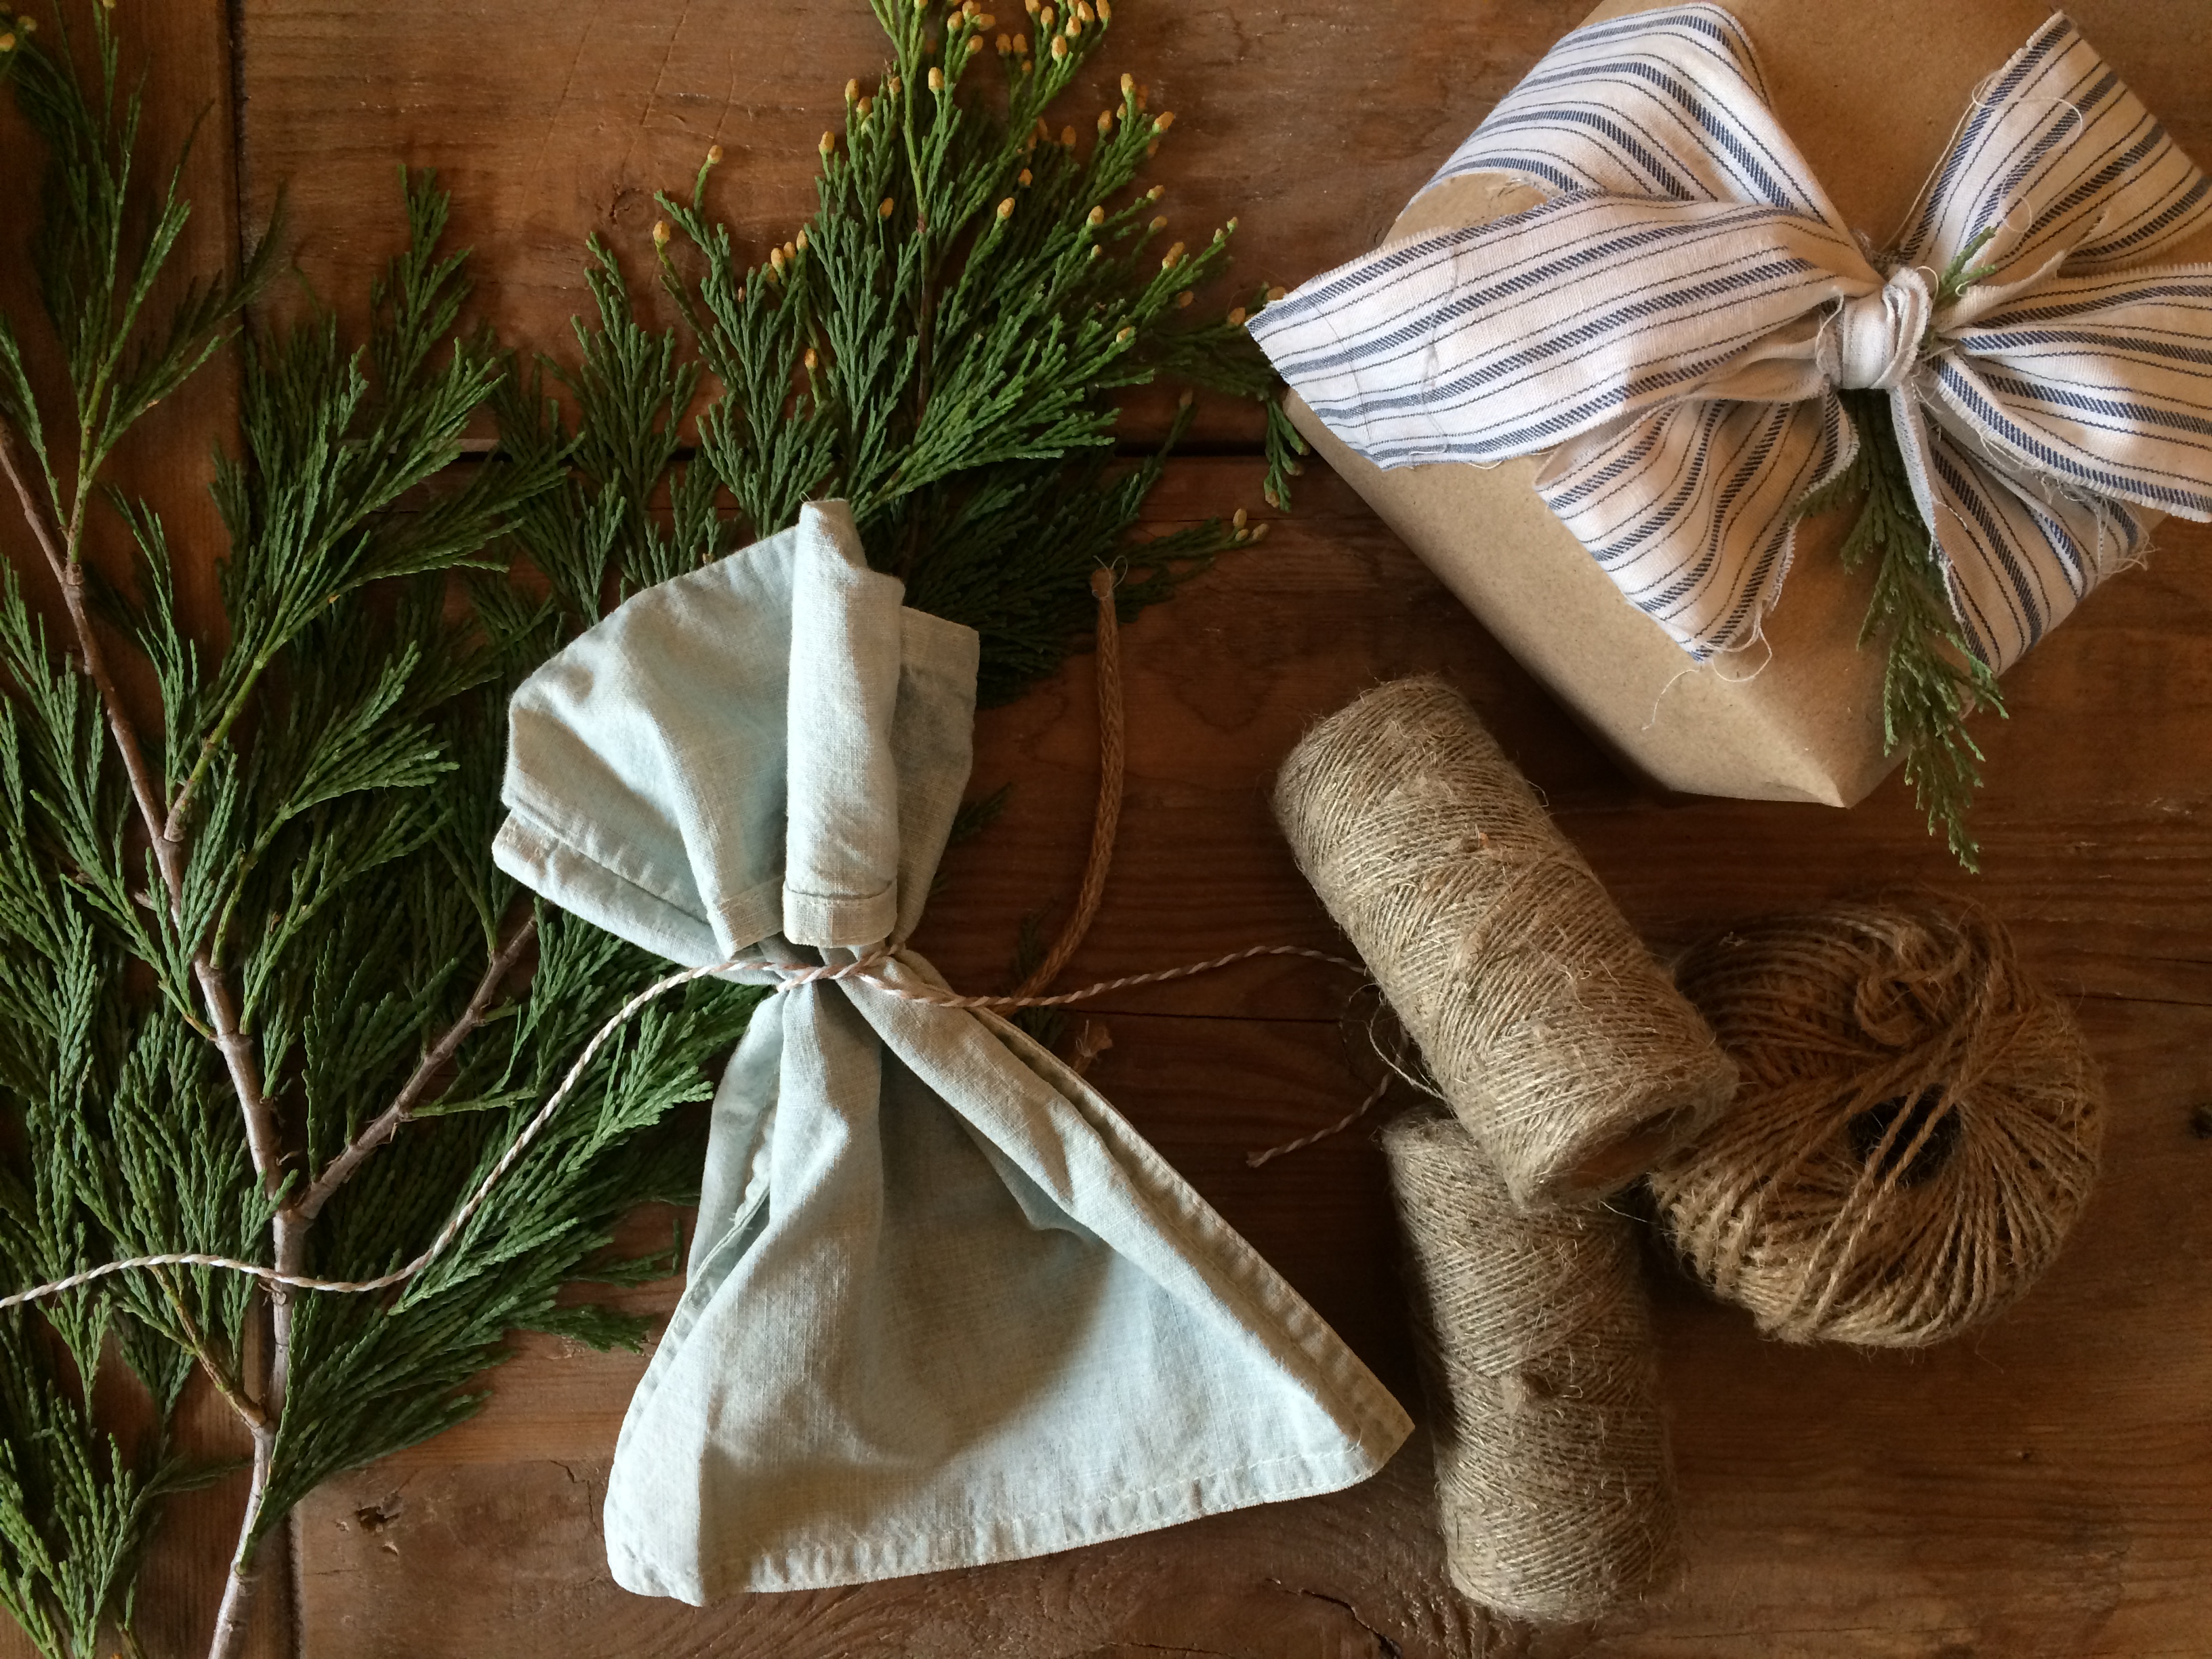
We love the chambray feel of this linen and this would make a cute jewelry pouch for presenting a gift in.
Anyway you wrap it… delight in the process… think about what the recipient might appreciate, what is his/ her aesthetic and have fun!!
I have to leave you with this little tidbit so that you don’t think that my gifts are already wrapped and sitting beautifully under the tree. When preparing and shooting this blog post in the dining room, one of my sons popped in and asked incredulously, “Mom, are you wrapping presents already?” They know the drill, mom wraps on Christmas Eve. With the hustle and bustle of raising a family of 5 little ones, this tradition was started years ago where I stay up most of Christmas Eve night wrapping gifts. I love that tradition as crazy as it sounds, for in the years when they were all little, it was incredibly peaceful to sit in front of the Christmas tree, with a Christmas movie playing while I quietly wrapped… all alone, reflecting on both the gifts I was wrapping and the year that was almost coming to a close. It could also be that I learned it from my grandmother who partakes in the same ritual and my mom who still to this day, wraps on Christmas Eve. Sometimes she takes it a little too far and it still wrapping Christmas morning!
It is in the giving that we delight, it is in the process of creating that we enliven our spirit and it is in keeping traditions alive that we generate a connection to the loved ones that have graced us with the gift of their acts of love.
~ Meg and Maggie


Thank you for all of your creative ideas and inspiration. Hope you have a wonderful Christmas and a happy, healthy New Year.
Hi Mimi! It was so wonderful to catch up with you at our last sale and to finally meet your husband! Thank you for reading AND for commenting! We truly appreciate it and wish you a wonderful Christmas season with that beautiful family of yours!
Meg
Wow! Beautiful and inspiring. Loved your ideas!
Thank you so very much Nancy for commenting! We are so happy that you loved the ideas and we wish you all the best for the most beautiful days of Christmas to follow! Meg