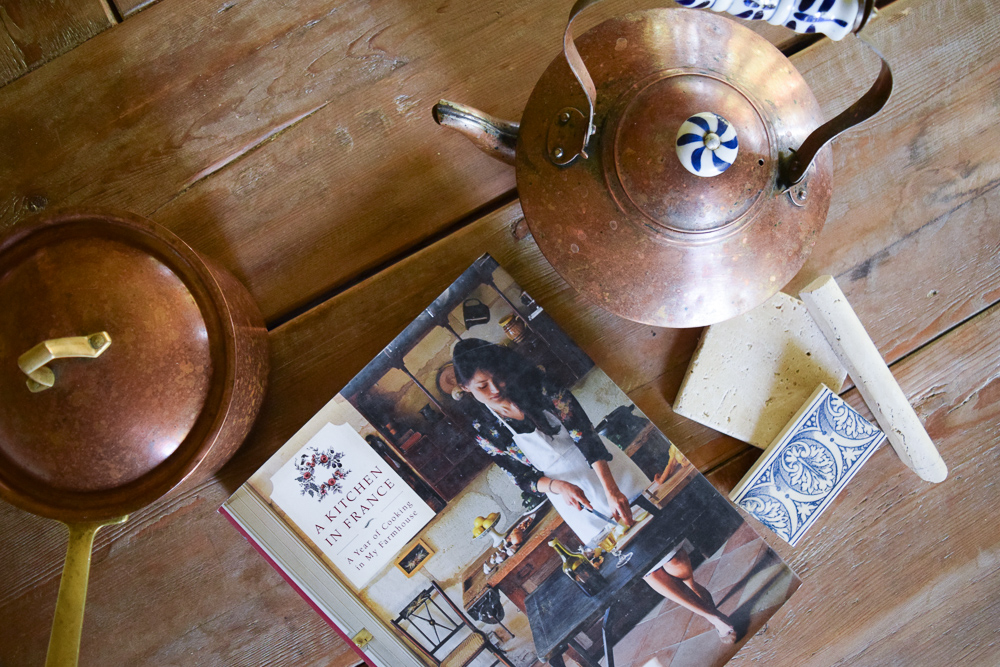
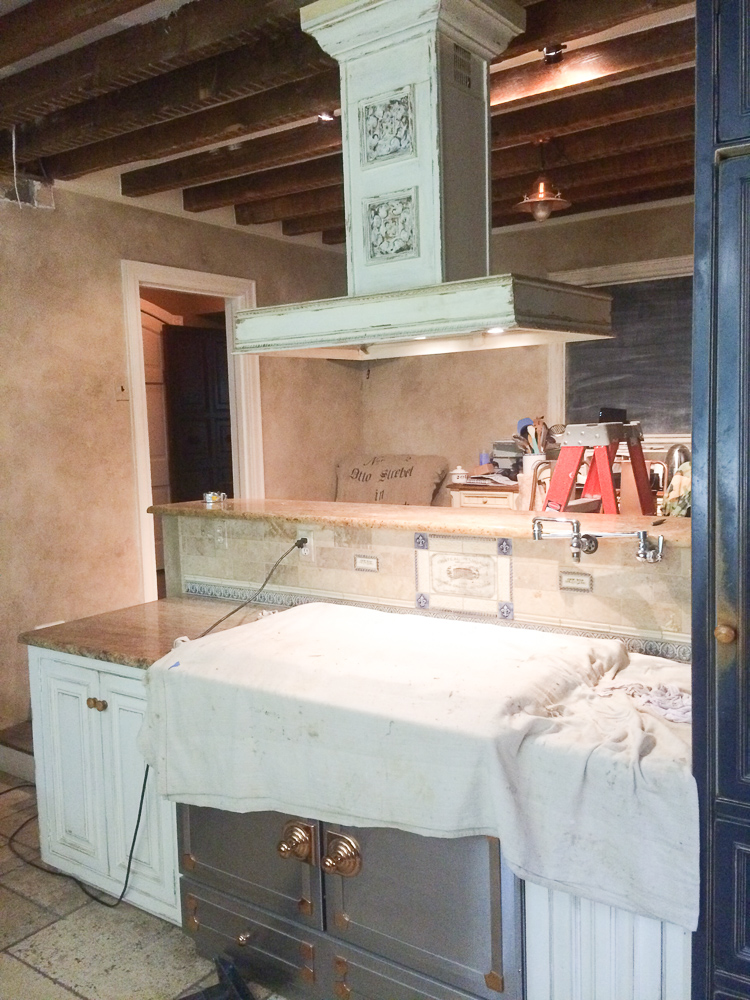
The ago old proverb of “the cobbler’s children are often the worse shod” has been ringing a bell for me over the last couple of years. This proverb was voiced in order to state that one does not always benefit from the product of their trade. In the Arabic culture they say, “at the potter’s house water is served in a broken jug.” The Chinese have been known to say, “the lady who sells fans fans herself with her hands.” Here at my house, all of the aforementioned could apply. Since starting Life’s Patina, I am often finding myself with a million design and decor projects of a personal nature that are left hanging in the air, unfinished or in a state of “half started, but I just need to find time and (some missing object)_______ in order to finish it.” A recent unexpected washing machine malfunction forced my hand in launching into a kitchen project that I had long been contemplating. The above photo has been my inspiration for giving our kitchen a facelift. We moved in 12 years ago, and at that time we did some cosmetic projects to bring the kitchen up to date from its 1980’s redo. New wood and stone flooring, a tile backsplash, wall and cabinet painting completed the unique kitchen space which is comprised of four separate areas on varying levels. When I completed this work, I had selected natural materials that went with the age of the house.
The areas that we left untouched were the ceiling and its dated high hats and the long wall of cherry cabinets that ran
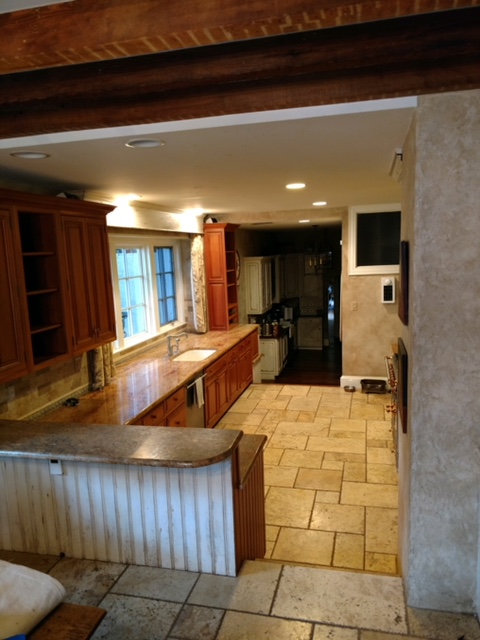
the entire left hand side of both parts of the kitchen. Those cabinets, while perfectly good cabinets, create a long hard line as you enter the kitchen. 12 years ago, my artist friend, Jennifer, painted the lower level butler’s pantry area cabinets in a distressed cream. I had contemplated removing the dry wall ceiling for awhile now due to some buckling and cracking in it caused by a leak from the bathroom above (there are always leaks in old houses). The high hats also seemed to fight with the age of the house and now that there are some pretty awesome semi flush mount ceiling light options, I had wanted to move in that direction. Right before we were leaving for our summer vacation, the washing machine which is housed above the kitchen, decided to spill its contents of gallons of water onto the floor of the laundry room unbeknownst to us for the loose hose causing this malfunction was behind the washing machine. This resulted in the water pouring through to the kitchen below, while I was unknowingly throwing loads of laundry in, again and again as I was working in my upstairs office. Yikes! This forced my hand in pulling the trigger to move the removal of the dry wall ceiling to the forefront of my To Do list. Perfect timing actually for we were about to leave the house for a two week time frame and since working in the kitchen is a necessity, being away would be the perfect time to have Simple Smart Solutions in to tear out the ceiling. Since the owner Bill and his crew had done this in another ceiling in the house a few years back, they were well versed in the mechanics of this and having worked with them on the Barn renovation, I knew I could work with them from afar and trust that the project was moving in the right direction. Key points in home renovation!
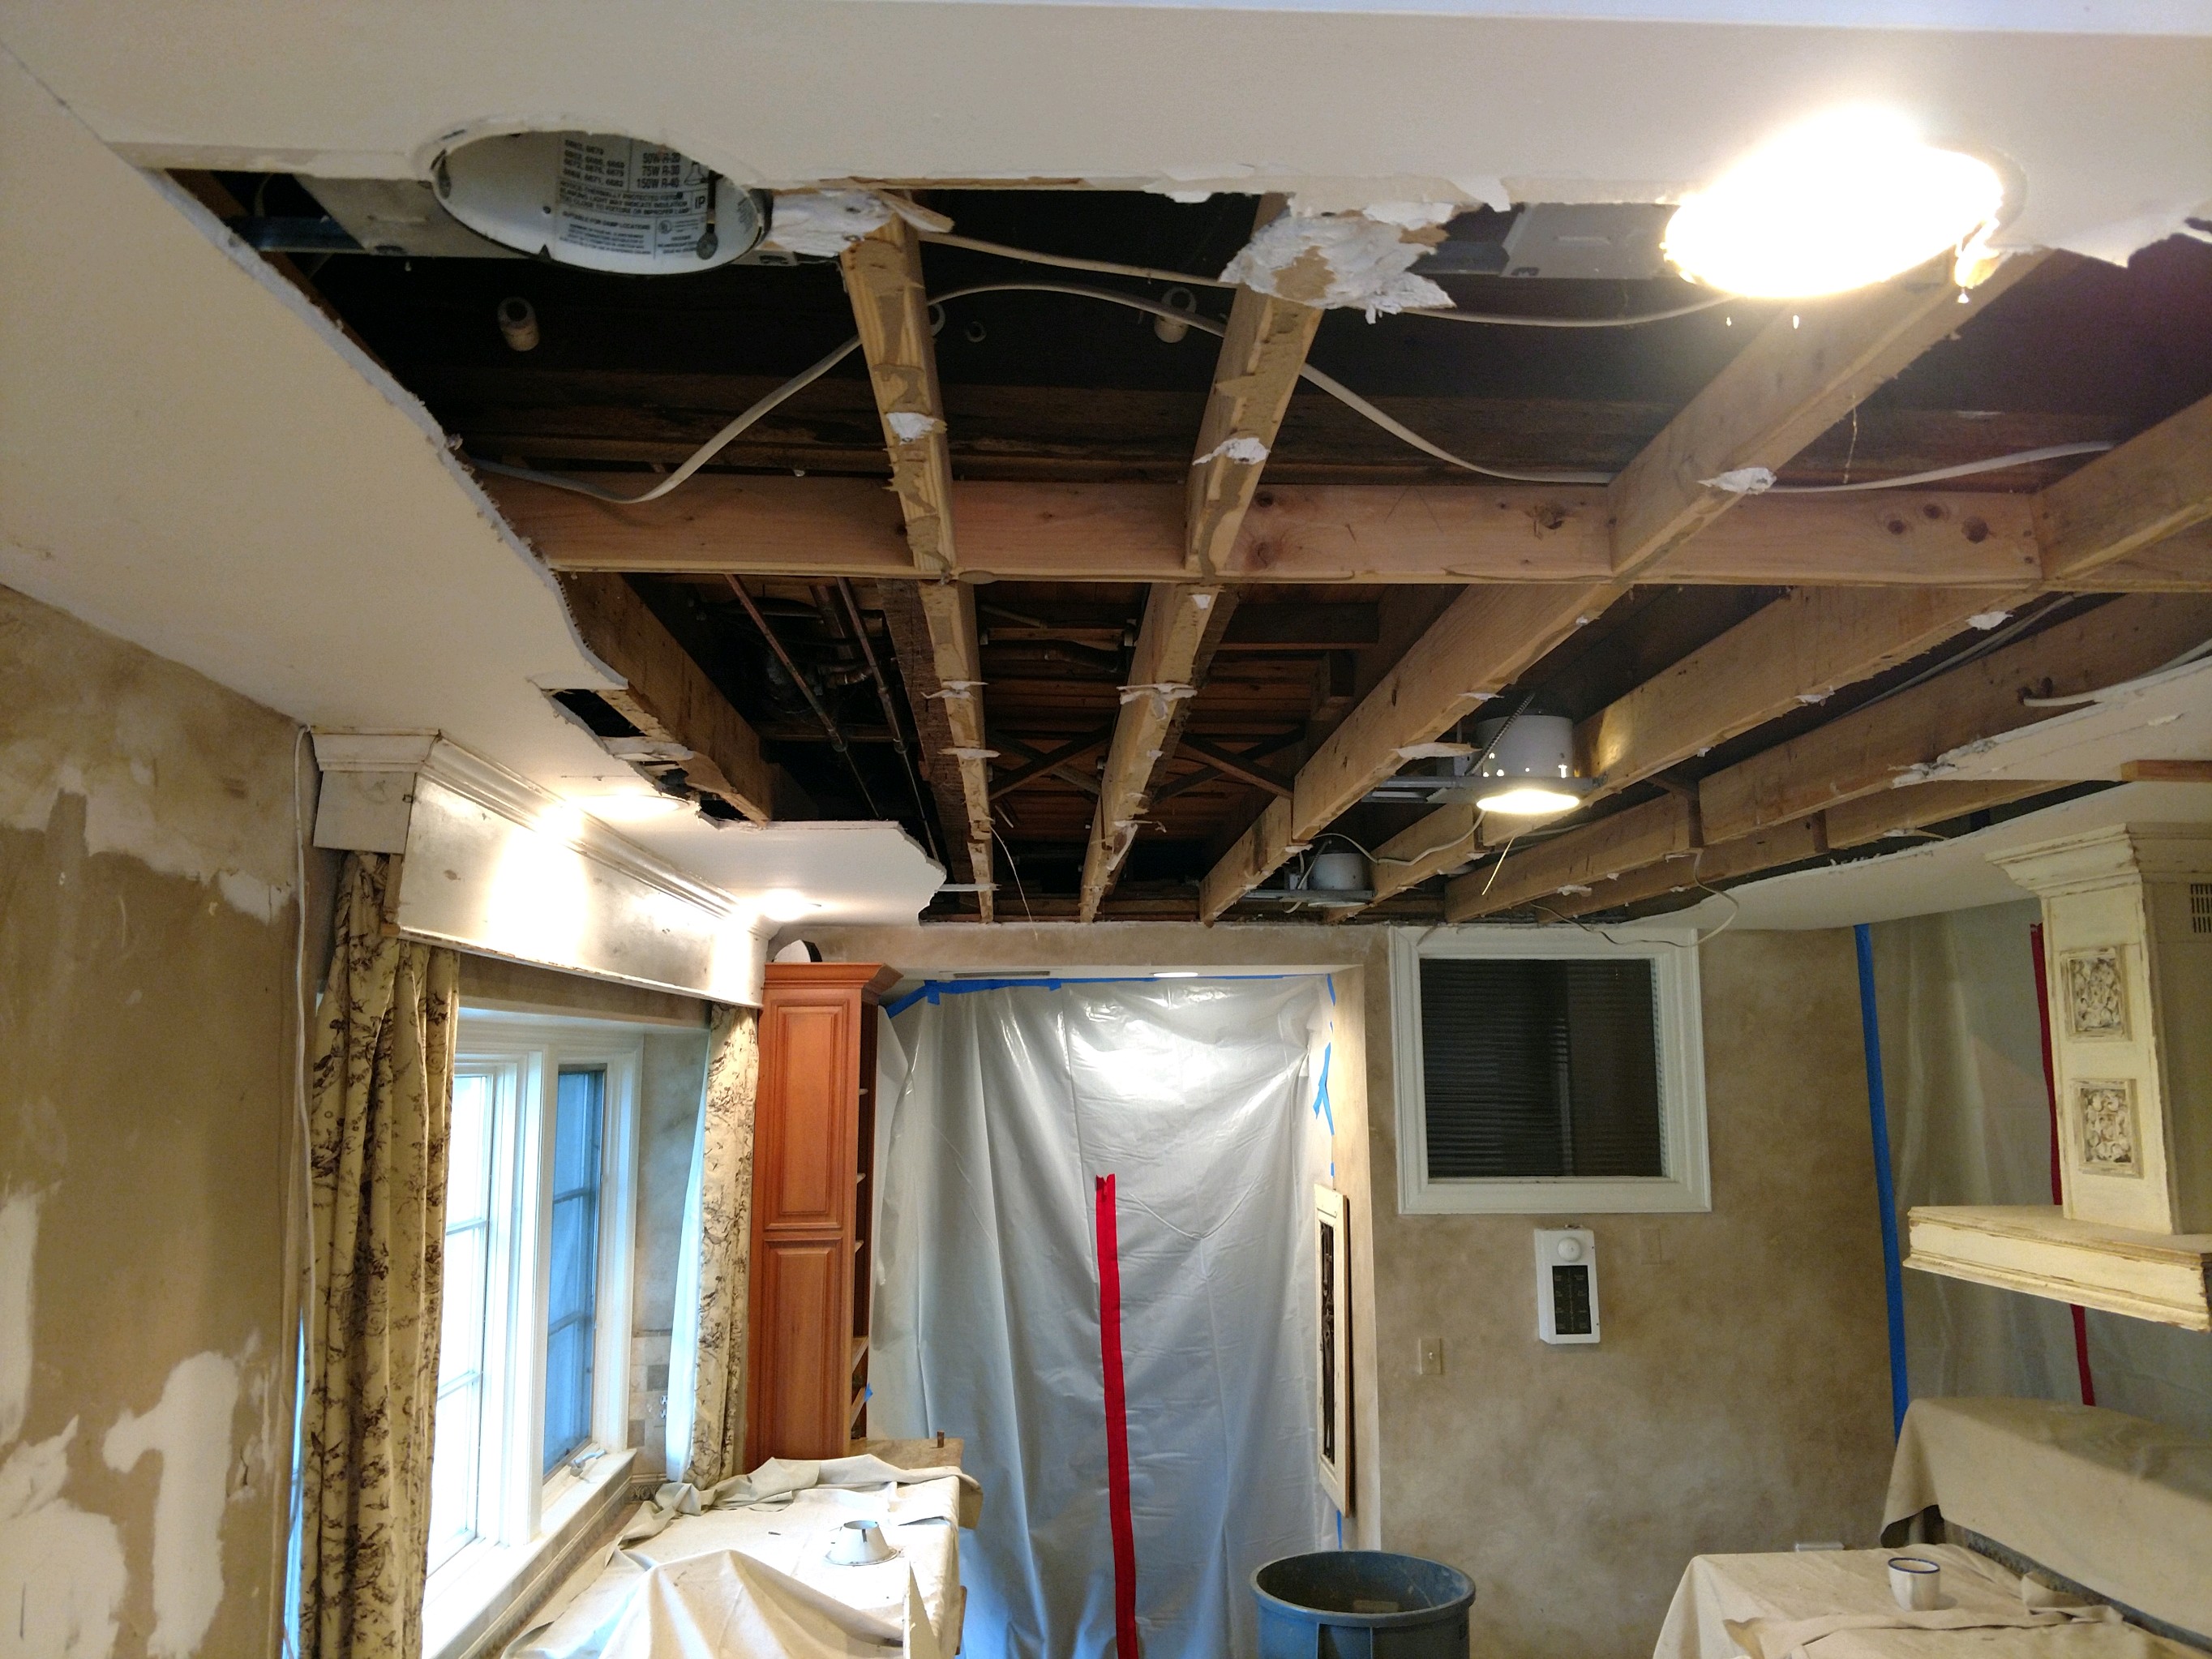
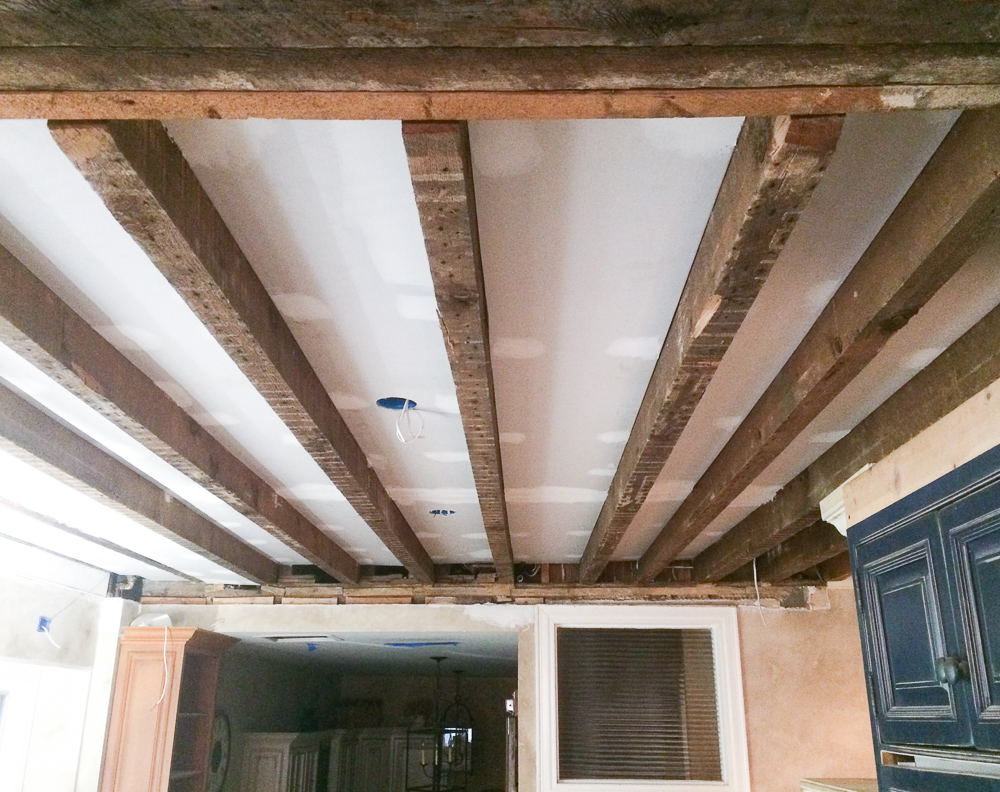
I had a feeling that there were beautiful old beams in place underneath the drywall and lo and behold… there was! So excited! We could definitely have the drywall taken out and the beams exposed! Unfortunately I could not leave the whole ceiling open for there was plumbing and electrical running under there as well which we suspected.
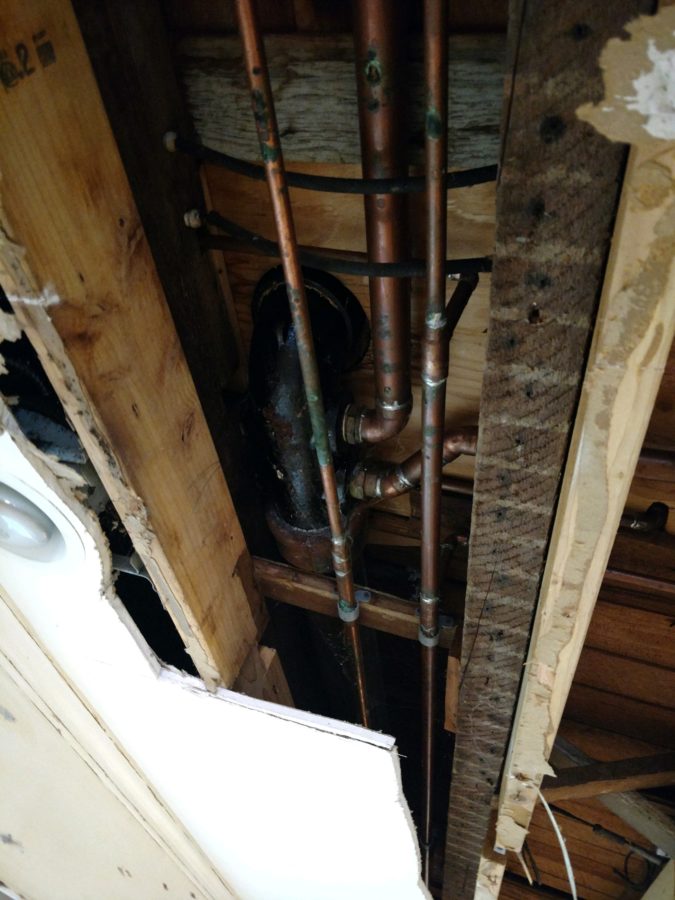
The plumbing only ran across the ceiling above the sink area so that could still be easily hidden without having to move it, if the guys drywalled in between each beam.
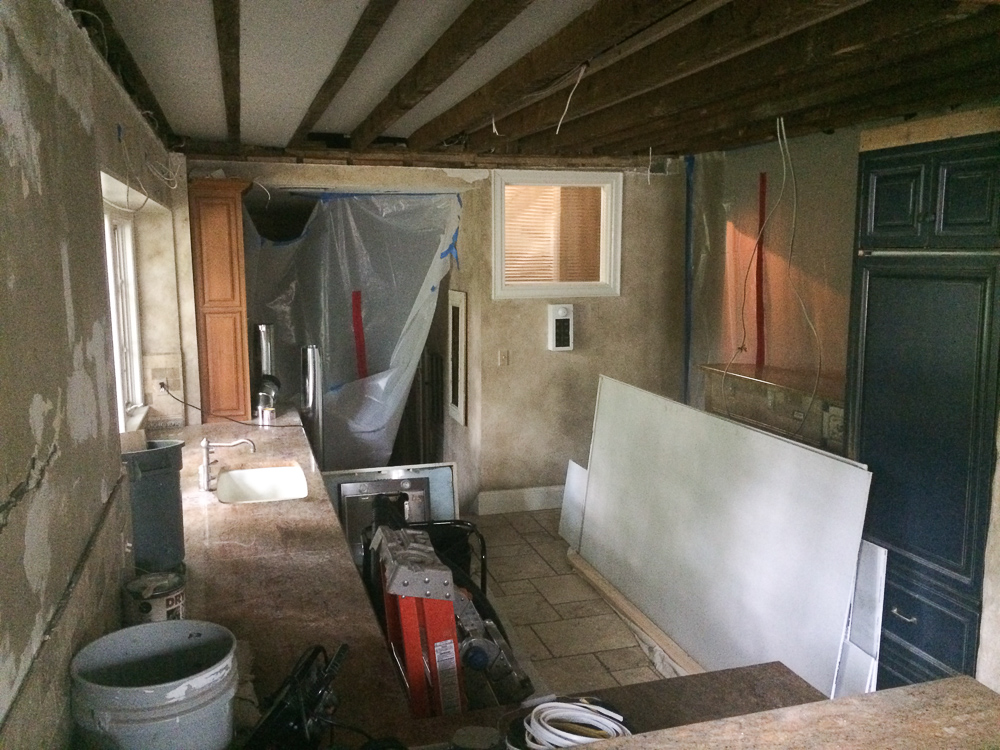
That they did and communicating via texts and pictures on our phones, they moved forward with the work and revealed a beautiful beamed ceiling underneath the dated drywall. Now do you see why the timing was perfect to have this project done while we were away? During the process, I decided to have them take the first row of upper cabinets off the wall to open the area up and alleviate a bit the feeling of a galley kitchen. Much to my son’s chagrin, I am going to do open shelving there.
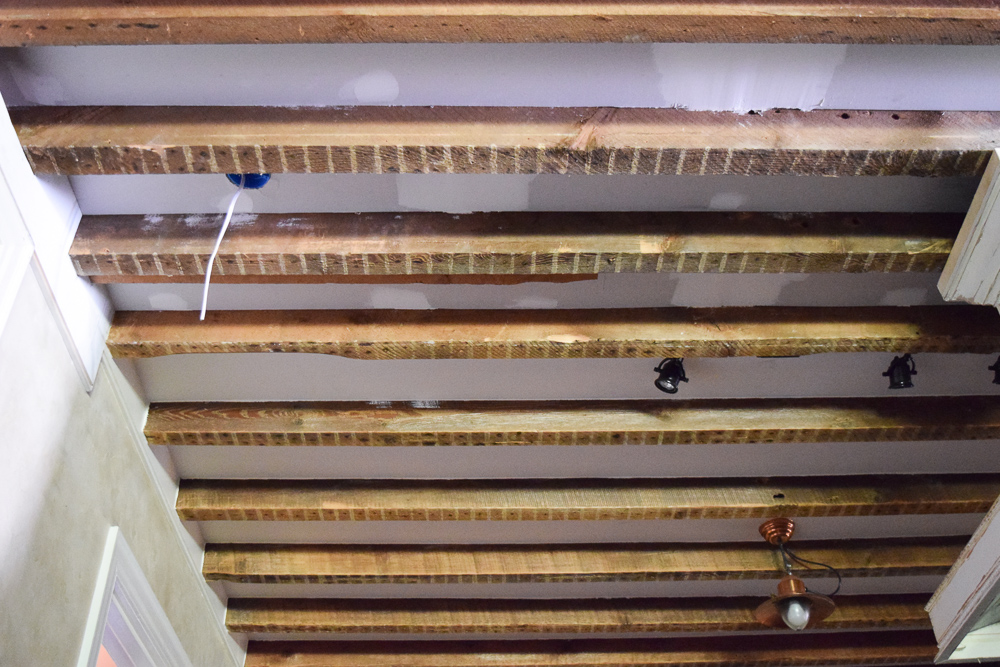
We were able to date the area of the kitchen that the guys were working on based on the matching beams in another area of the kitchen which is two steps above this area. We had taken down old plaster from those beams shortly after we moved in for fear of it coming down and found the back area of the beams in this photo. The newly uncovered beams start where the patches of drywall spackle is. Can you tell the difference? This find confirms the architectural plans that we found for the original kitchen remodel from 1947. The beams look to have been put in during a prior 1920’s remodel.
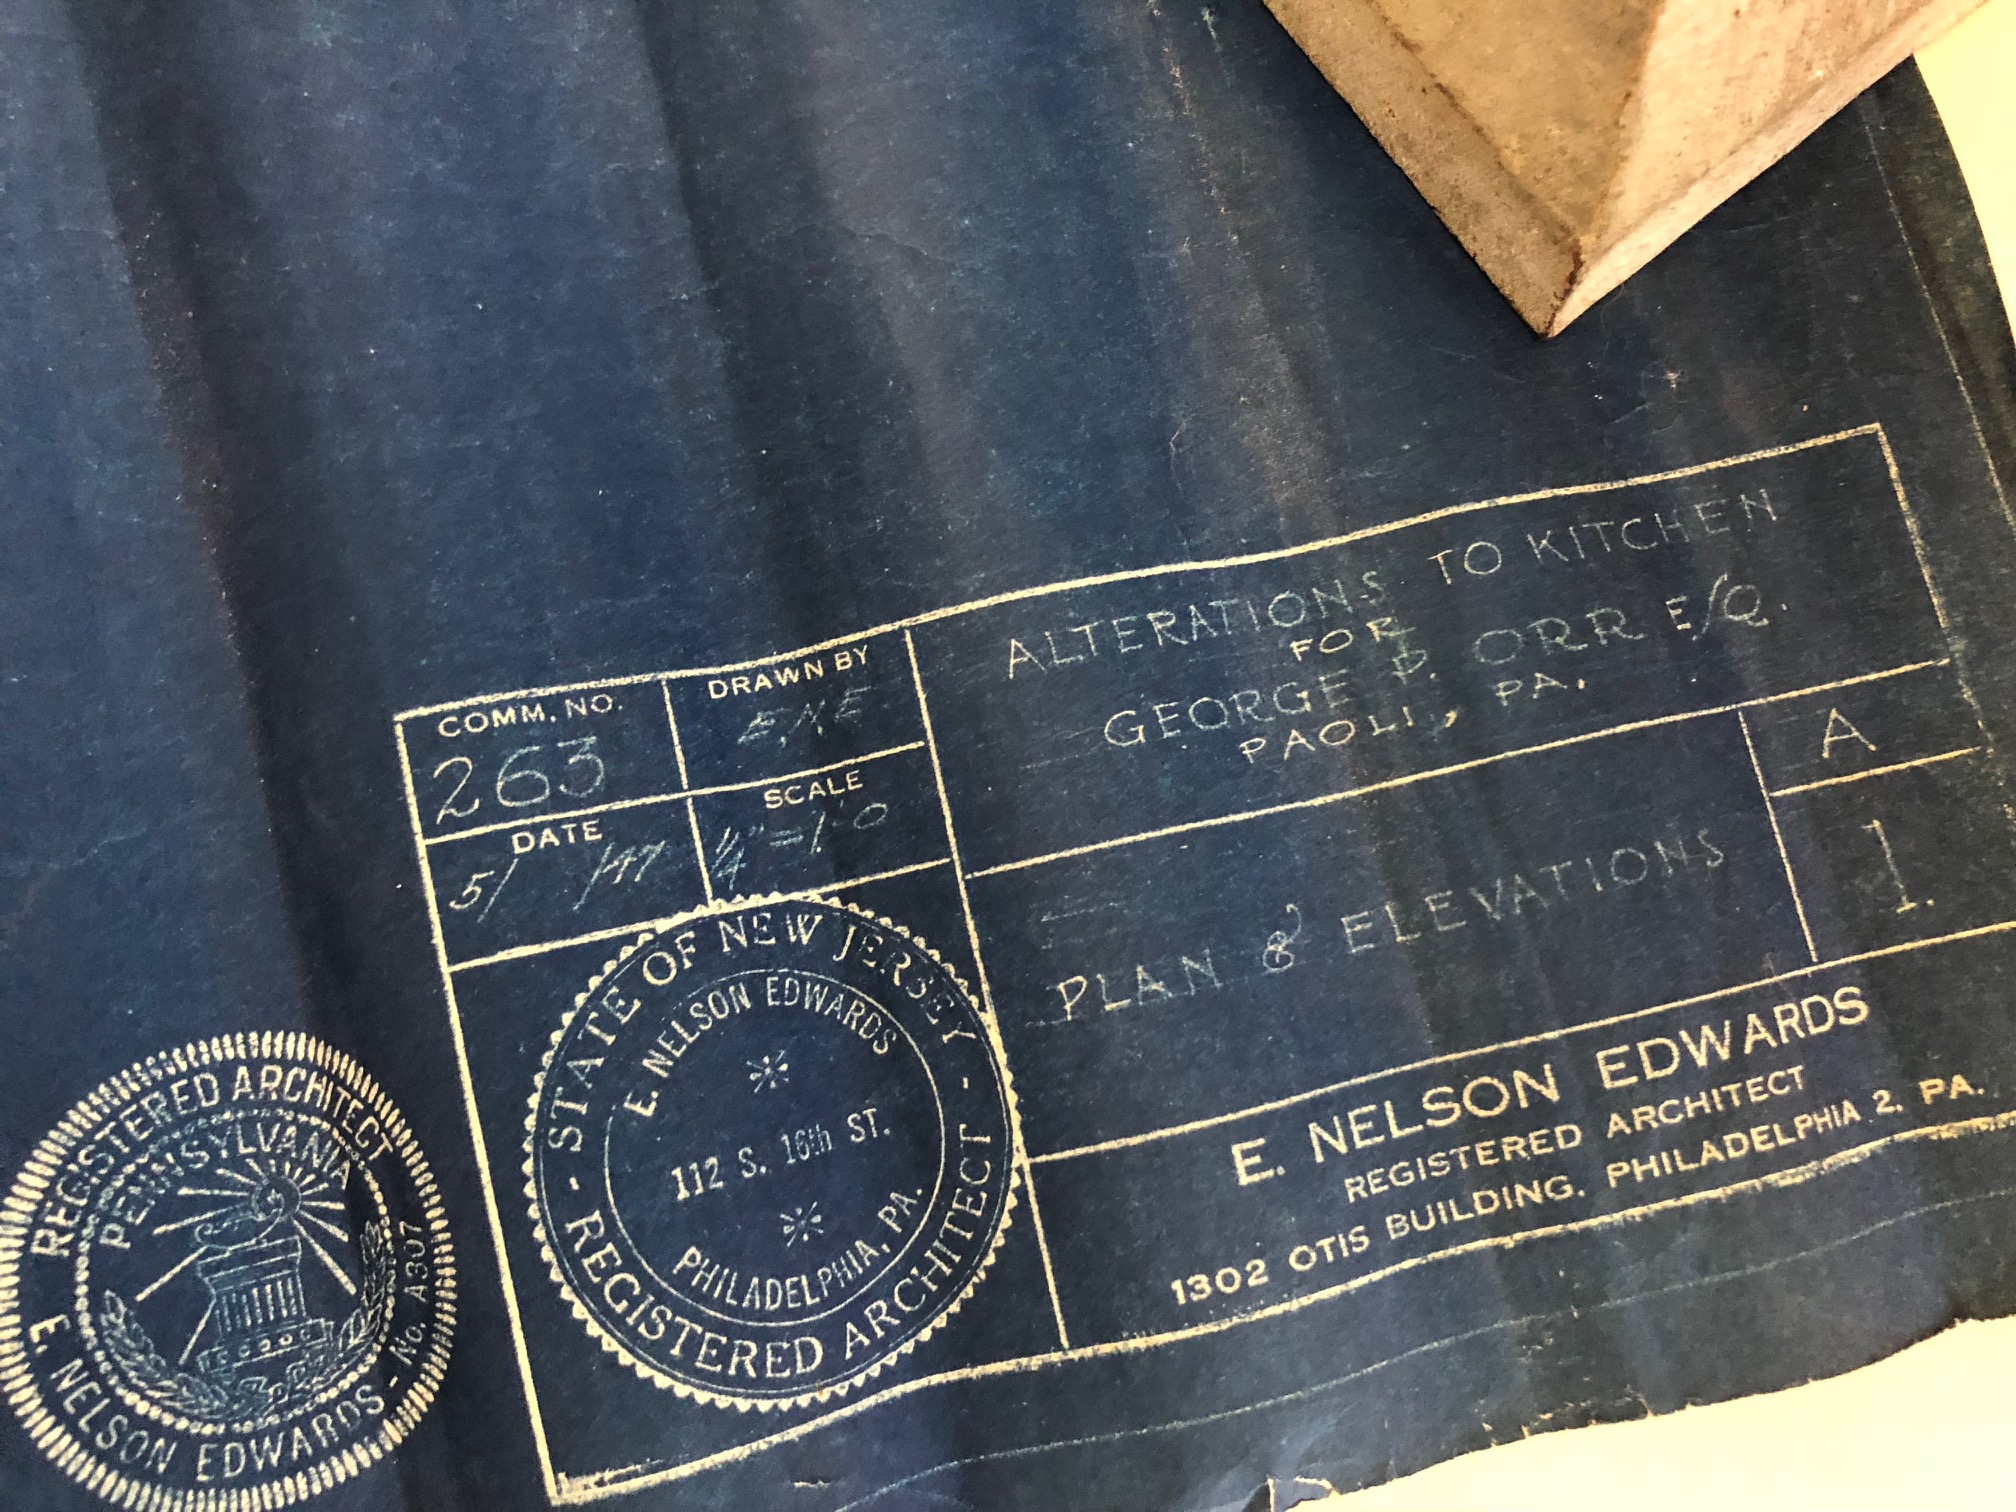
I find it fascinating how many transformations and additions this house has gone through since its small one room with a loft and walk in fireplace inception in 1710… truly fascinating!
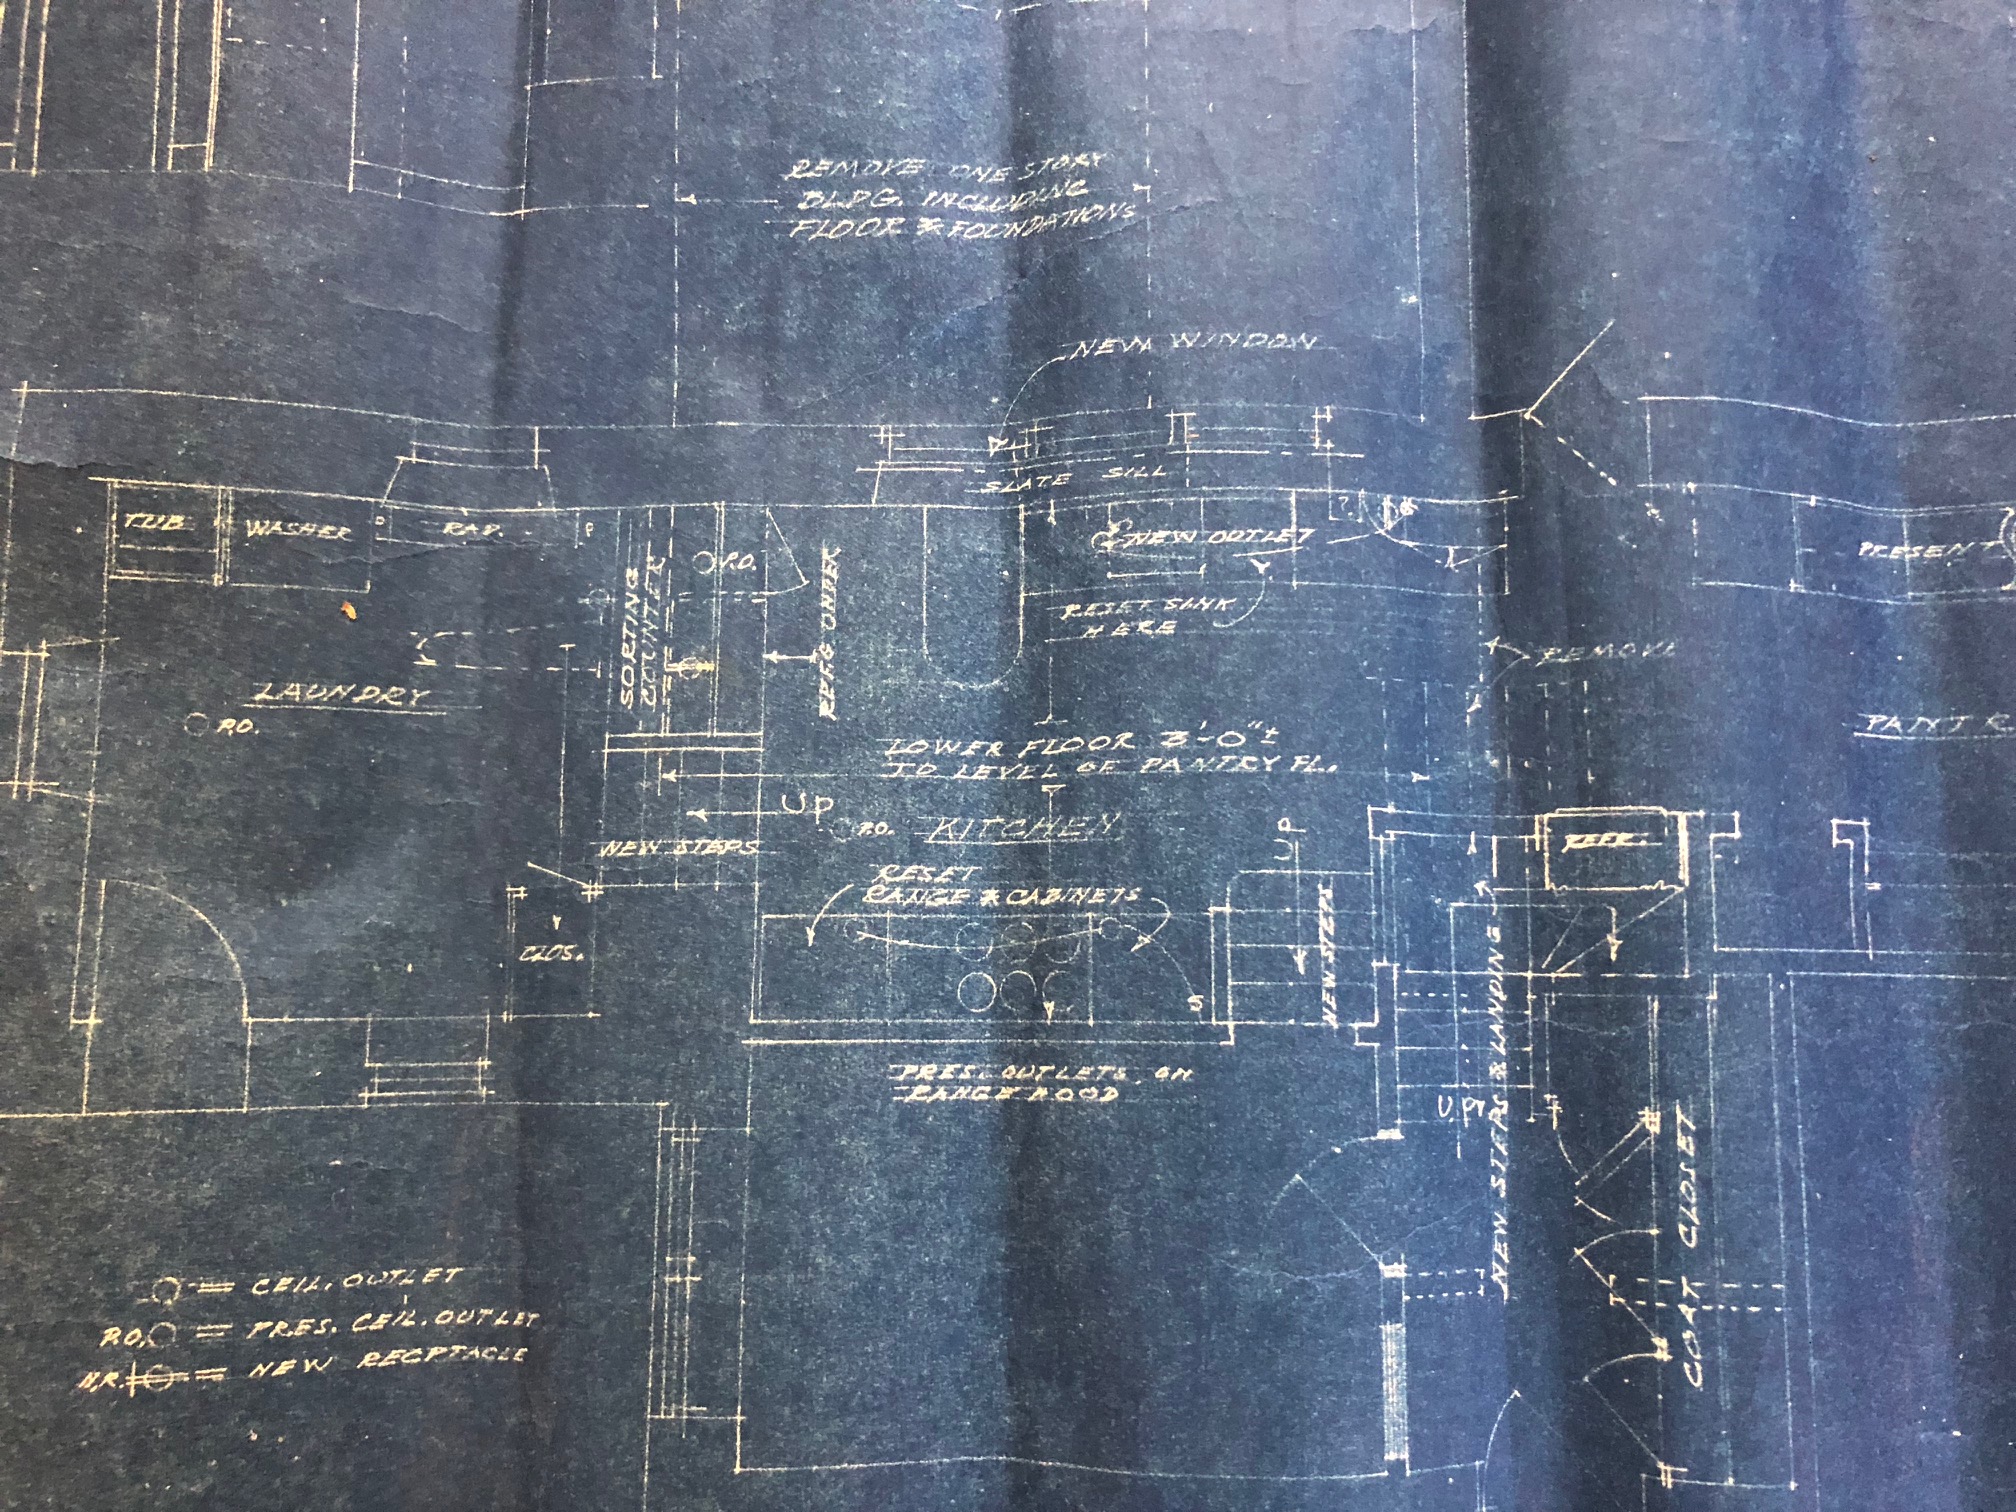
Also on the blue prints that we found are the plans for a new back staircase that they put in then as well. It must have been in vogue to put in this kind of window that lets light into that back staircase but you can not see totally through it. To cover or not to cover? I was thinking of mounting a pair of old French shutters over it for I have to be honest with you in that I don’t love it! What do you think? I would love to open that staircase up… but in the next phase!
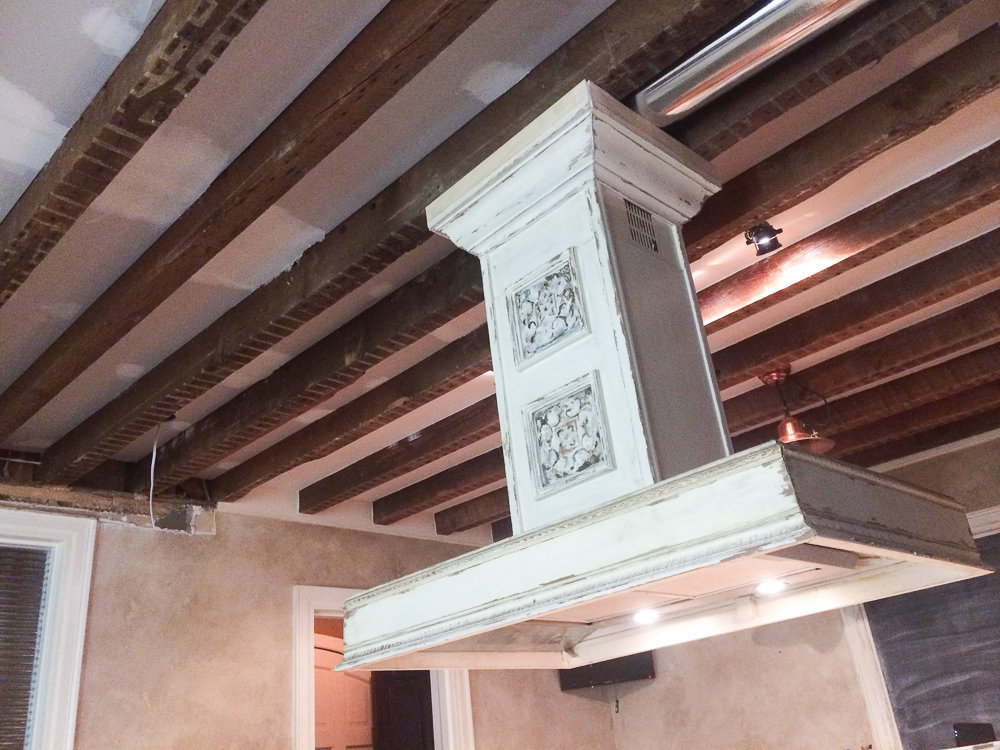
We came home to a newly uncovered ceiling with limitless possibilities for the finish work to be done. I am letting the copper of the oven handles guide me in choosing light fixtures since there will be no high hats any longer in this space. It has been interesting working in the kitchen with very little lighting so I hope to make up my mind soon and order the lights!
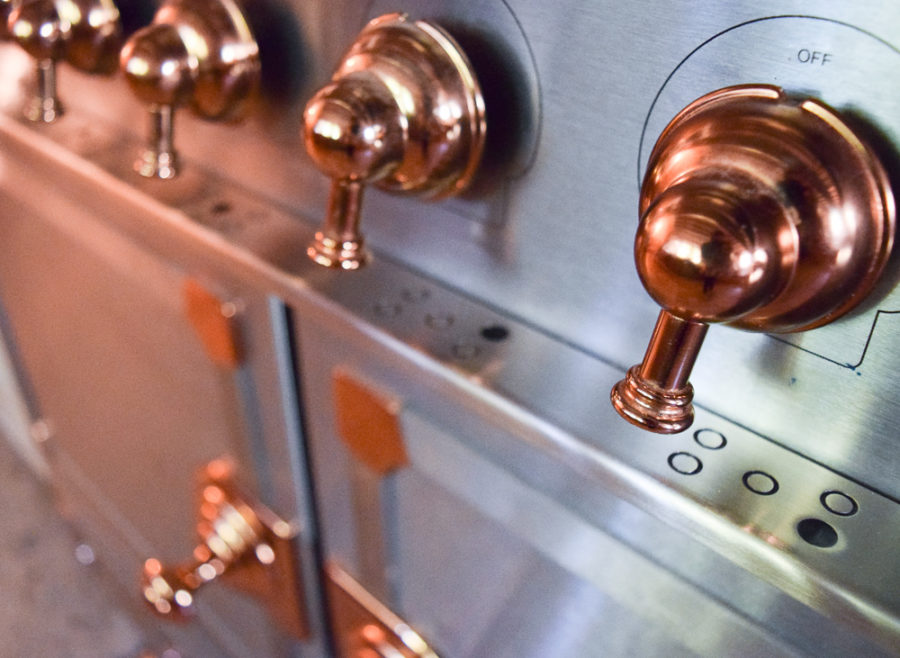
The copper and silver in the oven are also influencing my decision in selecting new kitchen knobs and pulls for the cabinets. Painting existing kitchen cabinets and/ or changing out their knobs and pulls can make a world of difference in updating your kitchen so as not to break the bank with new cabinetry in a dated kitchen.
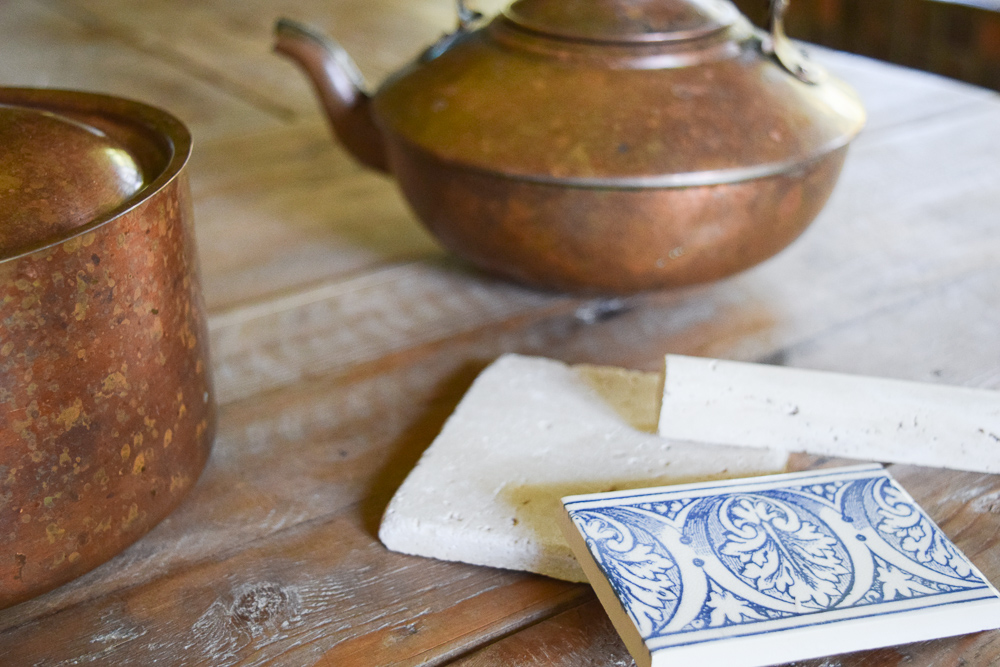
I have many pieces of old copper cookware that I have collected ( and I found some great pieces at Brimfield that will be available at the Fall sale) that I think really set off the existing tile backsplash and tie into the copper knobs on the oven. These pieces are my launching pad into the colors, textures and materials that I will be selecting to finish the project.

I use many inspirational books that I have also collected over the years that will be housed on the new open shelving. Their purpose is two fold…to both feed my vision for this newly rehabbed space and to hopefully create some of the delicious recipes contained within.
Stay tuned to see how we finish this kitchen out over the next two weeks as well as following the progress as we set up our newly redone loft in the Barn that will be open at our Fall Sale. We are rocking and rolling over here this summer so that we can bring you a few changes to our Fall Sale and I can hopefully continue to complete some long awaited house projects!
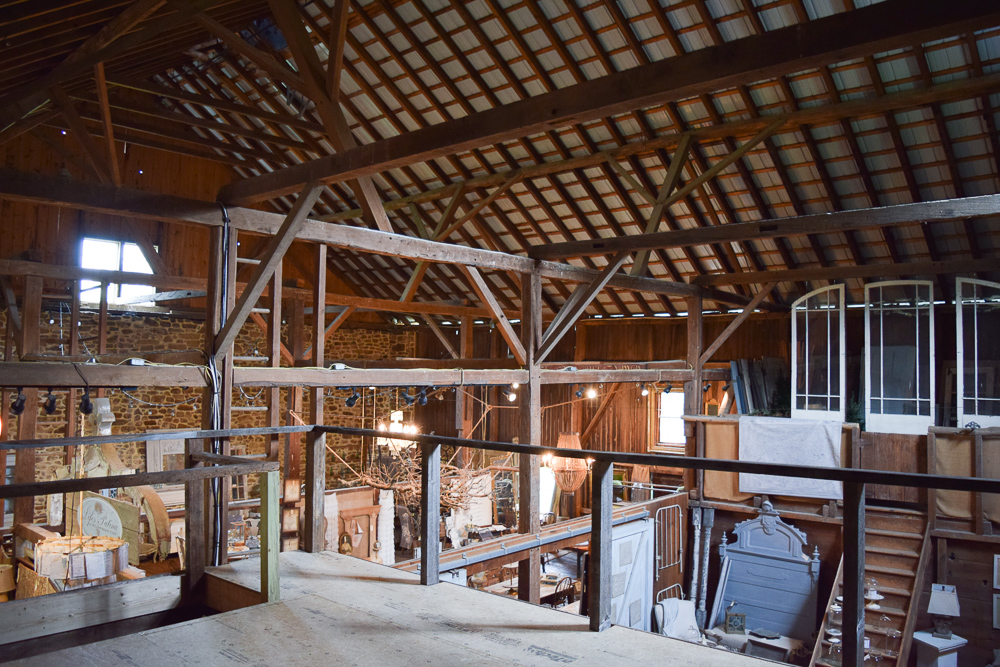
Many very exciting additions and changes are a coming… keep following along!
xoxo
Meg
Your proverbs resonated with me,Meg. I have left my kitchen renovation to chance, a touch up here an upgraded appliance there. Why do I make-do when cooking is my passion, the place in my house where I spend the most time? My father was a surgeon and we never had band-aids! You’ve inspired me to pay more careful attention and get started! I’m anxious to see your progress! Caryl Hanna
Hi Caryl, Love your “proverb” that your dad was a surgeon yet you never had bandaids! Yes, I am trying to move those things that are important to us that we have put on the back burner, to the front of the stove! I hope you can and do too! Good luck!
🙂 Meg
Beautiful and quite the blessing in disguise. I can’t wait to see the finished space.
Thanks Debbie and you are quite correct! things often happen for a reason… even washing machine malfunctions!
Also had a washing machine encanter I now have a computerized attachment in case water decides to visit my walls again automatically shuts everything off Dry is good . The awork done so far looks great it’s going to B a Very Happy place Thx for sharing looking forward to the next chapter.
I will absolutely look into that kind of mechanism Kiki! Well worth it! I just came from the tile store to pick up a few more pieces and the guys are here today doing the backsplash so will be posting about process soon! Thanks for following!
Best~
Meg