How come January 1st hits and our mind shifts from the bustle and fun of the holidays to cleaning out every closet and room that has been accumulating extra elements over the course of the prior year. Why now? That stuff most likely has been clogging those areas from when you cleaned them out after last years new year burst of organization. Or maybe your gung ho “new beginnings” energy burst… burst before you hit that particular closet? Quite possibly, it is that nesting feeling that one can get with the real arrival of winter, the colder temps, the short spans of daylight the realization that a couple more months of this are ahead of you. You think, ” Why not get those areas in order that you are going to be “inside with” over the next couple of months?” Perhaps it is the “clean” slate concept that the new year invokes. Whatever the case may be, here we are, in the first week of the new year and that organizational phenomenon is striking again. Given that, I thought I would highlight a major organizational project and room re-do that we worked on this past year. No, we did not start in the beginning of the new year. I thought about it, but it was way too daunting to begin. It took a house tour happening here in April to light a fire under me to get the project going.
Can you tell why???
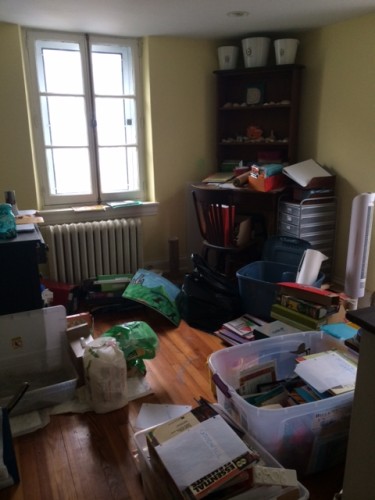
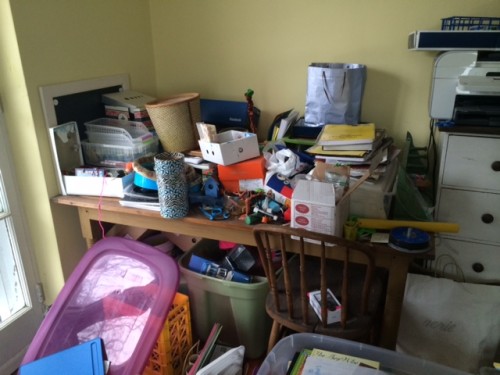
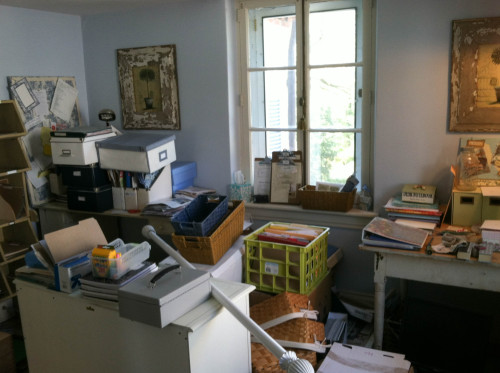
Our youngest was 5 when we moved into this house and he was an avid arts enthusiast. I recall writing a Christmas letter early on in our adventures here, stating that he was most likely stuck to a wall in our new abode working on an art project. Hmmm…apple does not fall far from the tree. Be that as it may, he or should I say, his shoe boxes, paper towel rolls, glue guns, shoe forms, two bunnies, and a hamster or two took over a tiny room on the second floor. All of the kids worked on projects there for school or for fun. It became known as the art room and before electronics were introduced into his life, it was his go-to spot when having a certain best friend over, who happened to be a girl. She shall remain nameless. It also became known as, “the room where you don’t know where it goes…put it here,” room. I am sure that someone reading this knows what that means and you might even have one. This room has a reputation for occasionally having a chair scrape across its surface, heard from the kitchen below late at night. That is anther story, but this room, in its past life, housed a servant or two for it houses an old servants bell which you shall see in a latter photo. Now all it housed was a myriad of art supplies, plastic containers that were filled to the brim with various forms of cardboard that could be constructed into something, thus could not be thrown out, more markers, colored pencils, my past life teaching materials, art books etc. Items that were a huge part of our life in its earlier stages, that now needed a new home…or a trip to the recycling bin.
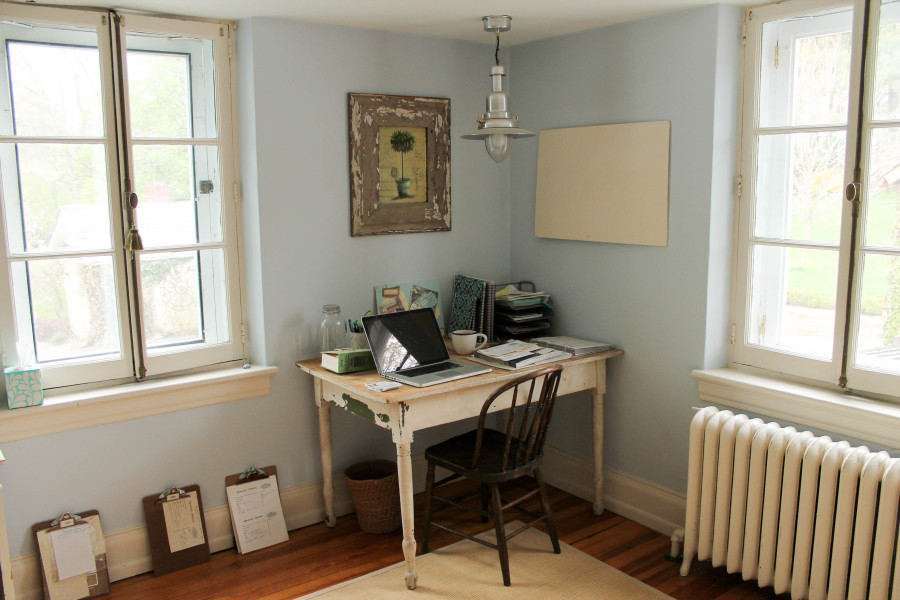
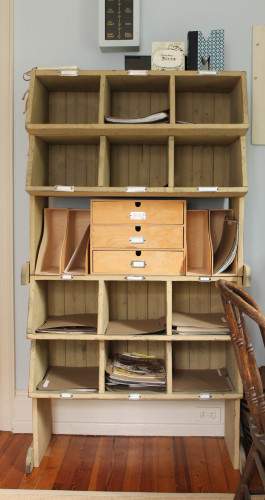
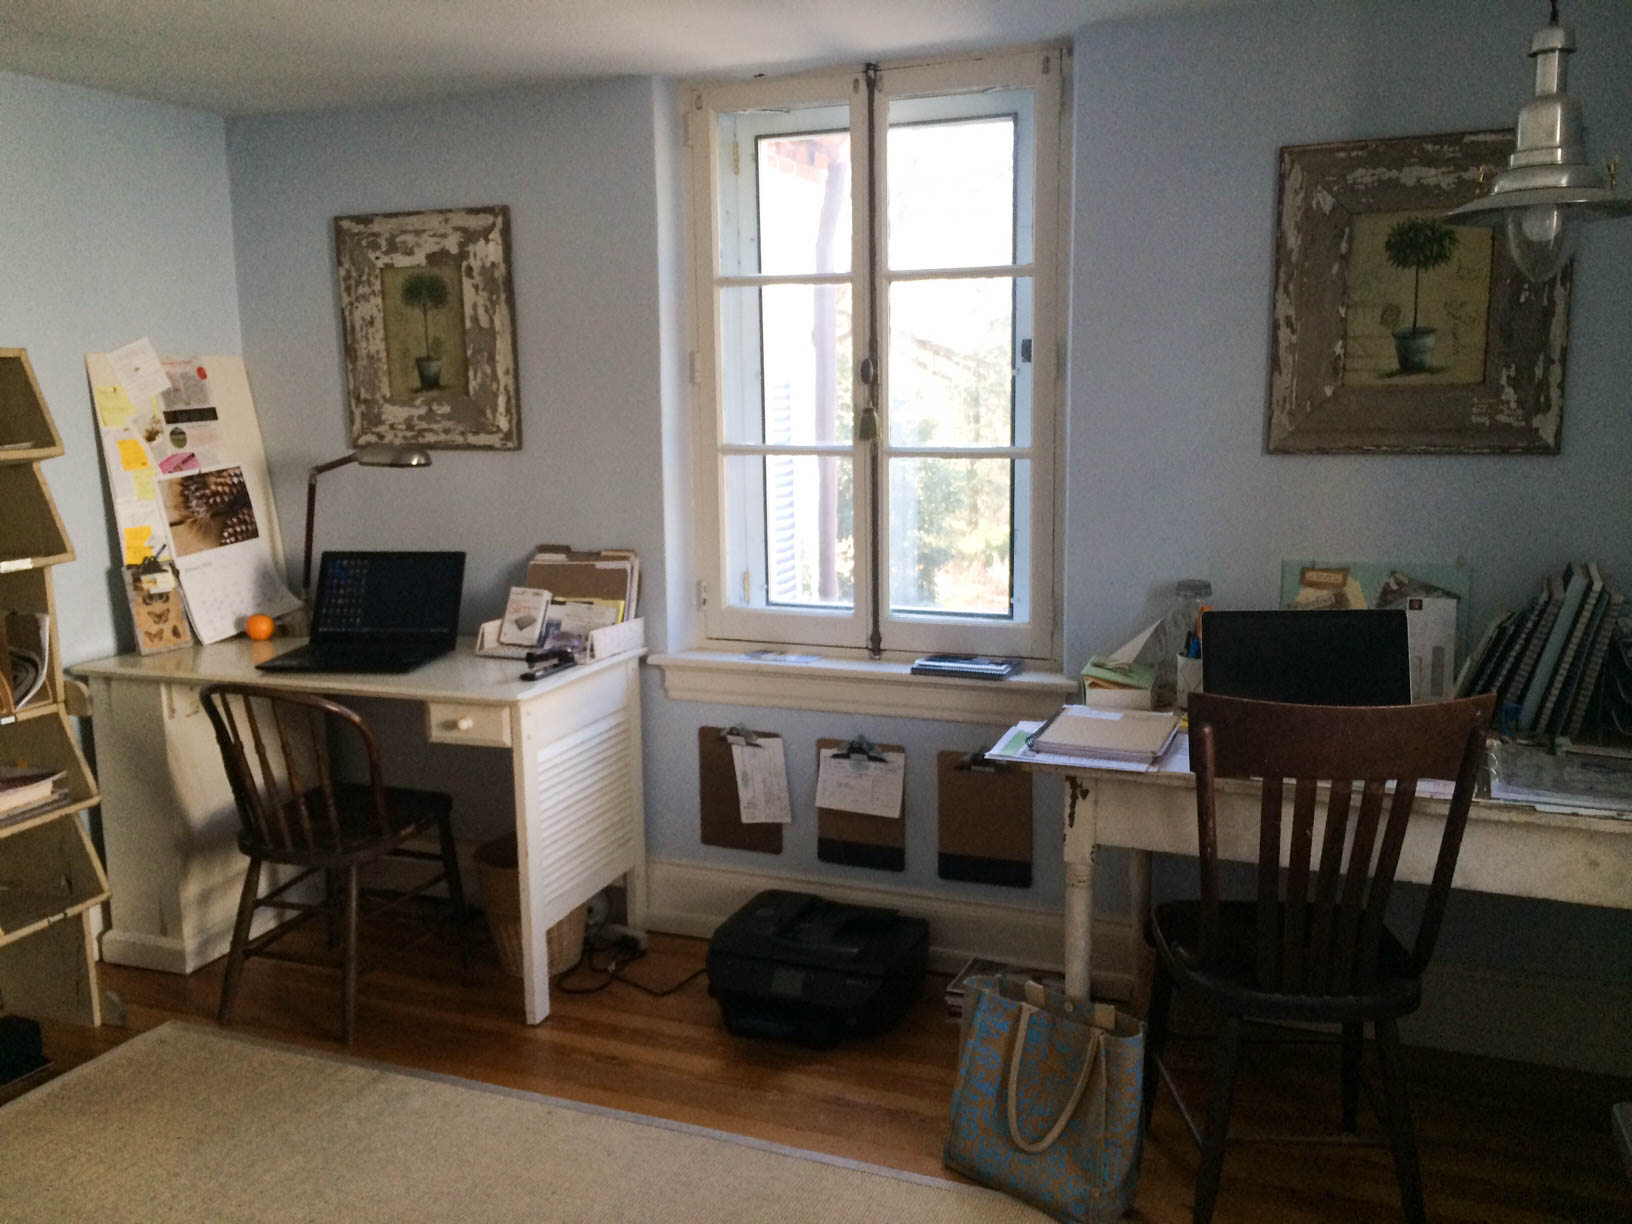
Next to this room of whatever, was my office, another tiny room that I had redone and organized into office space when I first started Life’s Patina. The kitchen counters no longer worked for that project, so I took over the incredibly well lit “servants room” next to the “art room” which also happened to be next to the “laundry room”. It really is all about multitasking! I had painted this room a pale blue, a very soothing color to me, added an old farm table as a desk and stacked two chicken feeders on top of each other to make an organizational system.
In late March, I hired Maggie and we soon outgrew that tiny room. What to do? Why couldn’t I knock down the wall in between those two rooms and make one big room? Too big of a project and too little time to get it done for I had agreed to be on the Episcopal Academy House Tour in April back in the Fall. What was I thinking?
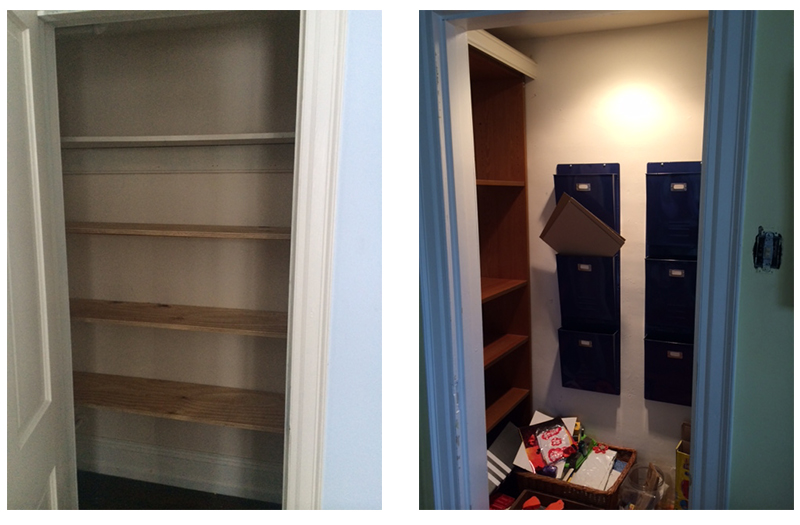 One day, as I examined the space for the umpteenth time, I realized that each room had a closet in it with its back wall being the very wall that I wanted to knock down. They looked like this next to each other but one opening was in one room and the other opened into the room next door. “Why don’t we just knock out each of the closet’s back wall and that will create two pass throughs to connect the rooms?” I asked of our good friend and contractor. He looked puzzled for a minute and replied, “I think that just might work.” There was shelving on the sides on one of the closets so I was sure if we made them the same size, we could do shelving flanking each closet, thus keeping the “closet” feel for storage.
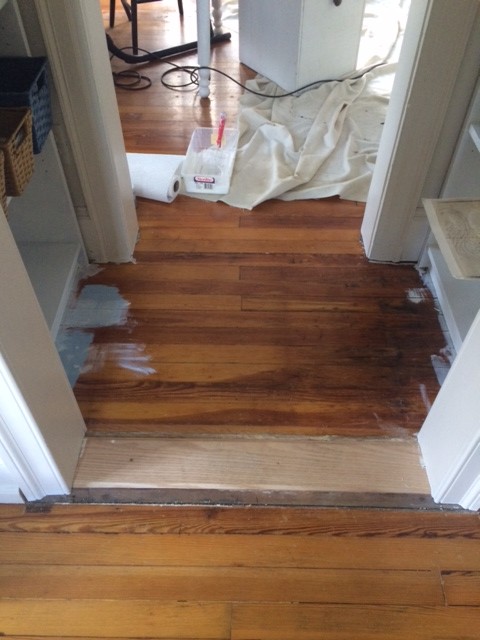
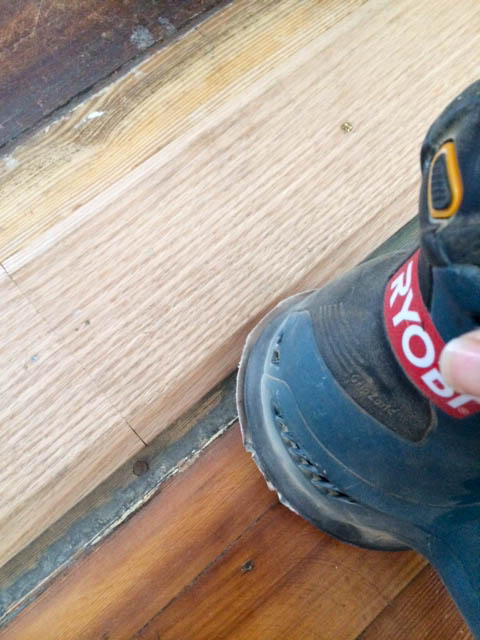
 That we did! Not only did this join the two rooms but it created more storage space accessible from both sides of the room and it created a work space on one area and a conference/meeting area on the other side. We had to add molding to the sides on the knocked out closets where there had once been a wall and we had an issue in the flooring in that where the walls were knocked down there were holes. To rectify this they put in a new piece of wood otherwise known as a transition joint to disguise that area. The wood was also rough with some trim tacking nails in it and one of the closets still wore it’s old stain.
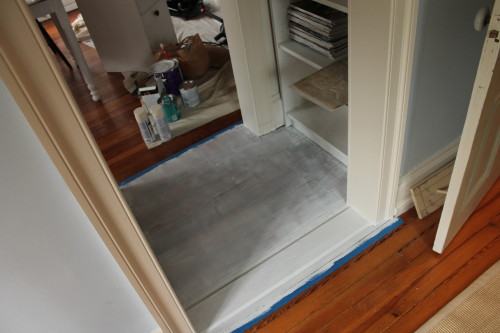
How to disguise this without having to re stain the entire floor? Why paint the closet area floors blue of course! I tested out a few shades and went with a pale blue similar to the wall color. To achieve this look in your own home, first sand down the rough areas and then prime the floor.
This is the taped out area with the first coat of blue applied over the primer. It took three coats to get a solid surface and I plan on painting a design in white over top but time ran out and I have not gotten back to this step. Hopefully this year!
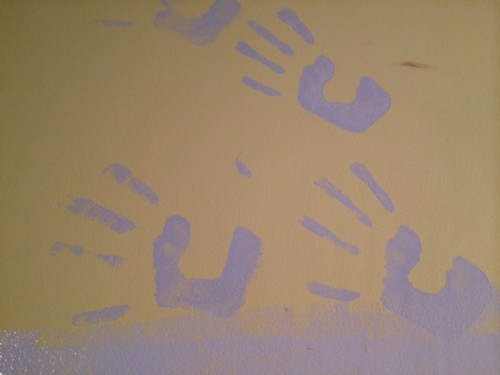
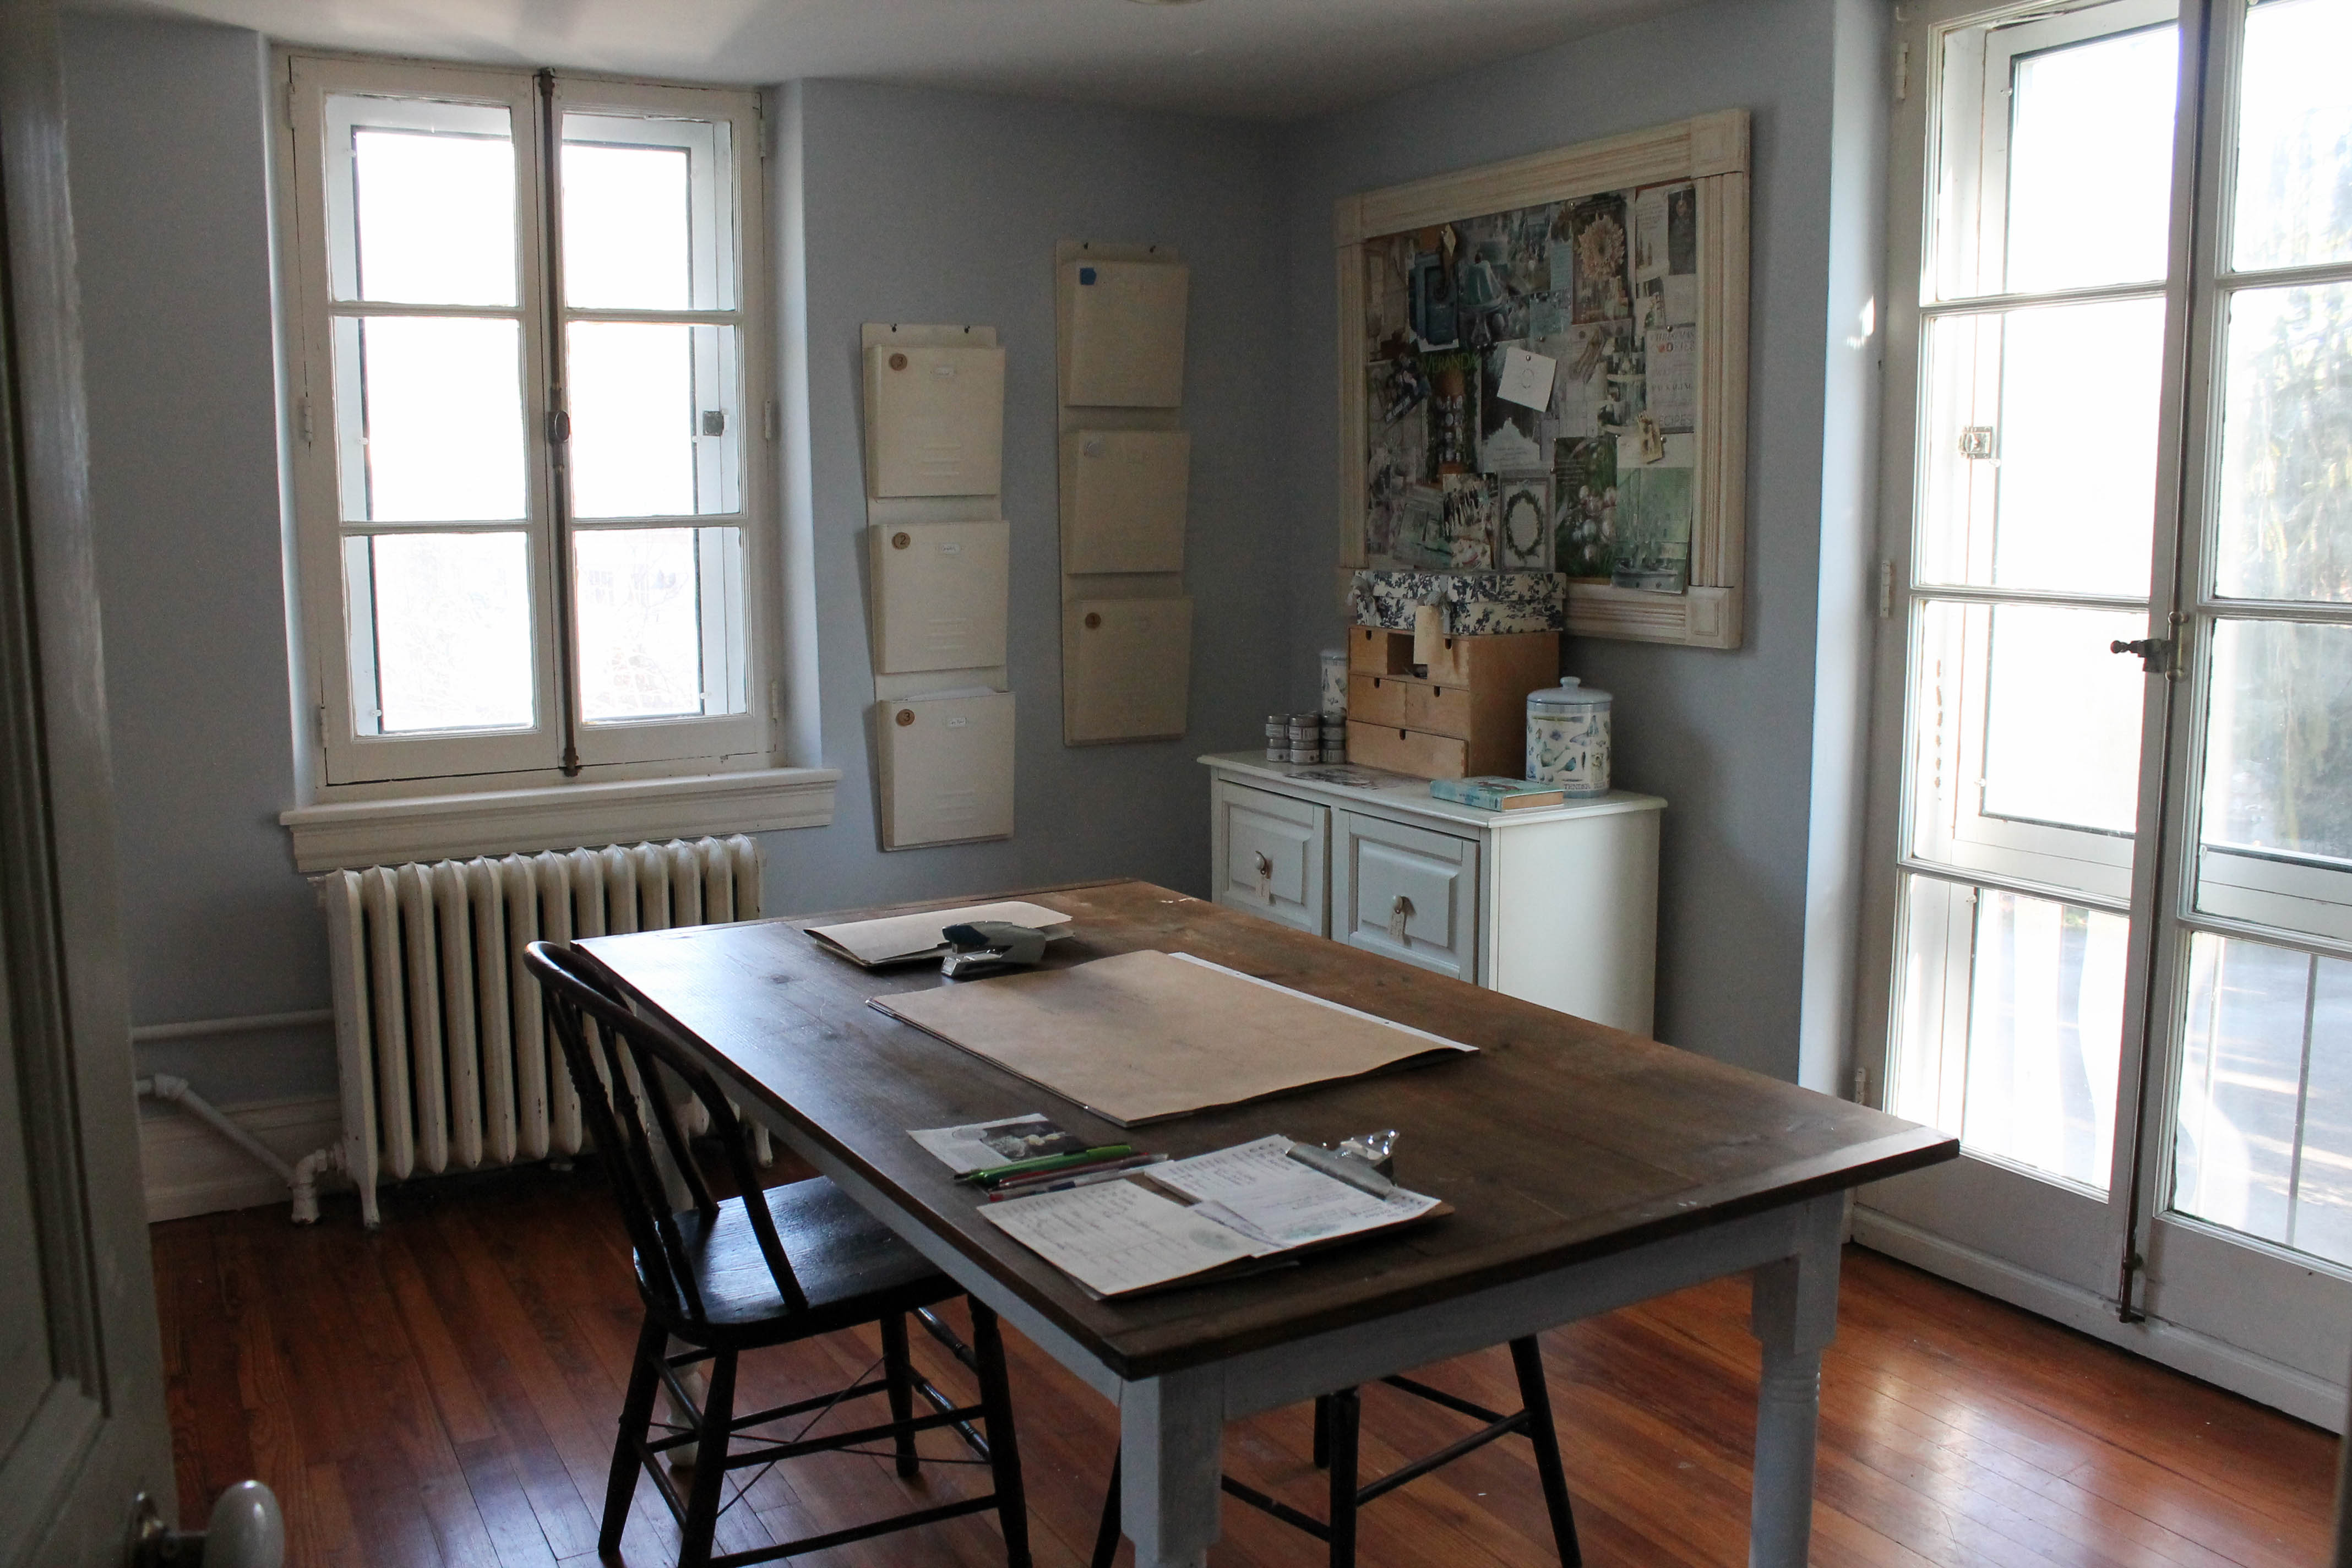
We had stashed everything that we were keeping in the old office and now came the time to paint the “art room”, file all of the materials to be kept and set the space up! Easier said than done. It took Maggie and I two weeks to do that along with the help of a friend one late night and my youngest who got his artistic bug back long enough to “help” paint the old yellow walls with the new blue.
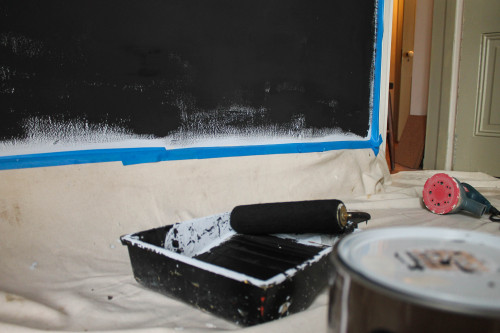
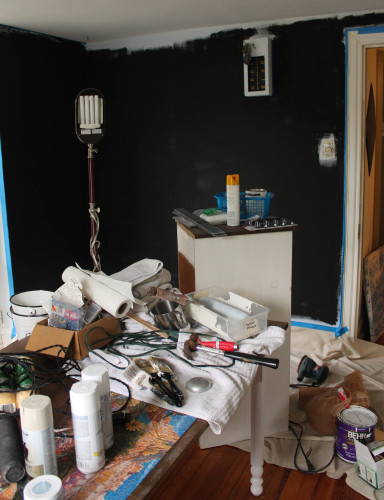
I had always wanted a chalkboard wall, so here was my chance to get one! Chalkboard paint is a cool way to make a statement in a room. It only requires patience in cutting the edges and taping everything you want to paint.
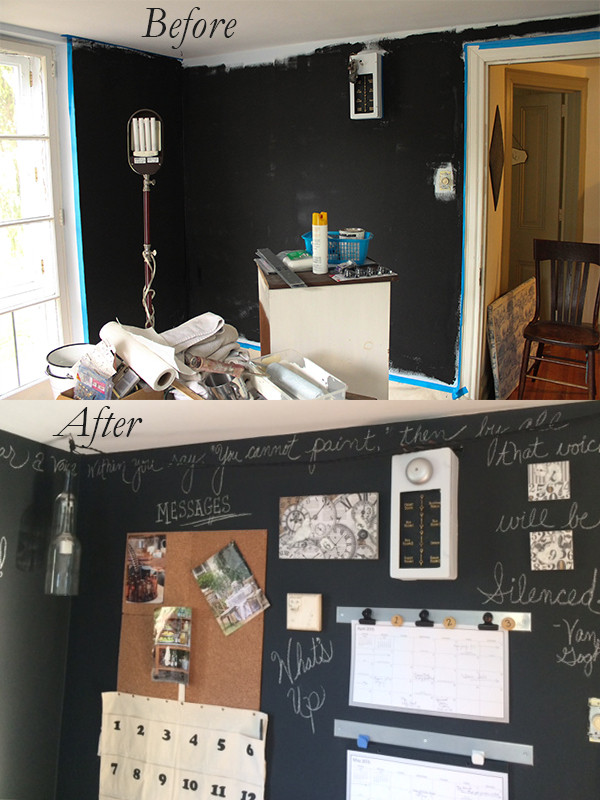
I decided to do the one large wall in the “art” room in chalkboard paint and the small corner wall that butted into the larger one. Note to self…dark paints have a tendency to splatter dark colors on oneself. Maggie, since she got the task of painting the black paint and I got the blue and the cream trim, took a few days to scrub off the black paint.
After painting the walls, we hung up a decorative message center, comprised of metal magnet strips purchased from Ikea years ago, cork squares, a canvas calendar with pockets for important bills, notifications etc, a monthly calendar, art work I had, hanging glass wine bottle lights that we sell in the barn and some chalk art. Notice the inactive newly painted servants bell in the mix?
This table came from the art room but had dark mustard yellow legs. I painted them white to use in the new office “meeting” space.
While we were painting the walls, we were also painting many of the old surfaces and items to re use them in a different way. (Thus the various paint brushes, spray paint cans, paint cans, tools etc) We were working in a very small space that is accessed by a very skinny hallway. Not much room to work! The positive is that we did not have to purchase one item or new piece of furniture for the completion of this room. We repurposed everything!
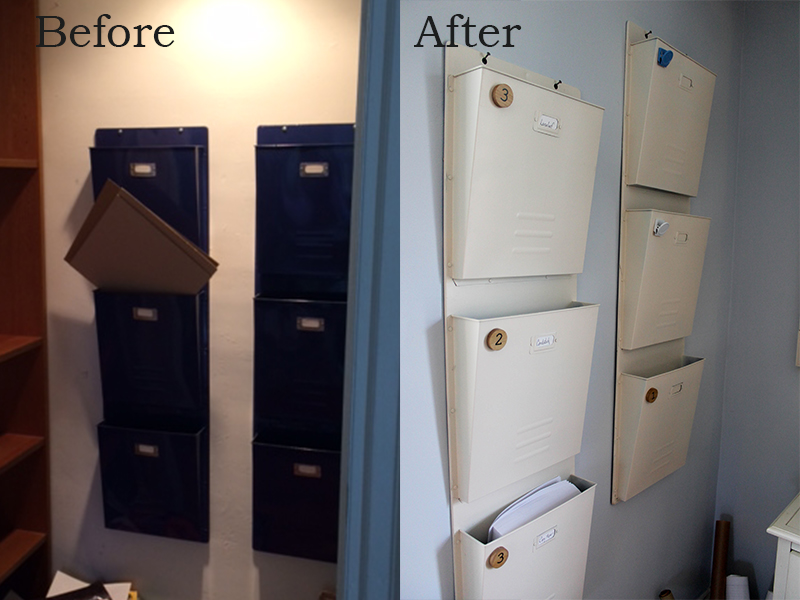
Here we spray painted these file/paper holders that used to be a shiny dark blue (Ikea purchase years back) to a matte cream color.
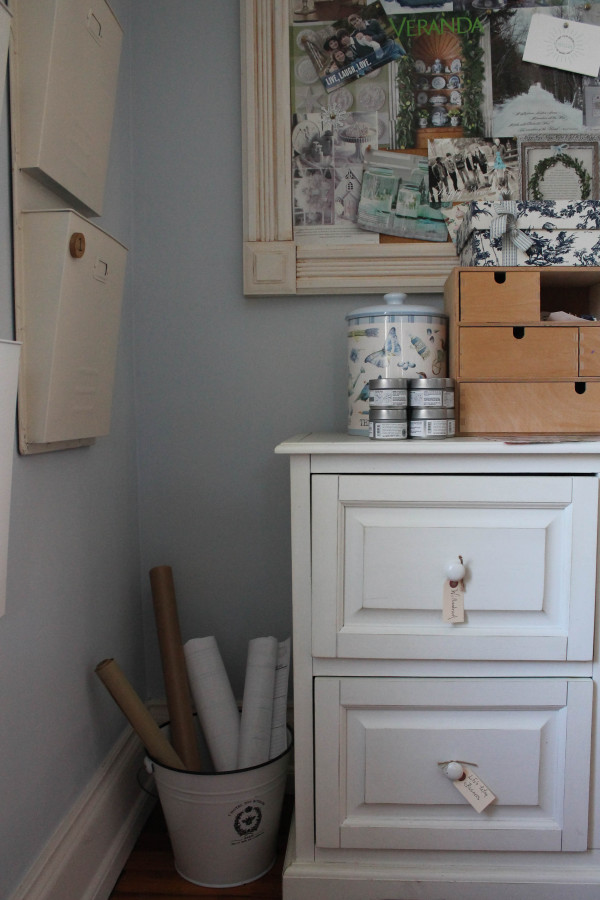
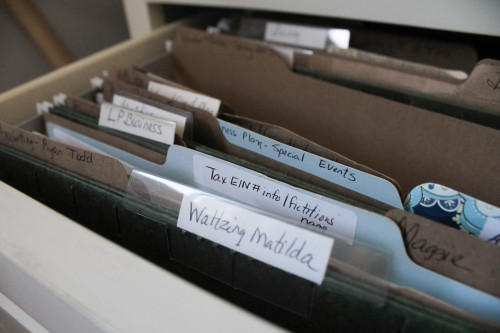
We moved around items that were already in both spaces, tagged drawers that we had filed paperwork in, and
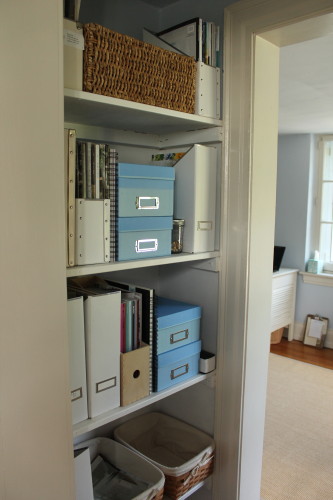
sorted magazines for reference and catalogs of vendors we buy from into various holders that I have purchased over the years, again most of them being from Ikea.
Now we have our storage areas in between our…
meeting/ work table area on one side…
and our desk/ work area on the other!
We have a few more items to add but it will all happen in good time. For now, we have a pretty, functional and efficient spot to work in when we are not in the barn. Which at this time of year, the less time we spend out there the better…it is frigid! Next week when we begin the repointing project upstairs in the barn and have to move everything. We will be in layers and will be barely recognizable. Until then, we will hunker down in our pretty, warm space putting the finishing touches on all of our plans for 2016 which we cannot wait to share with you!
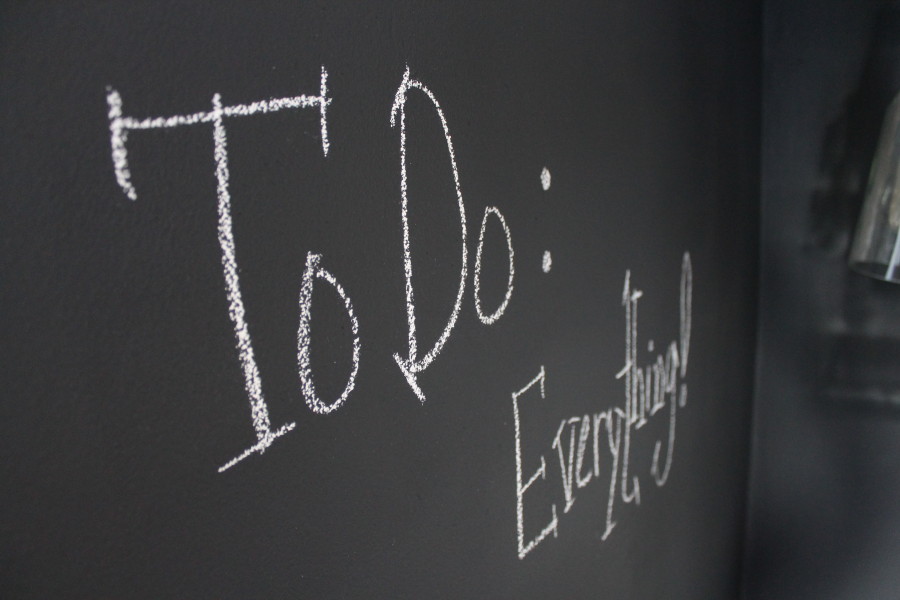
I leave you with the quote that I wrote across the top of the chalkboard wall which I think will reside there for quite awhile for I love it!
” If you hear a voice within you say, “You cannot paint,” by all means paint… and that voice will be silenced.”
Van Gogh
May you be still enough in the new year to listen to those inner voices and either refute or affirm them. That is up to you.
~Meg
You are the BOMB Meg! Keep it going. I love your ideas and your work!! Happy New Year!
Awww…thanks for commenting Cyndi! It was a much needed project and I am super happy with the results! Happy New Year to you guys as well and hope to see you all soon!
How creative, what a fantastic work space! I love how you connected the rooms through the closets but still preserved the integrity! Really well done!
You know first hand how it is with old houses Pattye! You have to work around the odd configurations and sizes of rooms. Thanks for the kind comments and hope to see you soon!
Awesome, Meg! Such a creative idea to combine two spaces into one work space plush storage.
Thank you Heather! I know that you understand loving the multi purpose work office and creative space!
Love what you did with the space!
Thank you so much Laurie!! We love working in it now!
Love it, Meg! My project for February is to redo my office space and I will draw from some of the ideas!
Thanks so much for you comment Kathleen!! I am sure that you will do a fabulous job. Use what you have, repaint etc and only add where needed! Would love to see a photo when finished!