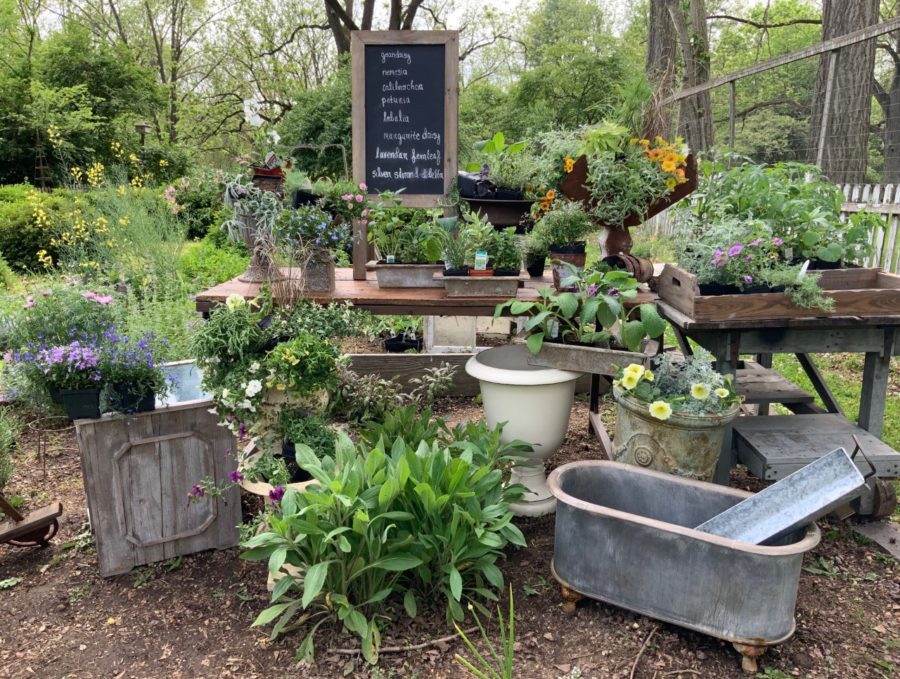
One of my favorite ways to bring beauty to target areas in and around my home is to plant container gardens. I have been composing and planting these for many years and it is one of my favorite activities to partake in once the Spring garden centers open up. In fact, a day trip to all of my favorite nurseries, loading up my very large SUV for trips such as these, is one of my most anticipated events of the season. If any of you reading this are gardeners, you know what I am talking about! If you do not already engage in this incredibly satisfying hobby, but have wanted to try your hand at gardening, container gardens are the way to go to give you a taste of getting your hands dirty.
A couple of months ago, we were asked if we would be interested in filming a video for a container gardening class for a non profit whose work we wholeheartedly support, Fred’s Footsteps. For the past couple of years, they have held their Ladies Night Out event here at the farm and it has always been one of our most looked forward to events. This year given the quarantines that are in place, sadly they had to cancel. They quickly revamped the event bringing it online and we began filming our first ever instructional video. (Check it out here!) To compliment the video, I wanted to write this post to give you some of my favorite pointers and instructional lists that you can refer back to.
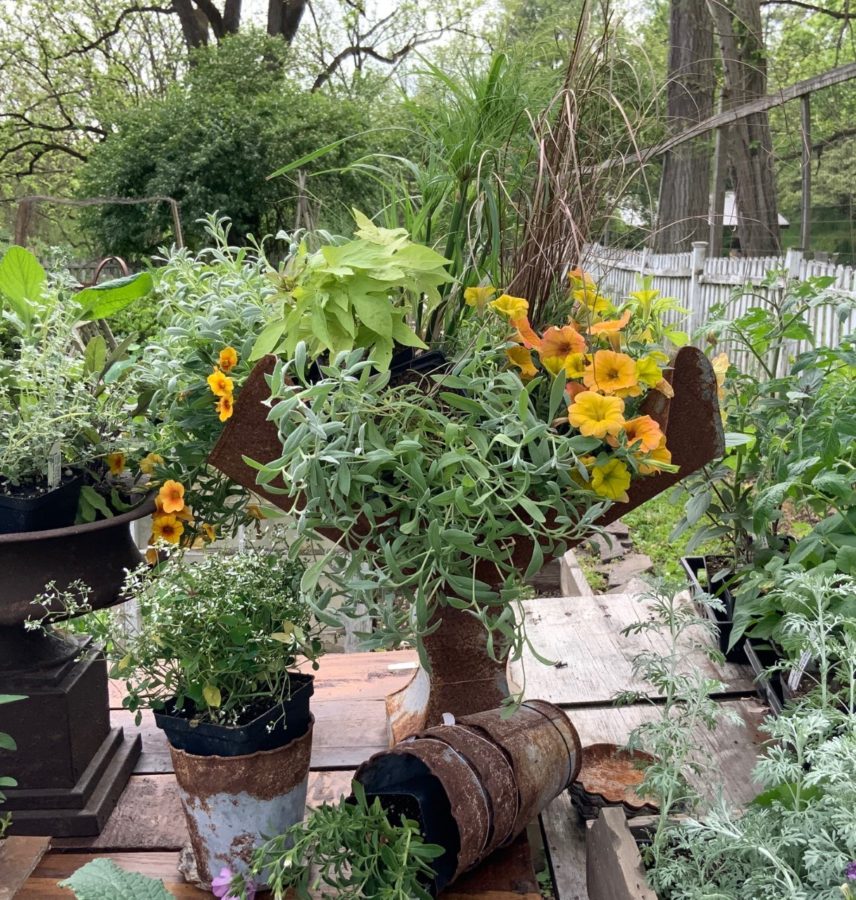
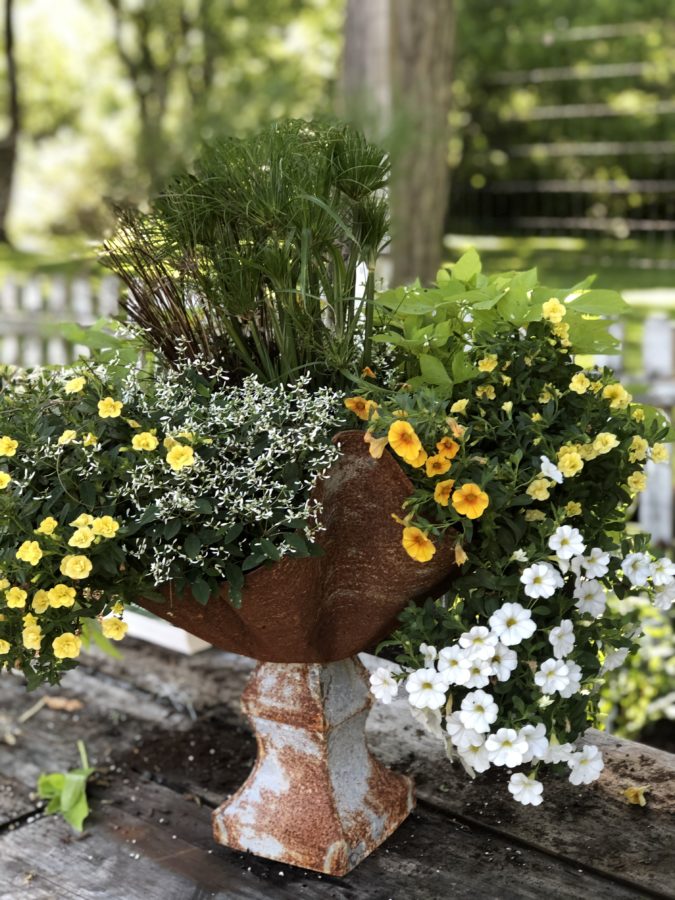
A container full of beautiful flowers?
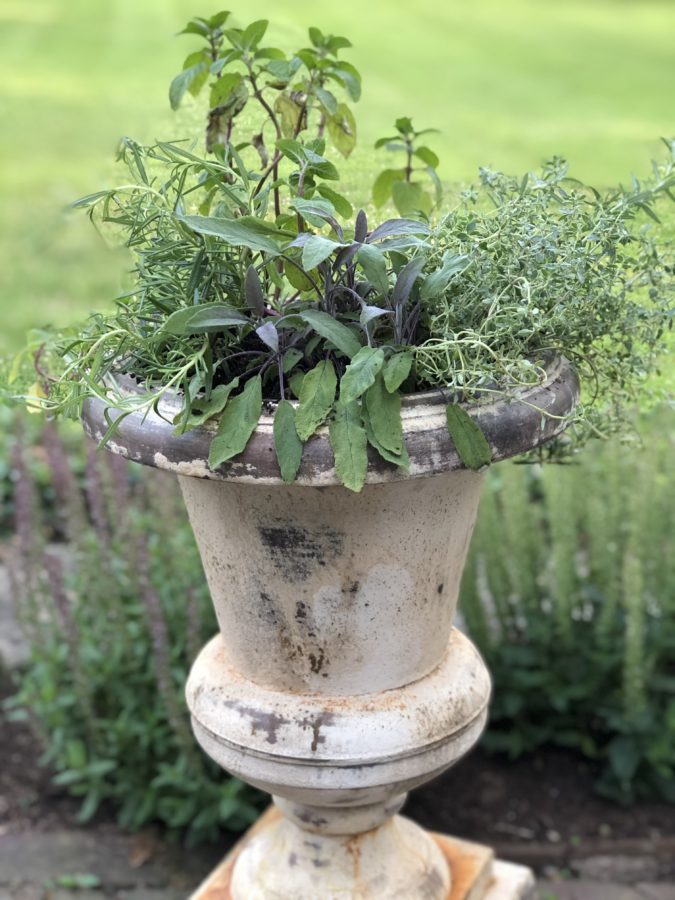
A container full of herbs or vegetables or both… to place near your kitchen for easy access?
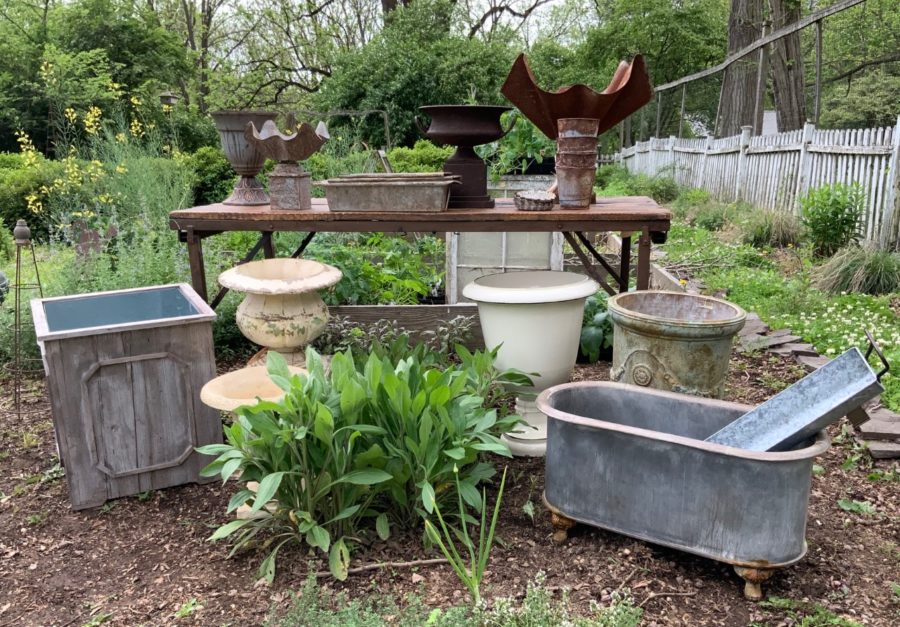
1. You can basically plant in almost anything! There are a myriad of container options on the market as well as objects that might not be marketed as a planting pot or container but are beautiful when plant material is put inside of it. You can plant in wooden crates, various vessels, wheelbarrows, architectural salvage items… the list goes on and on. Use your imagination and Think outside the planter!
2. When selecting your planter, ask yourself the following questions for the answers to these will help you select your planter or container.
~ Where it is going to be placed. In front of your house or garage or another building near your house?
~ How much space do you have where you want to put the planter? Do you have a large area or a small narrow area?
~ What is the aesthetic that you want to create? Factors to consider: shape, color, style, material of your container as well as what is the back drop for your container.
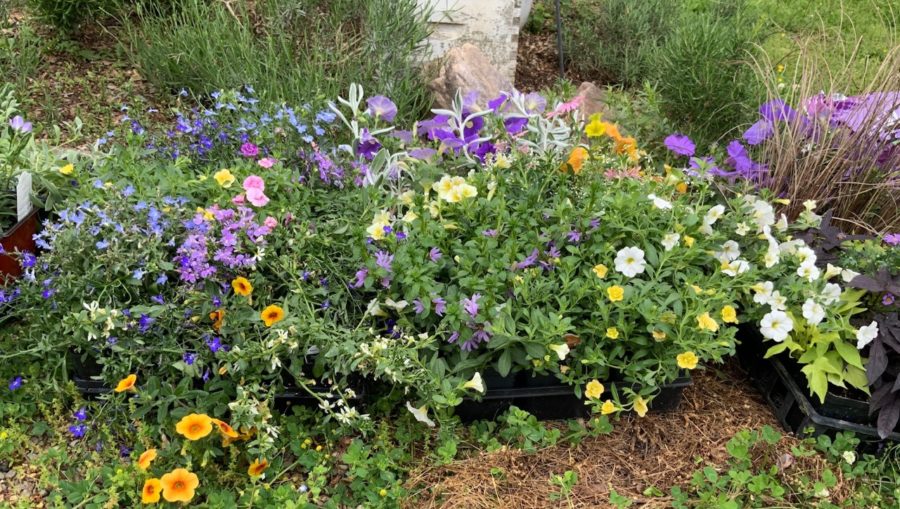
In selecting your plant material there are three things you need to consider:
- Location of your planter… Shade, sun or part sun? You need to select your plant material based on these conditions for plants will thrive only if planted in their ideal conditions. Typically you can find out the planting requirements having to do with light, directly on the tag of the plant when you see them at your garden center or nursery.
- Colors that you want to use: Are you partial to pastels, neutrals or hot vibrant colors? Make sure if the plant is not budding out yet, that you find out what color the blooms are going to be so there are no surprises! Keep in mind that you can use not only colors of the leaves and flowers to create your design but the texture of the plants, their leaves and flowers as well.
- Watering Needs : Some plant material needs drier conditions such as sedums and cactus and some like a wet watered soil all the time. The plants will do much better if like is planted with like in regards to watering needs.
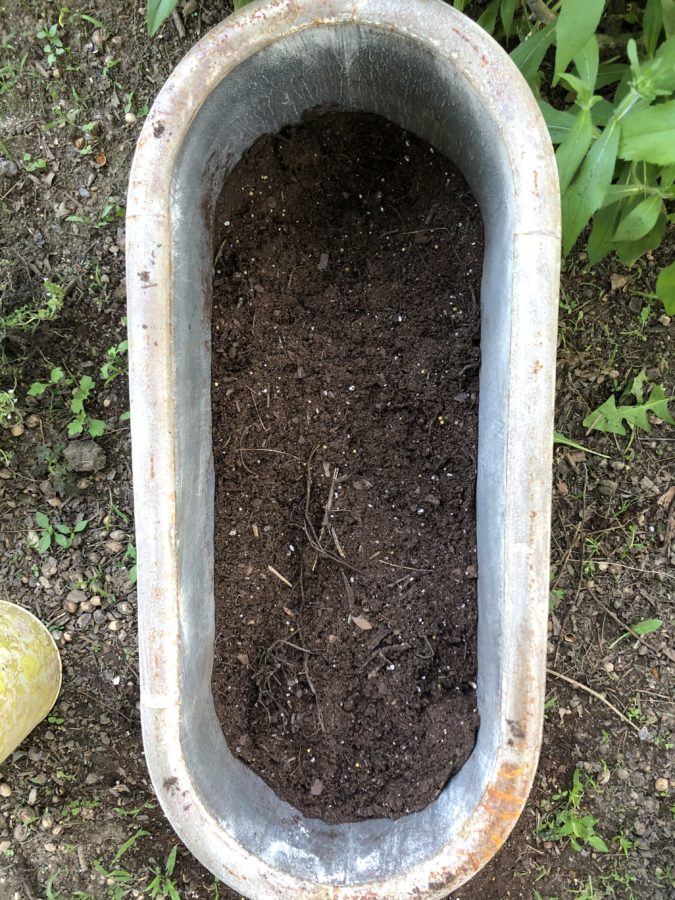
Before you put your selected plant material in your container, you need to make sure that the container is ready to accept the material so that it can grow well and profusely. In order to do so I recommend the following:
- Appropriate drainage: Some containers already come with drainage holes in the bottom of the container. If yours does, that is great! If not, you will need to add some. This can easily be done with a hand drill and a drill bit that is used for whatever material you are trying to put the hole in… tin, metal or wood. I don’t recommend that you drill a whole in a concrete, glass or porcelain container for fear that it will crack or break. If you don’t want to drill a hole in a container, you can always add small pebbles to the bottom of your vessel first before you fill it with soil for that will create drainage at the bottom of your container so the roots do not sit in the soggy soil that will be at the bottom of the planter for it cannot drain out.
- Weight of a large container: Keep in mind the weight of your fully filled container if it is large. To create less weight and not use up as much potting soil, I like to use the following items to place in the bottom of the container first before filling the container up with soil: styrofoam peanuts or any pieces of styfrofoam, crushed soda cans or water bottles, the crushed up plastic pots that your plant material comes in.
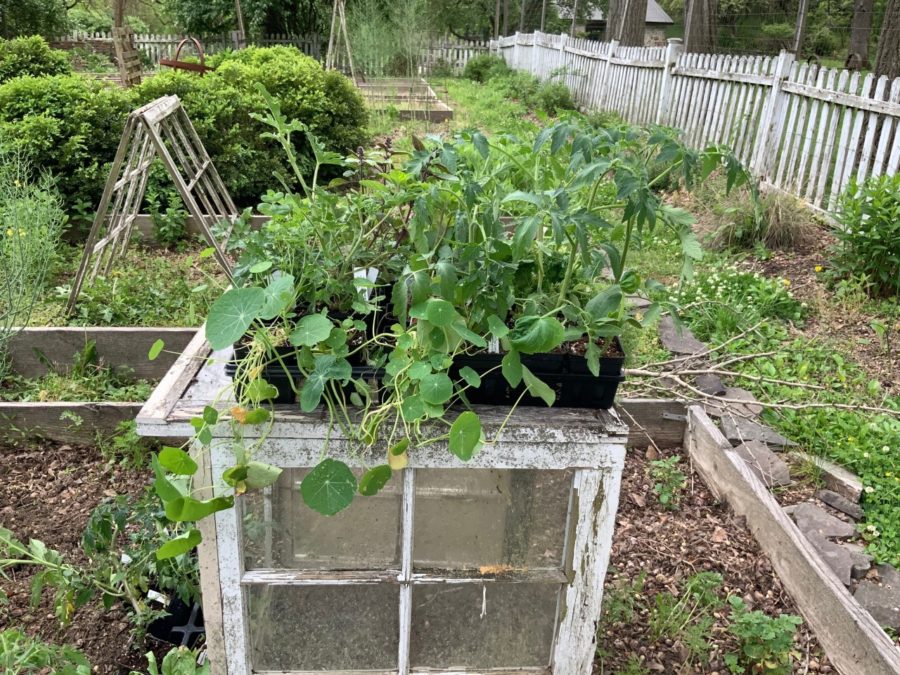
- If planting a container that will grow vegetables and herbs, I pay particular attention to the material of the pot to make sure that it is not made of something that might leach into the soil, thus into the plant and eventually to the fruit or the leaves of the plant that you might be ingesting. I always clean those pots out before filling as well to rinse any chemicals that might adhere to the container in its creation.
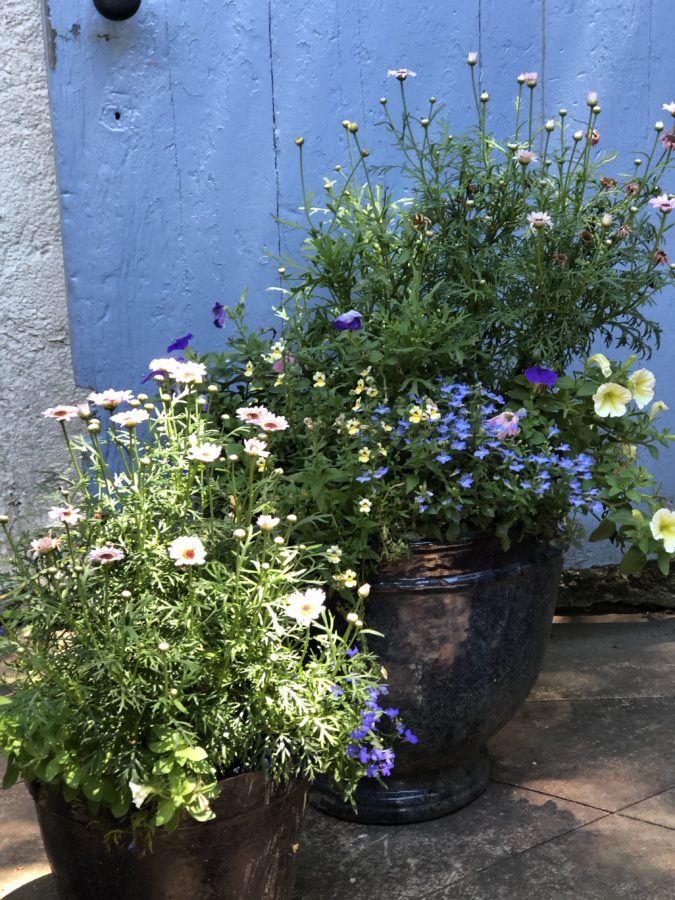
- When planting my container gardens, I always use a good potting soil for potting soils are lighter and airier than the soil you will find in your garden beds. Potting soil is mixed with other ingredients such as sphagnum moss, coir or coconut husks, bark, and vermiculite which holds the growing roots, delivers food and moisture while allowing the proper drainage required for potted plants. To find out more, I suggest reading this helpful article.
2. After filling your container with the potting soil about three quarters of the way full I like to arrange the potted plants in the vessel while still in their pots to figure out the best composition.
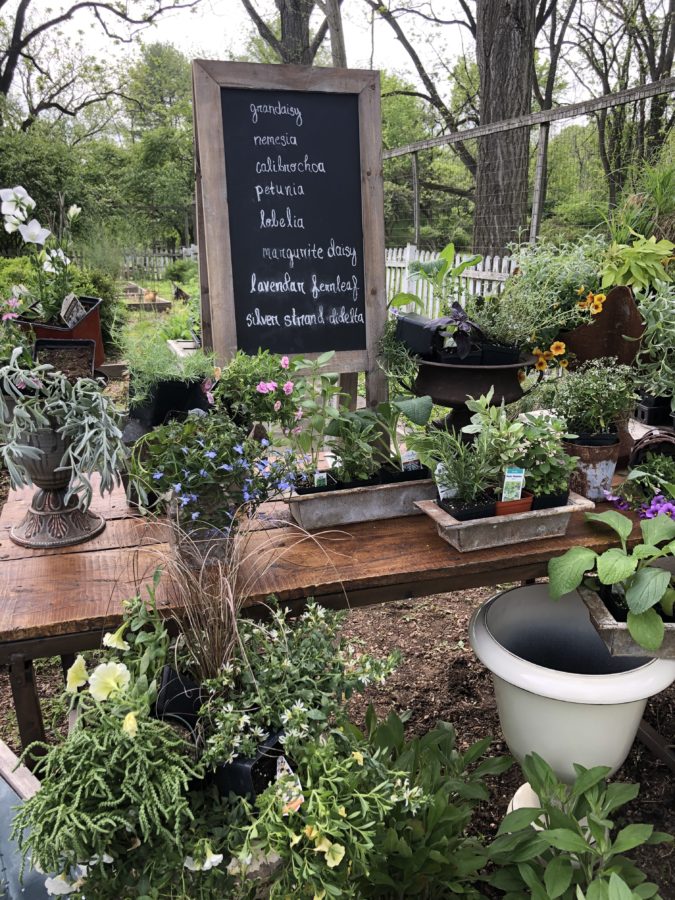
3. Once you have figured out what looks best in the container, you can begin planting! To plant, put one hand on the top of the plant and the other on the pot, turning the pot upside down. Carefully pull the plant material out of the pot and use your fingers to break apart any root ball that might have formed.
4. Place your now pot-less plant into a shallow hole you have made in the potting soil and use your hands to bring soil around the plant. Repeatedly do this until you have all of the plant material planted in the potting soil.
5. Typically, if you have only filled up the container about three quarters of the way full before you started planting, you will need to add a little extra potting soil in and around the plants.
6. Always water your planter right after you finish planting.
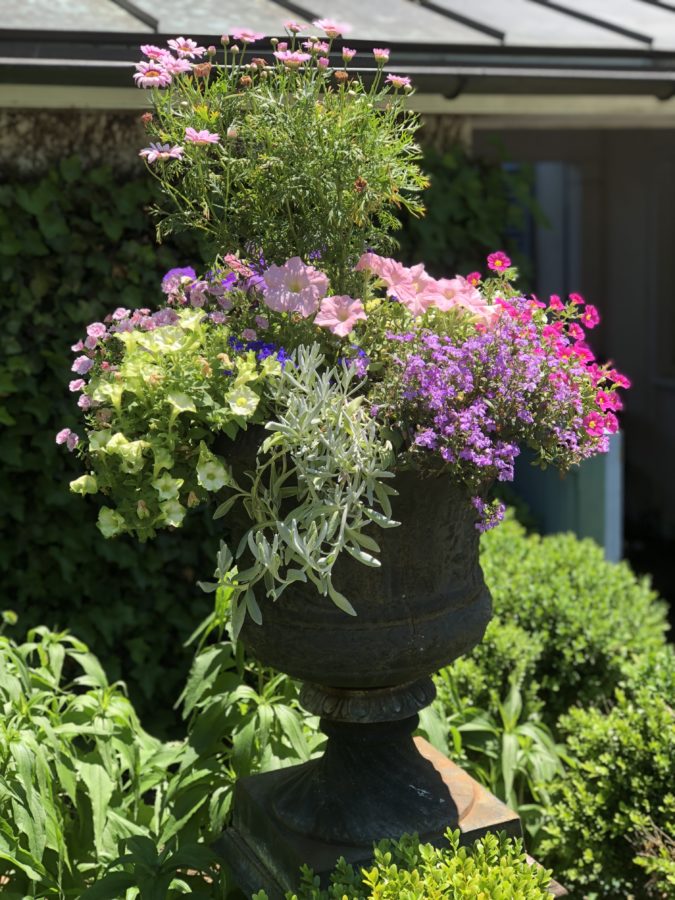
There you have it! In a couple of weeks, if you keep your container gardens well watered, they fill fill in with abundance and bring you beauty and pleasure in the remaining spring and summer months to come! I do not use any fertilizers on my container gardens for I find that if you use a good potting soil to begin with, keep them well watered and set the container out in their appropriate light conditions, they do amazingly well without. It will serve you well to look up each plant that you are using in your container garden to find out if there are any special planting or care needs that it might have. Some flowers, like petunias, need to be dead headed which means you just pluck the flower off of the stem once it has bloomed.
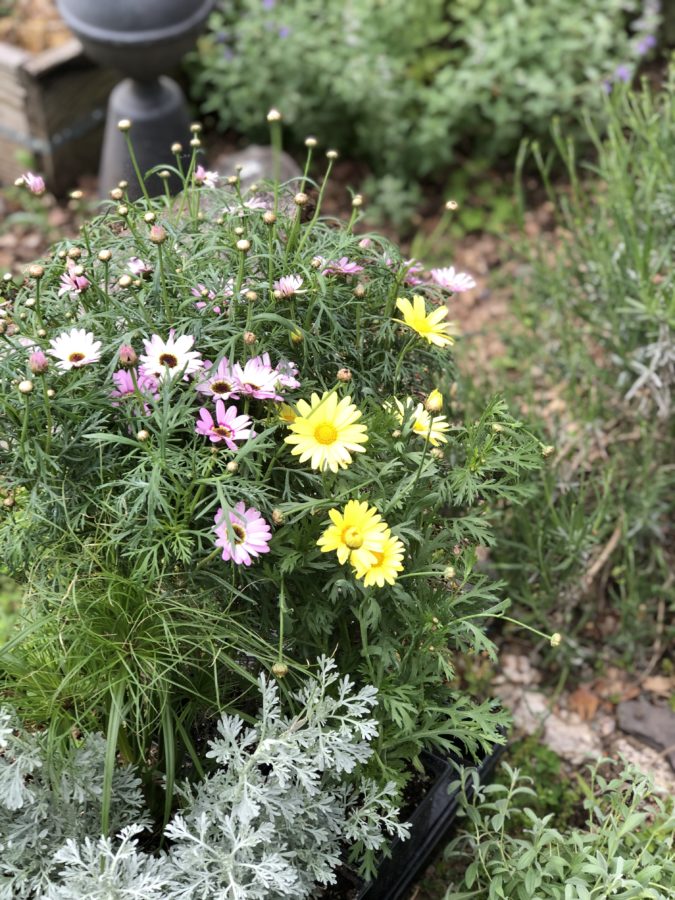
Some of my favorite flowers to use in container gardens: They are certainly not limited to the list below but I have planted these many times in the past and they have always done well for me. Again, keep in mind to follow your eye and what pulls at you visually when you choose your plant materials. I use a lot of flowers for we are surrounded by green around here. An all green or leaf forward plant would get lost in its background so I pop interest with soft colors. Grasses look fabulous in pots as well as sedums, if that is the look you so desire.
Grandaisy -Pink Halo (Full sun)
Nemesia– Nesia Sunshine (Full Sun to Part Sh)
Little Tunia- Buttercream (Full Sun)
Calibrochoa ( FullSun/ Part Sh)
Classic Blue Ray Petunia (Full Sun)
Hot Water Blue Lobelia/ Bluemoon Lobelia/ Compact purple Magadi Lobelia) these are my favorite Spring potting flower filler that will bloom all summer long if in the right light conditions. They prefer low light.
Marguerite Daisy Argyranthemium (Part Sun/ Part Shade)
Lavender Fernleaf (Full Sun and drier conditions)
Petunia Pistachio Cream (Full sun)
Silver Strand Didelta (Sun- great texture, drier conditions and deer resistant)
Mini Famous Uno Double Light Pink (Part sun/ Part shade)
Any type of Mint (Mint is invasive so I often plant a pot of different varieties)
Golden Creeping Jenny (Full Sun/ Part Shade)
Coleus (Shade pots)
Sweet Potato Vine (Light Full sun/ Part Shade- deer love this plant!)
Fan Flower (Full sun- drought resistant)
Euphorbia (Full Sun/ Part shade) Great filler and likes dryer feet
- Somerset Nursery and Garden Center ~ 1697 Pottstown Pike, Glenmoore, PA 19343 (610) 469-7500 Great selection of perennials and trees
- Hoovers’s Market and Greenhouses ~ 1719 Main Street, East Earl, PA (717) 4457066 Great selection of annuals, herbs and vegetables and their baked goods are yummy!
- Conestoga Nursery ~ 312 Reading Road, East Earl, PA (717) 445-4076 Great selection of trees and perennials
- Black Creek Greenhouse ~ 211 E Black Creek Rd, East Earl, PA (717) 445-5046 Great selection of annuals, herbs, vegetables and perennials
- Briar Rose Greenhouses ~ 1581 Briertown Rd, East Earl, PA (717) 354-2167 Great hanging baskets, annuals and perennials
- Terrain at Styers ~ 914 Baltimore Pike, Glen Mills, PA
- Terrain at Devon Yards ~ 138 W Lancaster Ave, Devon, PA Both of these locations are fabulous for inspiration and unusual plants!
- Pickering Valley Feed and Farm ~ 305 Gordon Drive, Exton, PA (610) 363-8810 Great feed store with a wonderful supply of baby chickens and annuals and herbs
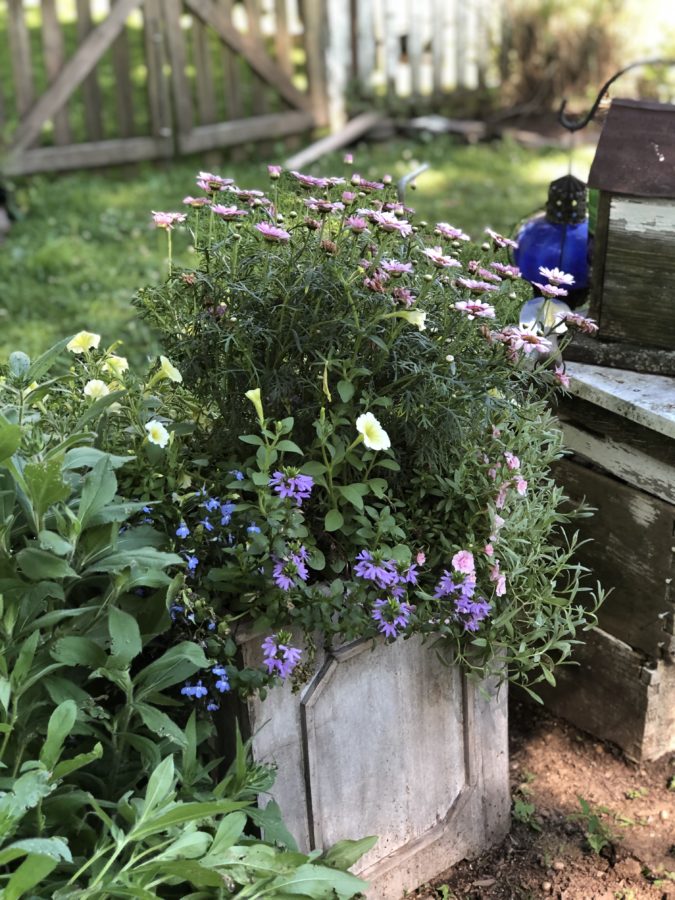
I certainly hope that you find this post helpful and your gardens bursting forth with beauty at this time of year! There is something so satisfying about creating something with your own hands that will bring a smile every time you look at it! If you have any tips that I neglected to share or ones that you have found helpful in your container gardening pursuits as well as any nurseries or garden centers that you love, please share them below. I would love to learn more!
“Everything that slows us down and forces patience, everything that sets us back into the slow circles of nature, is a help. Gardening is an instrument of grace.” ~ May Sarton
~ In grace… xoxo Meg